Breaking Plateaus in AI Color Matching for Music Video Look Transfer
A practical, eight-step playbook for performers, producers, and directors to plan, shoot, and finish a music video with cohesive color across locations using AI-assisted look transfer, while staying true to performance and story.
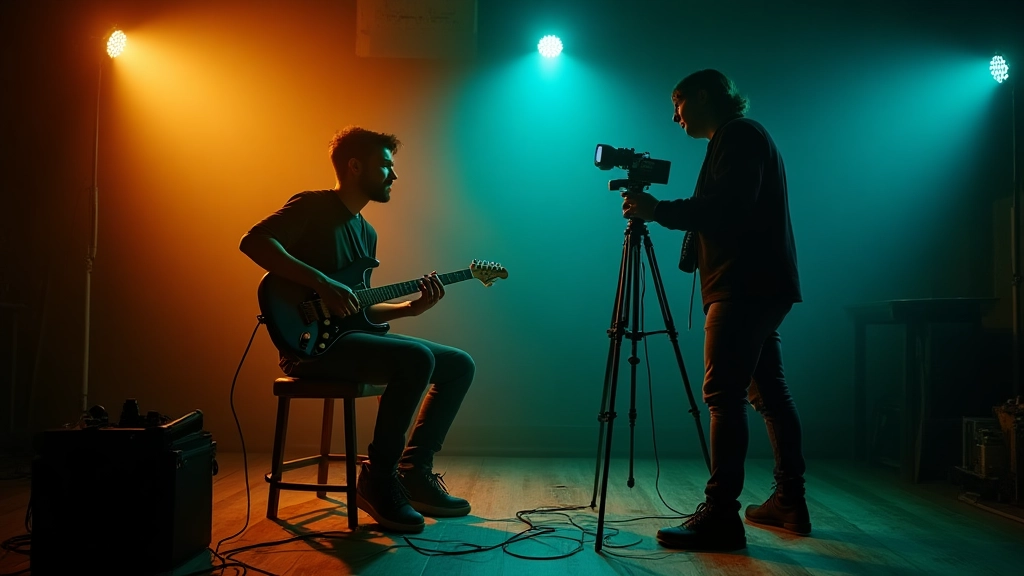
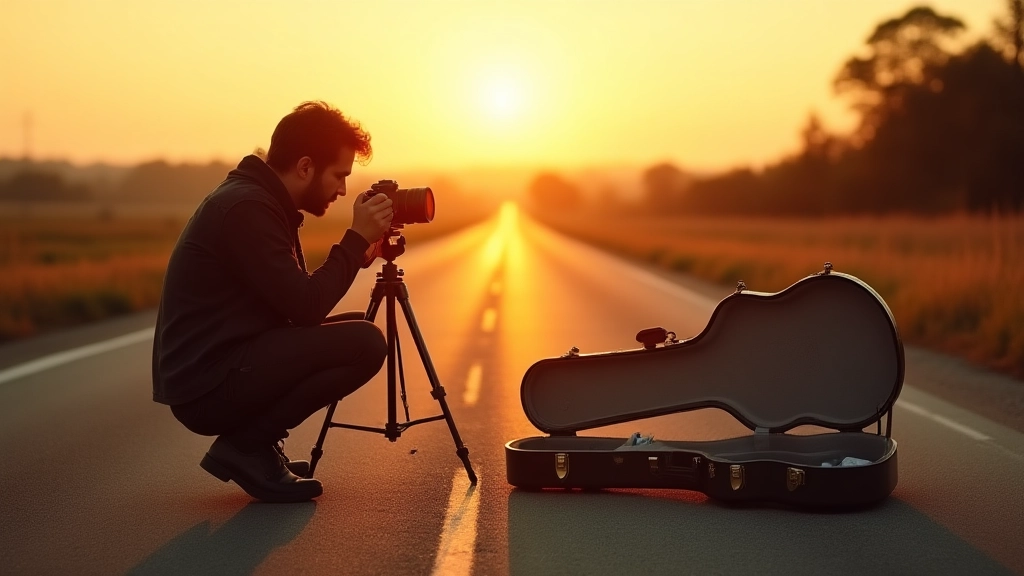
You enter a club with a guitar, a camera, and a laptop that hums with color charts. The room smells of coffee and cables. The first beat lands, and you know the look must travel with you—across a dim stage, a bright afternoon exterior, and a late-night hallway with flickering fluorescents. This is where AI color matching becomes a tool of storytelling, not a gimmick. The goal is not to chase a trend but to make the viewer feel a moment as if it happened in one breath, even if the footage came from eight different takes and three different cameras. Below is a practical playbook built for real-world constraints: low budgets, touring rigs, bedroom studios, and everything in between.
In this journey, Moozix appears as a practical partner in color workflows—providing LUTs and reference tools that can jump-start your look transfer. The aim is to show you how to plan, shoot, and finish a music video with a unified color narrative, regardless of gear or location. The eight steps blend concrete tasks, quick experiments, and narrative checkpoints that you can apply today.
Opening Scene: The Night the Color Remembers
We start with a vignette to anchor the brain around the problem. A musician in a cramped rehearsal space spots the same color cast appear on three different devices and lighting setups. The guitarist plays a phrase twice; the first take on a smartphone camera looks warm and saturated, the second on a borrowed cinema camera looks cooler, and a third on a rented webcam looks flat. The moment is not frustration; it’s a cue. The task is to build a look transfer so that, when you assemble these takes in the edit, they feel like they belong to the same mood, the same room, the same moment. This is the core promise of AI color matching: it helps your editing timeline feel like one continuous scene even when data from different cameras and environments pour in.
With the house lights down, the director notes the emotional spine: warmth on the singer’s cheek during the chorus, cooler blues that pull back the danger in the bridge, and a touch of amber that signals triumph at the final cut. The eight-step playbook that follows is built to honor that spine while giving you practical, repeatable methods to get there on any gig, in any room, with any gear.
Step 1 — Define the Look as Narrative Foundation
Color is a storytelling instrument. Your first task is to translate the emotional arc into a color direction that can travel across scenes. Do this in the form of a concrete target palette and a set of look-transfer rules you can test on set and in post.
- Write a one-sentence look directive: e.g., "We ride the chorus with warm skin tones, restrained saturation, and a cobalt edge in the backgrounds."
- Capture a reference frame in similar lighting conditions to each location you plan to shoot, noting white balance, exposure, and dominant hues.
- Build a small color palette using five to seven swatches that map to your emotional beats (intro, verse, chorus, bridge, outro).
- Annotate your camera settings and color space choices so the team can reproduce the look later.
Two mini examples illustrate how this plays out in real life. In a bedroom-producer scenario, a solo artist uses a smartphone to shoot a lo-fi clip but still wants a cinematic feeling. They set a reference frame with skin tones anchored around 6500K, with a hint of magenta in shadows and a soft golden highlight to cue warmth. In a touring-band scenario, a drummer in a dim club shoots a performance clip, and the director chooses a look that relies on cooler mid-tones and a controlled amber spill on the singer’s face to preserve readability on a small screen. These choices become your anchor points for the rest of the process.
Step 2 — Build a Look Transfer Map that Travels
Look transfer is the process of mapping a reference frame or a chosen mood onto every frame you shoot. The map is your operating system for color—how you translate the reference into machine actions while keeping the human edge intact.
- Choose a primary reference image or short clip that you and the director agree encapsulates the mood.
- Create a parametric map: a few sliders that control temperature, tint, exposure, and saturation for different scene categories (indoor, outdoor, backlit, low-light).
- Define a fallback if a shot deviates too far from the reference, such as a micro grade that retraces the mood without sacrificing detail.
- Document your transfer tolerances so that you know when something is off by a single percentage point of saturation or a few Kelvin of white balance; these become stopgaps during the edit.
In practice, this step yields a rulebook for your colorist and editor. A bedroom producer can implement a simple two-parameter map (temperature and saturation) to keep their lo-fi look aligned with their chorus shots. A touring act may rely on a more granular map that differentiates color in hair, skin, and background geometry to account for the changing stage lights. Moozix LUT sets can serve as starting points, but the real value comes from your own map that captures how your band’s mood shifts across the set.
Step 3 — Lock In On-Set Lighting to Support the Look
Lighting is the clock that ticks through your color story. On-set discipline ensures that your color goals are not a guessing game in post. Here are practical on-set actions you can take today.
- Use consistent white balance across cameras when possible. If you must mix cameras, capture a gray reference card at each vantage to anchor your color chain.
- Choose practicals and key lighting with color in mind. White practicals can drift; counterbalance with gels or LED-tuned color temperature that aligns with your look map.
- Record at multiple exposure levels for the same shot sequence to give editors more flexibility if the grade needs to tighten or loosen.
- Keep a simple lighting log that notes color temperature, intensity, and any color shifts caused by modifiers such as diffusion or bounce cards.
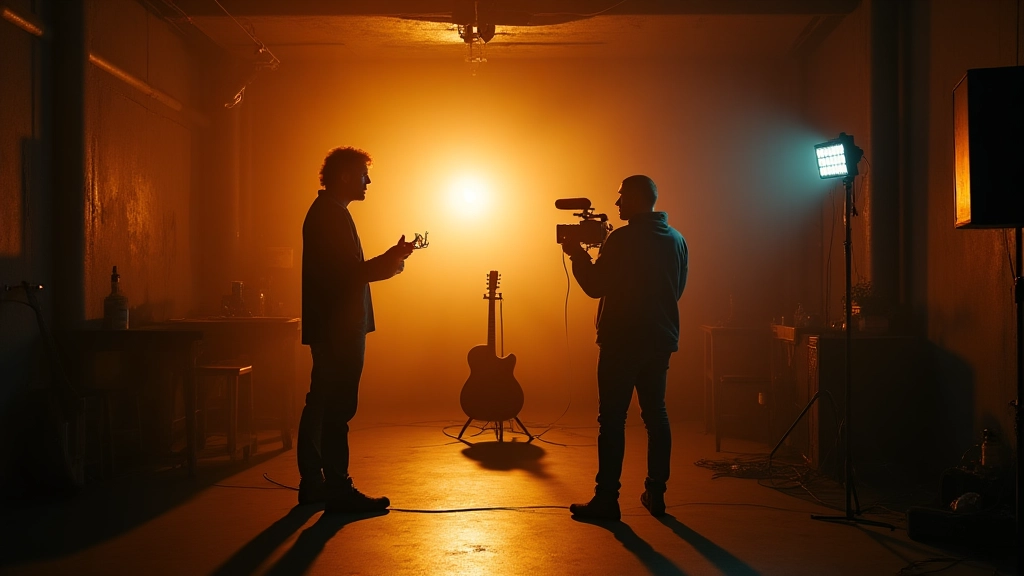
Three mini-case studies help illustrate these choices. Case A: a solo artist on a tiny stage uses warm tungsten-like fills to evoke intimacy while adding a cool rim to separate the performer from the background. Case B: a four-piece band on a warehouse tour uses a color palette of blue-gray neutrals with sporadic amber pops that guide the eye toward the vocal. Case C: a duo shoot in an apartment uses a single color temperature with a subtle teal lift on the guitar neck to convey a modern, dreamlike glow. Each scenario shows how on-set decisions translate into a more predictable post pipeline.
Step 4 — Shoot with a Robust Reference Library
A reference library is not a library in the old sense; it is a curated set of look briefs, color-check references, and test clips that your editor and colorist can rely on to keep the story coherent.
- Build a folder structure: references, tests, LUTs, and exports.
- During setup, shoot a quick color-check frame in each location showing a neutral gray card, a skin-tone patch, and the reference mood.
- Capture a handful of frames with the same wardrobe and lighting across scenes to test the transfer map in real time.
- Use Moozix LUTs as a baseline, then apply your own adjustments to tailor the look for each location.
Here are two quick mini-stories. Storyline one features a bedroom producer who uses exactly five frames as a color reference across a living room shot, a hallway shot, and a rooftop shot, then layers in a mood-preserving LUT to unify the palette. Storyline two follows a touring act that compiles a small library of romantic blues and warm ambers for stage, backstage, and backstage hallway footage—each shot referencing the same mood frame to ensure cohesion despite changing environments.
Color consistency is not a cheat; it is the emotional thread that keeps a performance legible across shifts in space and light.
Step 5 — The On-Set to Postworkflow: A Lightweight Rig for AI-Assisted Matching
Bridge the delta between what you shoot and what you grade with a lean, dependable workflow that leverages AI as a helper rather than a replacement for human decisions.
- Export RAW or Log footage when possible; avoid baked-in color that locks you out of the transfer map.
- Use a non-destructive workflow so you can toggle between the reference, the color map, and the final look without re-shoots.
- Create an AI-assisted mask strategy for local color adjustments: skin tones, skies, and backgrounds each get targeted improvements; avoid global sweeps that erase local detail.
- Keep a quick-recap file documenting every adjustment tied to the mood map; this reduces back-and-forth during notes.
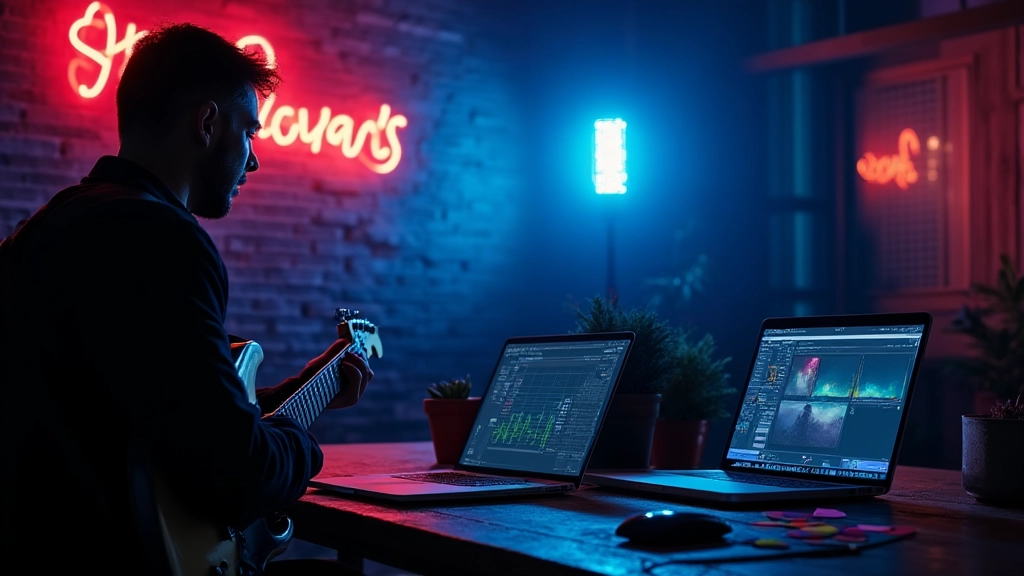
In practice, this step means you can run a few conservative AI-driven tweaks to unify lighting and color across shots without losing the performer’s natural texture. A touring act might rely on a mobile workstation to render previews during load-in; a bedroom producer can push the same look from their laptop while verifying the color on a phone screen to ensure the audience will feel the same mood across formats. Moozix tools can provide a reliable jumping-off point to speed up this process while preserving your specific color intent.
Step 6 — Structure the Edit for Color Integrity
The edit is where color becomes a conversation between frames. You want to preserve the narrative through color transitions that feel intentional rather than accidental.
- Group shots by scene color families (warm, cool, neutral) to minimize cross-scene wobble during cuts.
- Use cross-dissolves or match cuts that carry the same color logic from one frame to the next, ensuring the palette breathes in time with the rhythm.
- Protect skin tones: prioritize a natural rendering of faces when the color map is changing the background or other elements.
- Iterate with the director on a test edit that reveals any jarring shifts; adjust the map to smooth the transitions while preserving mood.
Three real-world examples anchor this principle. Example A: an eight-bar chorus crossfade from a warm living-room clip to a cooler stage shot uses a subtle saturation shift that mirrors lighting changes. Example B: a rain-soaked exterior shot uses a muted palette that gradually warms as the chorus peaks, guiding the viewer’s eye toward the vocalist. Example C: a silhouette moment uses a precise blue cue on the guitar neck, which helps the audience read the action even when the performer’s face is in shadow. Each demonstrates how a thoughtful color plan can elevate pacing and clarity without shouting at the viewer.
Step 7 — Deliverables, Platforms, and Color Science You Can Trust
Think about distribution from day one. Different platforms and displays require slight tweaks to preserve the look you crafted.
- Deliver color-managed masters in a consistent color space (Rec. 709 for SDR; a wide-gamut for HDR if applicable).
- Provide platform-optimized exports that preserve your look without introducing banding or clipping.
- Offer both a grade-master and a color-checked proxy version so editors and captioners can work without re-creating your look.
- Document your deliverables in a look-deck that the label, manager, or client can reference in future projects.
In practice, you may keep a master file used for festival submissions and a separate deliverable for streaming; both should carry the same mood map so audiences get a consistent experience, even on screens with different color capabilities. The use of LUT-based baselines—such as the Moozix packs—plus your bespoke color adjustments gives you a predictable, scalable pipeline for future videos.
Step 8 — Real-World Tests, Iteration, and the Afterglow
Finally, run quick tests on new gear and new venues to keep the look transfer robust as you scale. The aim is not perfection on the first try but a reliable method you can transfer to every shoot.
- Run a 15-minute color test in a new environment, comparing the transfer map to the reference mood.
- Document any deviations and update your transfer map and LUTs accordingly.
- Share learnings with collaborators to ensure future projects benefit from your evolving process.
Consider three short vignettes to illustrate this final stage. In the first, a bedroom producer shoots with just a single key light; in the second, a touring act uses a mixed lighting rig with LED strips and practicals; in the third, a remote collaboration involves a pair of musicians in different cities, using AI to unify their visuals with a consistent palette. Each scenario demonstrates how iteration and documentation keep your look transfer dependable, even as variables move.
Closing Scene: A Poised Final Note
The final cut lands with a calm certainty. The performance feels intimate yet cinematic. The color remains clean, the skin tones read clearly, and the background hues support the mood without shouting. The eight-step playbook has not limited creativity; it provided you with a repeatable spine for experimentation. You have learned to use AI as a collaborator, not a crutch, to help you tell your story with color as a character, not a backdrop.
As you watch the final version with your crew, you realize you’ve broken a plateau. Not because the look is louder, but because it travels with the performance, across rooms, cameras, and formats, staying faithful to your artistic intent. And that, in the end, is the true measure of a successful music video color strategy: it serves the song, not the software.
Mini-Case: Bedroom Producer with Smart Tools
A one-room studio uses a single LED key light, a phone camera, and Moozix LUTs to lock a warm, intimate look. A quick two-frame test confirms the mood transfer holds when a second clip is added. Outcome: a coherent, personal music video scene that feels cinematic despite the minimal setup.
Mini-Case: On the Road, Small Rig, Big Mood
A four-piece band plays in a warehouse with mixed lighting. By mapping a restrained blue-gray mood and employing a subtle amber glow on the vocalist, the rooms feel connected while each shot preserves character. The result: a live-performance piece that reads as one narrative ride instead of separate fragments.
Hear what these choices do to your own song.
Upload stems or a finished track, choose a reference direction, and compare a private Moozix mix before you export anything.