From Shot List to Final Cut: A Practical Playbook for DIY music video
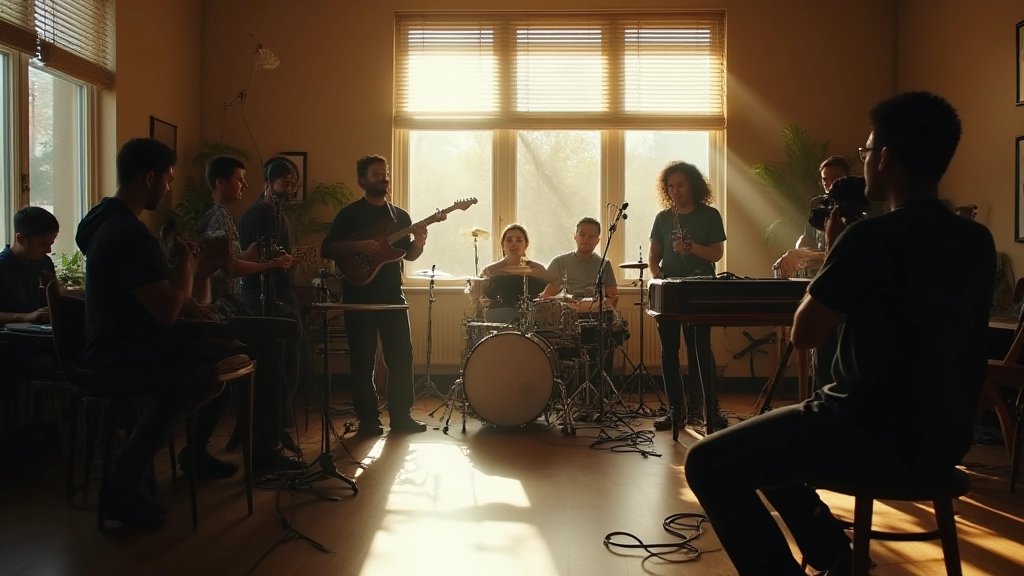
A field-tested path from concept to release that centers on hands-on creation, not hype. You’ll map your song to frames, light with intent, and cut for rhythm—whether you’re touring, producing in a bedroom, or collaborating remotely.
Stage 1: Frame the story you want the music video to tell
Before you touch a camera or click a shutter, drop into the story you want to share. The best DIY projects start with a moment you can describe in three sentences. I once worked with a singer-songwriter who brought a folded letter to the shoot, a prop that quietly reframed the entire narrative. The letter wasn’t dramatic; it was personal, implying a memory that the music would unlock. Your first exercise is to write a one-paragraph logline, then translate that into three visual beats that map to the verse, chorus, and bridge.

Stage 2: Build a shot list that mirrors the song’s arc and mood
Turn your logline into a linear map. Each shot should correspond to a moment in the music and a lyric or instrumental cue. Use a simple grid: timestamp, lyric cue, action, camera move, and expected mood. For a three-minute track, you might draft 18–22 beats. If you’re on a shoestring budget, aim for 8–12 signature looks that feel distinct but connect emotionally.
- Define the core moods for intro, buildup, drop, and outro
- Assign a camera language to each mood: close-ups for intimacy, wide for space, motion for energy
- Note practical constraints: location, time of day, and talent comfort
- Mark opportunities for performance slices vs narrative inserts
Stage 3: Storyboard, thumbnails, and quick test visuals for a music video
Storyboards don’t have to be fancy to be effective. Thumbnails give you a shared language with your crew. Sketch 1–3 frames per beat, then sequence them as a rough storyboard. If you’re working with a guitarist and a dancer, you can pre-visualize shot-countershot interactions by mapping lines of dialogue or breath cadence to camera movement. Schedule a quick 20-minute thumbnail session with your phone and a sticky note grid.
Stage 4: Location scouting, permits, and practical constraints
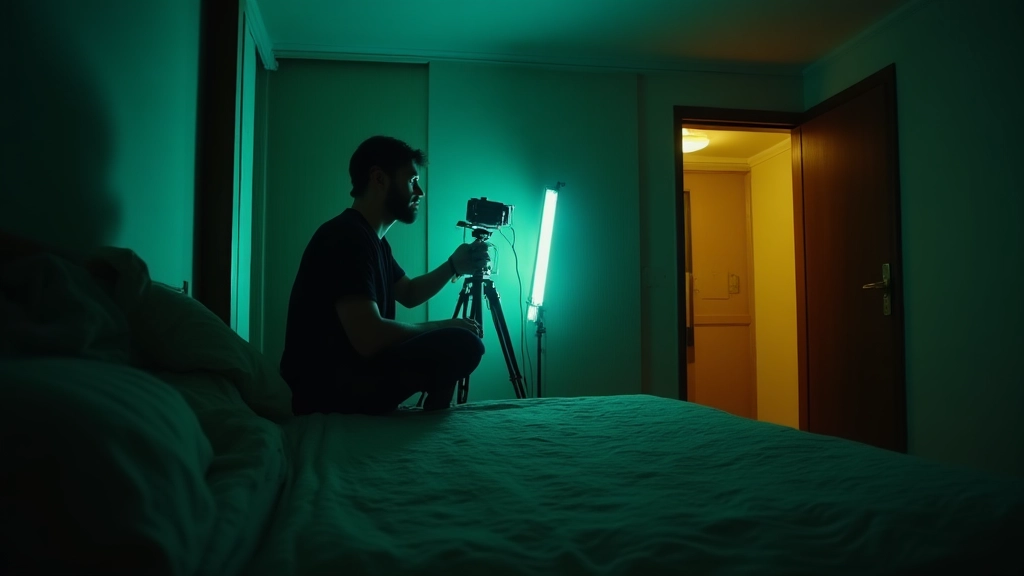
Location choices define the look and the shoot day. I’ve seen a motel room turned into a storytelling hub, a kitchen table become a place of revelation, and an urban alley morph into a chase sequence with a single practical light. Do a 60-minute scouting walk through your top three locations. Photograph sections of each room, note ceiling height, available electricity, and quiet spots for audio playback. If you can’t shoot at a formal location, plan a faux set that uses what you already own in your space. A light-weight Moozix backdrop can help unify the look when you can’t move the shoot to a different place.
- Three backup locations in case of weather or noise
- Permits and neighbor notification in urban spaces
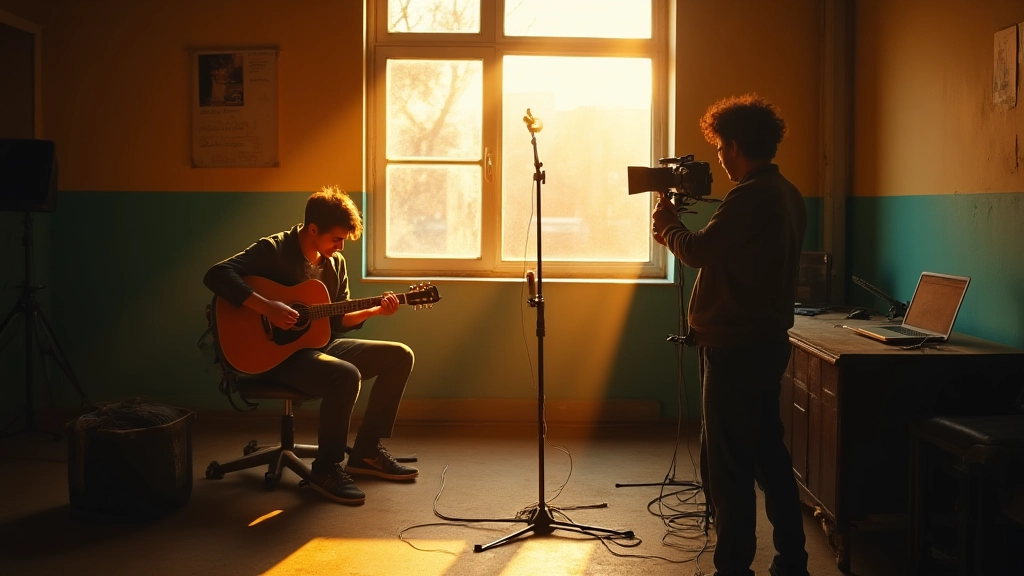
- A balcony or window shot with natural backlight for warmth
Stage 5: Lighting for mood, continuity, and character
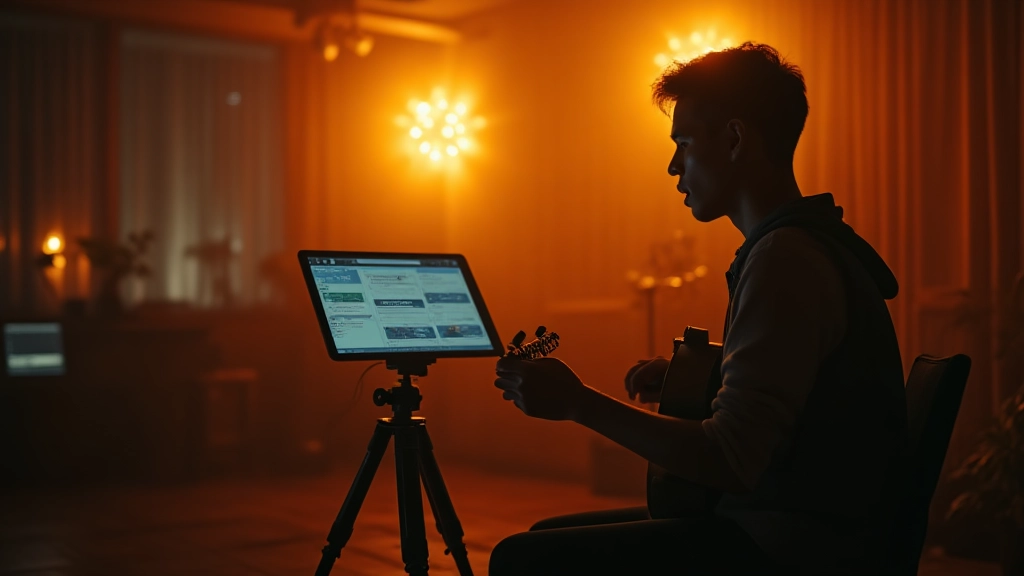
Light is your primary storytelling tool. Use a simple three-point setup to give a vocalist warmth, or a punchy backlight to separate the subject from a busy background. If you’re working with a solo artist in a small room, a single key at 45 degrees can sculpt the face while a practical lamp hints at environment. I often rely on practicals to sell realism: a desk lamp, a neon sign off-frame, a streetlight leaking through blinds. Create a lighting bible for the shoot with three layouts, and shoot a quick test for each one.

- Three color temperatures to keep skin tones natural
- Backlight choices that separate subject from background
- Gels or color-correcting sheets for mood shifts
Stage 6: On set workflows and continuity that won’t slow you down
Continuity is boring only if you let it be. Create a lightweight continuity sheet: who wore what, where the light was, and what the angle was for each shot. I suggest a two-minute "setup and reset" ritual between takes so you don’t fall into a vortex of reconfiguring gear. If you shoot with a small team, designate a 30-second check-in after each take: what worked, what didn’t, and what you’ll do differently in the next setup.
- Keep a running shot log with a quick description
- Capture blank takes for breath and ambient sound
- Label memory cards clearly to avoid mix-ups
Stage 7: Directing on camera and coaching performance for a musical moment
The best performances happen when you give performers something to inhabit, not just cues to follow. Start with a two-minute warm-up, stage direction, and breathing exercises. Then run a 30-second micro-scene that captures the character’s emotional pivot. If the artist keeps looking at the camera, pivot to a more intimate approach: quiet, off-camera dialogue, and pause to let the breath carry the moment. In a tour setting, work with a simple rule: every performance beat must serve the lyric or the rhythm—no filler.
When you treat the camera as a collaborator, performance becomes more present and the edit feels inevitable.
Stage 8: Editing rhythm, cuts, and pacing that match the track
Editing is where the magic solidifies. Start with a rough cut that aligns to the song’s tempo map: downbeats on cuts, breath points on pauses, and occasional space for breath during vocal lines. Consider a "drill" cut: one frame per beat for a chorus, then alternate with longer takes for a bridge. A practical tip: export a 30-second test of the first chorus to validate pacing with your musicians before you shoot more footage.
- Create a tempo map aligned to the song sections
- Use J-cuts and L-cuts to preserve dialogue rhythm
- Apply a consistent transition language across scenes
Stage 9: Color, finish, and a cohesive look across all takes
Color is the glue across disparate locations. Start with a look reference that captures the mood you want—warm, cool, or cinematic teal—and apply it consistently during the grade. If you shot in multiple locations, create a simple color matrix with three anchor looks and a fallback neutral grade for comparisons. This is where you’ll decide if you want the video to feel documentary or stylized, or a careful blend of both.
Stage 10: Release strategy and distribution plan that actually helps your music reach ears
Once the cut feels complete, plan your release as a small campaign. A simple ladder approach works: teaser on Instagram, full video on YouTube or Vimeo, and a short version for TikTok or Reels. Create a behind-the-scenes clip and a 15-second performance snippet to fuel social posts. Confirm upload specs and captions for accessibility, including captions and a concise transcript description for the video. Partner with friends and fans to amplify once it’s live, but keep the messaging honest and grounded.
- Choose one primary platform and two secondary channels
- Prepare accessibility captions and transcripts
- Schedule a post cadence for the first two weeks
Takeaway snapshot for your next shoot

- Plan in public: share your shot list with your crew to align expectations
- Use a music video rhythm: allow the track to lead pacing for each cut
- Test early: export a two-minute rough cut for feedback
Supplementary exercise: a practical prompts toolkit
To keep you sharp, try this weekly prompt cycle. Pick a song, a single location, and a mood. Create a 6-beat mini sequence, then push it into a live shoot with minimal gear. The goal is to keep your hands-on skills fresh without requiring a full production every time. For the AI era, treat tools as collaborators that extend your ideas, not replacements for your craft.
| Method | Strength | Ideal Use |
|---|---|---|
| Storyboard thumbnails | Fast, communicative | Early planning |
| Shot list grid | Clear beats | On-set decision making |
| Lookbook mood | Consistent tone | Color and lighting |
Hear what these choices do to your own song.
Upload stems or a finished track, choose a reference direction, and compare a private Moozix mix before you export anything.