In a quiet, cluttered rehearsal space, a guitarist tunes a quiet riff while a director skims a storyboard across a whiteboard. The room hums with a few practical lights, a fan that never quite stops, and the unmistakable rhythm of a plan taking shape. This is where a music video begins: not with a camera, but with a map that translates song into frame by frame momentum. This article stitches together an actionable, interview-style guide for planning, shooting, editing, and releasing a music video that actually connects with audiences, no matter your budget or stage of career.
Beats as Blueprints: Turning Song into a Frame List
The first discipline of a music video is mapping rhythm to motion. The aim is to translate tempo, lyric phrases, and emotional arcs into a sequence of visuals you can pre-visualize and execute. A well-constructed storyboard acts as a living document that can evolve with the song, the location, and the budget without dissolving the core idea.
Q&A with three seasoned directors who collaborate across indie rooms and touring rigs, sharing concrete steps you can borrow today.
Q: How do you begin a storyboard when there is so much you do not know about the shoot location or user constraints?
Mara Chen, Director responds: Start with the beat map. I listen to the demo at least three times and annotate where the vocals land in the groove. Then I sketch a one-page storyboard that aligns each beat with a visual idea and a practical constraint. If the chorus lands at 0:45, I plan a single, strong visual moment at that mark, not a bag of flashy shots. For small spaces, I design a tight sequence of micro-mots: a pan, a tilt, a cut on beat. The math is simple: one beat equals one visual decision, and if a beat feels long, split it into two micro-beats with a lighting or camera shift.
Q: What does a practical shot list look like for a bedroom project or a bus-ride tour video?
Jon Miller, Cinematographer adds: I draft a Shot Map that begins with a baseline of eight shots per verse and one per chorus. Then I prune based on location: if a room only offers a single window, I lean into silhouettes and negative space rather than chasing a wide establishing shot. My shot list uses a simple syntax: [Beat], [Angle], [Movement], [Lighting], [Notes]. For example: [Verse 1], [Low-angle, Front], [Push-in dolly on a chair], [Warm tungsten], [Subtle handheld for energy]. This keeps the crew aligned and eliminates drift when the day grows long.
Q: How do you balance narrative with performance moments when the budget or space is tight?
Avery Kim, Editor notes: I think in terms of rhythm windows. A tight budget can still feel cinematic if you sequence close-ups to punctuate the performance. I capture two kinds of takes: a performance take to establish vibe and a reaction take that lets the camera linger on small gestures. Then I stitch them with tempo-aware cuts: a cut every time the percussive hit lands, or a cut every time the vocal breath changes. The moral is to treat editing as a second director—your storyboard becomes a living PDF that you bend, not a fixed blueprint you fear breaking.
Great planning is a map that gives you freedom to improvise within constraints.
From Frame to Light: Shooting with Purpose
With the storyboard in hand, every choice behind the camera should reflect the story and the beat. Lighting is the connective tissue: it shapes mood, guides the eye, and helps the viewer feel the tempo without hearing a word. In spaces with limited gear, you can still achieve cinematic depth by layering light sources and controlling shadows. A practical recipe centers on three points: key light to sculpt the subject, kicker to separate silhouettes, and a fill to keep faces readable. Use color temperature to reinforce narrative arcs: cooler tones for tension, warmer hues for moments of tenderness, and a deliberate color shift when the verse transitions to the chorus.
- Pre-plan three lighting looks per location: warm, cool, and neutral
- Use practicals (desk lamp, street light) to integrate realism
- Test white balance at the same time you test camera settings
Three mini-stories: budget, space, and dream
Bedroom performer, $0-500 budget: A singer with a laptop, a single light, and a window becomes a living room theater. The key is the cut on the bassline and a gesture that repeats with the chorus. The storyboard shows a turn toward the window as the bridge arrives, then a sudden exit as the last chorus hits.
Warehouse duo, adaptable space: A tight, echoing room with brick, a brass lamp, and a portable projector. The shot list favors wide angles that reveal the space, then moves to intimate close-ups on the performers. The subtext is collaboration, not competition, and the storyboard maps that tone across the room with motion that pushes and pulls the camera rhythmically.
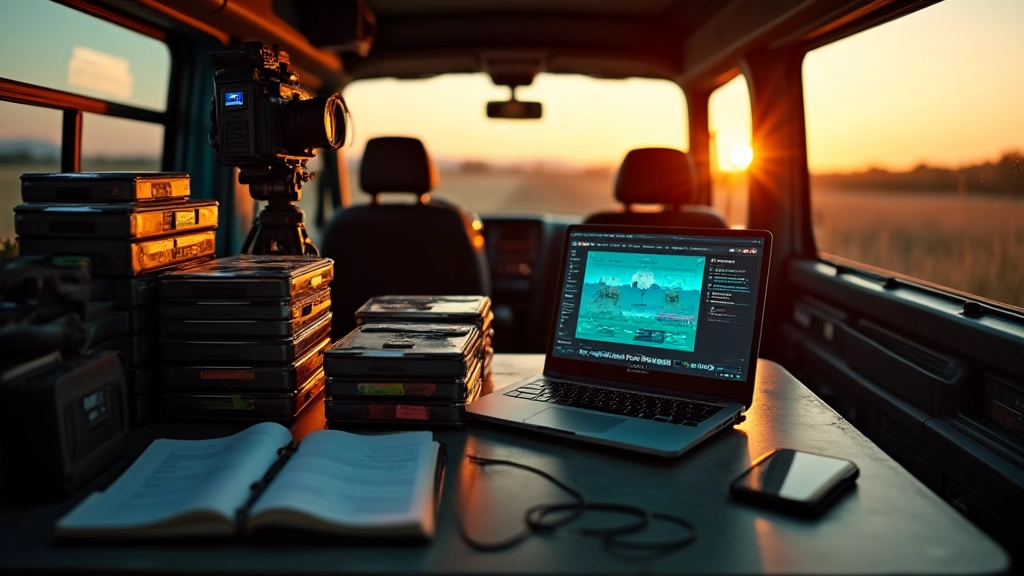
Tour-bus moment, on-the-road look: The bus interior becomes a micro-scene with a corner lamp, a passport on the dash, and a window that frames a passing landscape. The storyboard uses rapid, cut-on-beat changes to simulate motion and the metallic hum of a vehicle becomes an audio texture that guides the edit.
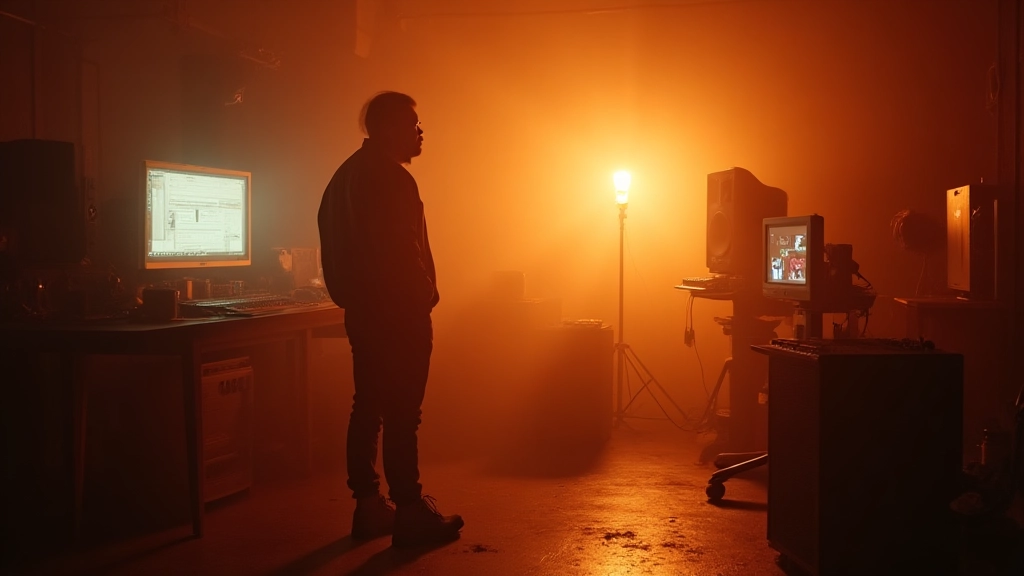
Post-Production: Rhythm, Color, and Generative Tools
Editing is where the music video truly comes alive. The beats you mapped in pre-production become the tempo of your cut. A good rule of thumb is to align a cut with every strong beat or every lyric emphasis, but the rhythm should feel intuitive, not robotic. Color grading ties the scenes together, and even on a shoestring budget you can craft a cohesive look by establishing a primary grade and applying it consistently across shots. In recent years, AI-assisted tools have become aids rather than auteurs. They can speed up tasks like rough rotoscoping, tempo mapping, or color matching, but the human ear and story sense must steer the ship.
Exercise: Open your project file and create a rhythm map. For each chorus, pick a color grade and a transition style that matches the mood you heard in the reference track. Then describe the effect to a collaborator in two sentences. Do this for three sections of your song to ensure the edit has momentum from verse to chorus to bridge.
Tech note: When using AI-assisted tools, maintain human oversight. I remind teams to keep a one-page document that lists ethical boundaries and usage rules for AI in post, including how generated elements are credited and where decision-making remains human-centered.
Distribution and Reach: Beyond the Final Cut
The journey doesn’t end with a rough cut. Distribution is a craft of its own: you must tailor the release for each platform, plan staggered drops, and build a narrative around the music video release itself. A practical approach is to prepare a teaser cut for social previews, a full-length version for YouTube, and a vertical cut optimized for mobile viewing. You should also assemble a simple analytics plan, so your team can watch how audiences respond and adjust the subsequent pieces of content—behind-the-scenes clips, storyboard breakdowns, and bite-sized performance takes.
- Upload the full music video on your primary channel with a descriptive title and a concise description that includes keywords like "music video"
- Create a vertical version for mobile viewers and a behind-the-scenes montage
- Publish a storyboard breakdown to accompany the release
- Set a release timeline and coordinate with any collaborators for cross-promotion
Actionable Sprint: Your 7-Step Quick-Start
- Step 1: Import the song into your storyboard tool and annotate each major beat
- Step 2: Sketch three visual moods that reflect verse, pre-chorus, and chorus
- Step 3: Build a shot list with at least two alternatives per beat
- Step 4: Scout locations and note constraints; draft a contingency plan
- Step 5: Light plan with three lighting looks and practicals to match mood
- Step 6: Shoot a two-run test with one verse and the chorus to verify pacing
- Step 7: Cut a rough sequence and align with the beat map; iterate with collaborators
Whether you are touring with a band, recording in a shared studio, or building a rig in a spare bedroom, the essential arc remains the same: a plan that respects the song, a camera language that mirrors emotion, and an edit that breathes with the music.
Hear what these choices do to your own song.
Upload stems or a finished track, choose a reference direction, and compare a private Moozix mix before you export anything.