A late-night rehearsal space becomes the first stage of your music video. A single practical light carves a warm rectangle on a performer's face while a camera waits, level with the rhythm. This is where your story begins, not on a glossy poster, but in the moment your artist hits that phrase that makes the room lean in.
- Plan a clear shot skeleton before you shoot, so there's a visual spine to the song.
- Light and sound are creative partners; treat them as part of the performance, not afterthoughts.
- Editing decisions should mirror the song's rhythm and dynamic shifts from the first cut.
Storyboard and Shot Design for Music Video
Storyboarding is not a prison it is a compass. Start with a 12-shot skeleton that captures the chorus, the bridge, and the outro. The goal is to translate the song's emotion into visual beats your audience can feel. Here is a pragmatic approach you can apply tonight:
- Define the chorus moment as a visual anchor; it could be a close-up, a wide reveal, or a dynamic move.
- List shot types that fit the mood: close-ups for intimacy, wide shots for space, push-ins for tension, and reverse-angle cuts for energy.
- Assign a beat to each shot: map 12 bars to 12 frames of action.
- Draft a rough shot list with timing: 3 seconds per shot on average; adjust for tempo changes.
- Create a simple storyboard or shot deck; you can sketch on paper or use a phone app to capture ideas.
- Validate with performers and crew; ensure blocking feels natural and safe.
Lighting, Camera, and Craft on a Budget
Great music videos don't require an expensive light package to feel cinematic. Start with one key light and a bounce board, then use practicals in the room to add depth. Your camera choices should serve the story not the spec sheet. Use these practical steps to craft visuals with intention:
- Choose a single 3-point light plan: key, fill to taste, and a subtle back or kicker to separate the subject from the background.
- Use a bounce board or a white wall to soften shadows; reflectors are cheap and versatile.
- Set your camera to a stable frame rate that matches the track tempo; 24fps for a classic cadence, 30fps for snappier cuts, 60fps for slow motion accents.
- Keep ISO as low as possible; use base lighting to avoid noise, then raise exposure in post if needed.
- Record white balance around 5200K for a natural daylight look or push toward warmer 3200K for intimate, candle-lit vibes.
- Capture a variety of shot distances: wide establishing shots, mid shots for performance, and tight close-ups for emotion.
- Document with a rough motion plan: a few subtle movements (diagonal push, slow pan) avoid overdoing it on a low-budget rig.
Directing Performance: Getting the Best On Camera
Performance on camera is a conversation between musician and director. Clear direction helps a performer inhabit a moment without feeling guarded. The goal is authenticity, not showboating. Try these tactics during rehearsals and takes:
- Warm-ups matter: 5 minutes of breathe-and-gesture exercises loosen the jaw, shoulders, and chest so vocal and facial expressions feel natural.
- Blocking should echo the song's architecture. For a chorus hit, plan a micro-beat in which the performer anchors to the camera or pivots away then back for emphasis.
- Give a few concrete cues instead of vague advice: "Turn your shoulder toward the mic when the word "edge" lands, then open your chest for the next line."
- Encourage micro-choices: a breath before a line, a small tempo shift, a glancing away to build tension.
- Record both performance and talking-gear moments: a take without the full mic rig helps in the edit to preserve raw emotion.
On-Set Workflows and Continuity
Small productions flourish on clean logbooks, proxies, and predictable routines. Continuity can be your best friend when you don't have a dedicated script supervisor. Here's a lean, fast setup:
- Keep a single continuity log: date, scene, shot, lens, camera angle, and a one-line note on the performer's position or prop placement.
- Use proxies for quick checks: shoot resolution-agnostic versions of takes with rough timing; you can swap to full-resolution later.
- Name takes in real time in the slate or digital notes so everyone can reference quickly during editing.
- Stage a quick reshoot plan: if a performance misfires, decide in advance how you will retry (same setup, small adjustment, or a new camera angle).
Edit Like a Drummer: Rhythm, Pace, and Cut Choices
Editing is where the song becomes a moving image. Your rhythm should feel like the tempo of the track, not an edit-a-thon. Use these actionable edit principles to align visuals with sound:
- Cut to the beat: mark downbeat moments in the track and align cuts to those points for natural musical emphasis.
- Vary the pace with dynamic blocks: reserve longer holds for the chorus of a ballad or a micro-jump cut for a high-energy section.
- Leverage L-cut and J-cut techniques to preserve vocal line flow across cuts and maintain the sonic space.
- Keep a separate audio reference track to guide timing; mute distractions during the cut decisions.
- Experiment with match cuts: connect two visuals through a similar shape or motion to keep the viewer engaged without feeling repetitive.
Color as a Character: Grading for Mood and Cohesion
A consistent look anchors a video so the performance can ride the emotion of the track. You don't need a color suite the size of a label; work with a two-step approach and keep a color log:
- Establish a base look in a quick global grade: lift shadows, control highlights, and push color temperature to suit the scene's mood.
- Apply a shot-to-shot look transfer: keep a single reference frame or LUT (look-up table) to maintain cohesion across scenes.
- Use selective color to emphasize key moments: a blue hue in a melancholic verse or a warm amber at the final chorus can guide emotional arcs.
Sound, Playback, and Sync: Making the Track Feel Real on Screen
Audio drives the sense of realism even when the visuals are stylized. Sync accuracy keeps the audience from drifting away. Try these practices:
- Use a reference playback track during shooting so performers can align to tempo in real time.
- Capture room tone and ambient noise on every take for a smoother final mix.
- When possible, record the vocal and instruments live with the track; if not, plan for a clean lip-sync and a high-quality studio mix in post.
- In post, align dialogue or vocal cues to the performance to preserve the musical cadence across cuts.
From Rough Cut to Release: Distribution Strategy for Your Music Video
The best video in the world can sit on a shelf if it never finds an audience. Build a simple, credible release plan that works with your schedule and budget:
- Define platforms early: YouTube for reach, Instagram for clips, TikTok for discovery; tailor edits to each format.
- Create a staggered release: teaser cuts first, then a longer version, followed by a behind-the-scenes piece to sustain momentum.
- Format a thumbnail language that screams the song identity without needing sound on; test 3 options before publishing.
- Pair the video with a supporting story: a short written caption, a lyric cue, or a performance note from the artist.
- Track performance: monitor views, engagement, and retention; use the data to plan future shoots and edits.
AI in the Studio: Keeping the Human in the Center
Artificial intelligence can accelerate ideas from concept to cut, but it should augment the craft not replace it. Use AI to streamline planning, color matching, or motion tracking while preserving artist expression and the director's unique voice. Practical uses include:
- Automated shot planning: quick storyboard variants that you can refine with your team.
- Background replacement and roto assist: test ideas before committing to a big setup.
- Color-match transfer: harmonize looks across different cameras or venues with a baseline grade.
- Audio-assisted automation: alignment and tempo consistency in the early edit while you refine performance choices.
Three Real-World Setups: Mini-Stories You Can Recreate
In independent music scenes, the path to a strong music video is deeply personal. Here are three quick sketches you can adapt to your world.
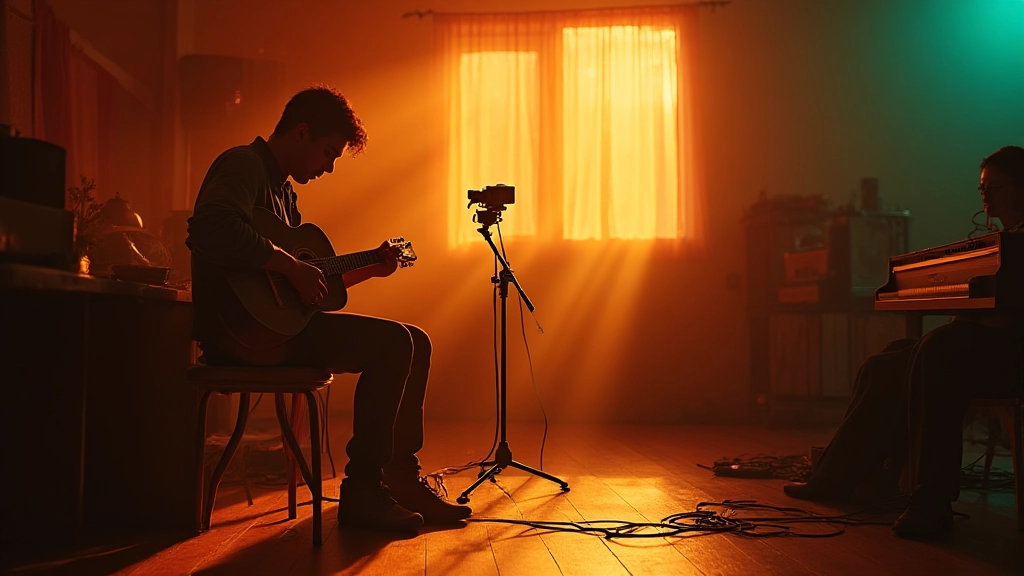
Bus Tour Bedroom Studio
A solo artist on a tour bus uses a compact Moozix lighting kit and a compact camera. The challenge is rough space and moving light. They choreograph a minute-long sequence: a guitar, a singer at the window, and a driver's glance in the mirror, all cut to tight, punchy edits. Steps used: 12-shot skeleton, one-light rigs, and a beat-mapped edit plan.
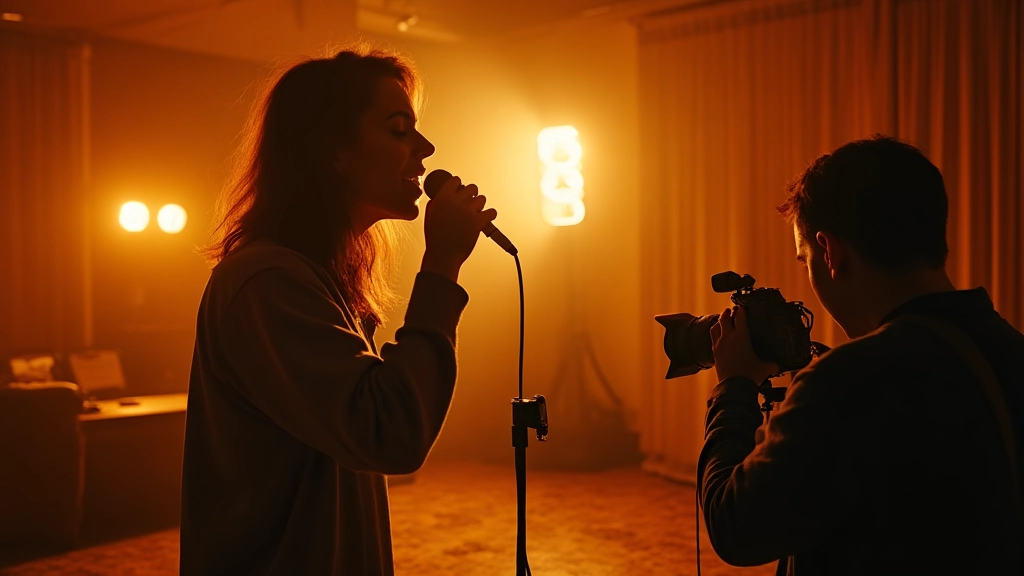
Bedroom Studio, Big Feel
A bedroom producer captures a vulnerable, intimate take using natural window light and a cheap reflector. A small, cozy set becomes cinematic through careful color grading and a few camera moves. They build the shot list around the track's quiet verses and the chorus' lift, using a two-camera setup and simple cross-fades to maintain momentum.
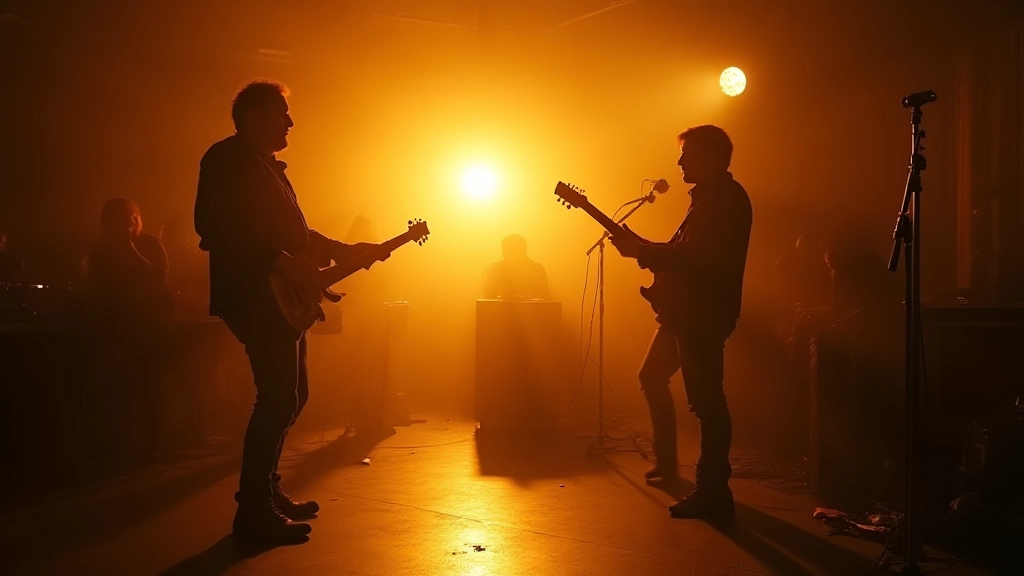
Rehearsal Space, Small Club Debut
A band recording in a rehearsal space stages a live-to-camera take. The director uses blocking that mirrors a live gig: mic stands become visual anchors, and a wide shot captures the energy while tight angles highlight the vocal delivery. Result is a performance-driven video that feels authentic regardless of budget.
Final Preflight Checklist
Before you press record, run this fast, practical check. It helps keep the shoot efficient and the final edit clean.
- Shot list and storyboard match the track structure; confirm chorus moments and tempo cues.
- Battery and media cards ready; proxies named and organized by scene.
- Sound playback in the room is clean; test the reference track at the actual level.
- Lighting is consistent across takes; note any color temperature shifts.
- Continuity log is updated after every take; props, wardrobe, and set dressing documented.
- Safety briefings completed; all stunts or dynamic moves checked for risk.
- Backup plan for bad weather or last-minute location changes.
The Final Frame: A Micro-scene to Close the Loop
As the song nears its end the scene slows. The performer looks toward the camera, breath visible in a cold post-fade glow, and the room dims with the final chord. The last frame lingers on a small detail that carries the song's meaning into the audience's memory: a hand, a glance, a curve of a smile that says we did this together. This is the language of a music video that feels earned, not engineered.
Hear what these choices do to your own song.
Upload stems or a finished track, choose a reference direction, and compare a private Moozix mix before you export anything.