Rhythm on Screen: The 9-Step Playbook for Cutting a Music Video
Every great music video grows from rhythm first—how the song breathes, when it swells, and how each visual beat aligns with a lyric or a hook. This is a practical journey from idea to screen, designed for touring bands, bedroom producers, and every creator in between who wants to ship a high quality music video without a big crew or a big budget.
"We felt the tempo pulling the room toward the chorus, so the camera followed the singer in a slow push that finally snapped into a quick cut as the guitar hit its peak."
Whether you’re on a tour bus, in a cramped rehearsal space, or renting a warehouse for a single afternoon, rhythm in editing is the invisible conductor. The nine steps below are designed to be actionable today. Each step includes a concrete exercise, a mini-story to learn from, and prompts you can apply to your next shoot.
Step 1: Map the song’s accents to shot lengths
Start by listening with a pencil in hand. Your aim is to translate the song’s structural beats into visual beats. Most songs have clear segments: verse, chorus, bridge, and drop. Treat each segment as a shot-length unit. A practical starting framework is eight bars per verse, sixteen bars per chorus, and eight bars for a bridge or instrumental break. In practice, this becomes a timing map you can print and pin in your editing suite.
Exercise: create a one-page rhythm map for your track. Mark the downbeat of each bar and annotate the emotional intent: intimate, triumphant, chaotic, or reflective. Assign a suggested shot length for each segment: 2 seconds for a lyric hit, 4–6 seconds for a verse, 6–10 seconds for a chorus, and 2–3 seconds for a quick cutaway. This becomes the skeleton you’ll flesh out in storyboards.
Step 2: Storyboard with rhythm cues
Storyboard not as a drawing exercise alone but as a rhythm map. For each beat, sketch a frame or a quick note about movement, look, and camera language. Use a simple 9–panel storyboard for a typical song structure: intro, verse 1, chorus, verse 2, pre-chorus, chorus repeat, bridge, final chorus, outro. In each panel, add cues like
- Beat alignment: where does the cut land on the rhythm?
- Camera language: push, pull, tilt, or static frame?
- Performance cue: singer leans into lyric or steps back for a breath
- Color/texture cue: shift in LUT or lighting mood
Mini-story: In a tour-bus shoot, a singer and guitarist map a chorus beat to a single, graceful dolly push that aligns with the band's live tempo. A quick scribble on the storyboard becomes a trusted instruction during the shoot, keeping the visuals in sync with the track’s pulse even when the bus rumbles or the wifi cuts out.
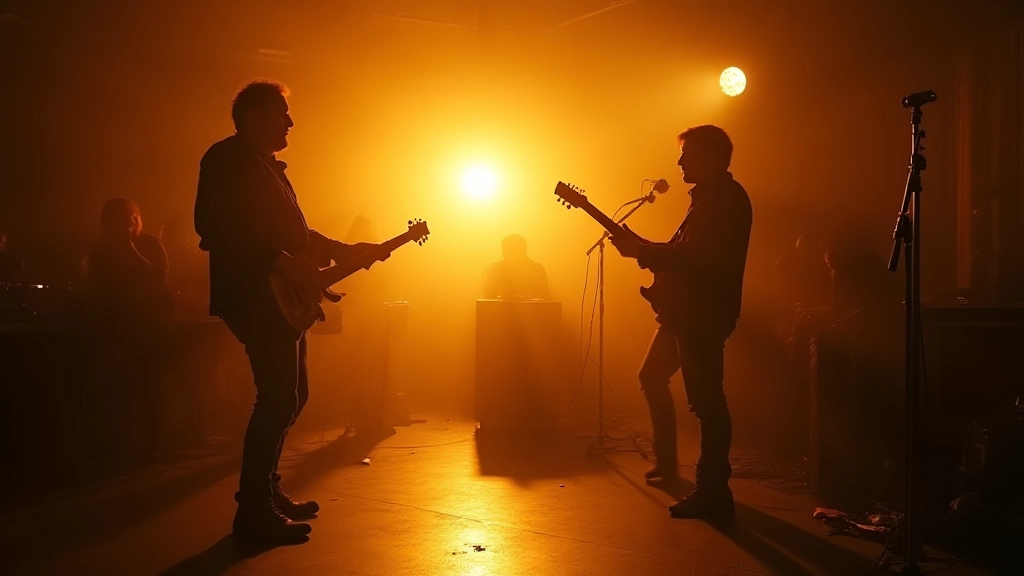
Step 3: Light and camera for tempo
Lighting is a timeline you can read. If the track breathes, light changes should breathe with it. For faster sections, consider higher contrast, shorter depth of field, and sharper edges. For slower sections, widen the light, soften shadows, and allow ambient flicker to sit in the frame. The key is to think of light intensity and color as part of the tempo map.
Exercise: plan two lighting looks for your shoot day. Look A is bright, crisp, and high-contrast for the chorus; Look B is warmer, softer, and more atmospheric for verses. Sketch a quick lighting diagram per look, including key placement, color temperature, and any practical lights that must stay on set for safety and continuity.
Mini-story: A bedroom producer shoots a lyric video using two practical lamps and a movable key light. The flip from cool to warm lighting mirrors the song’s emotional shift, giving the frame a living rhythm even with limited gear.
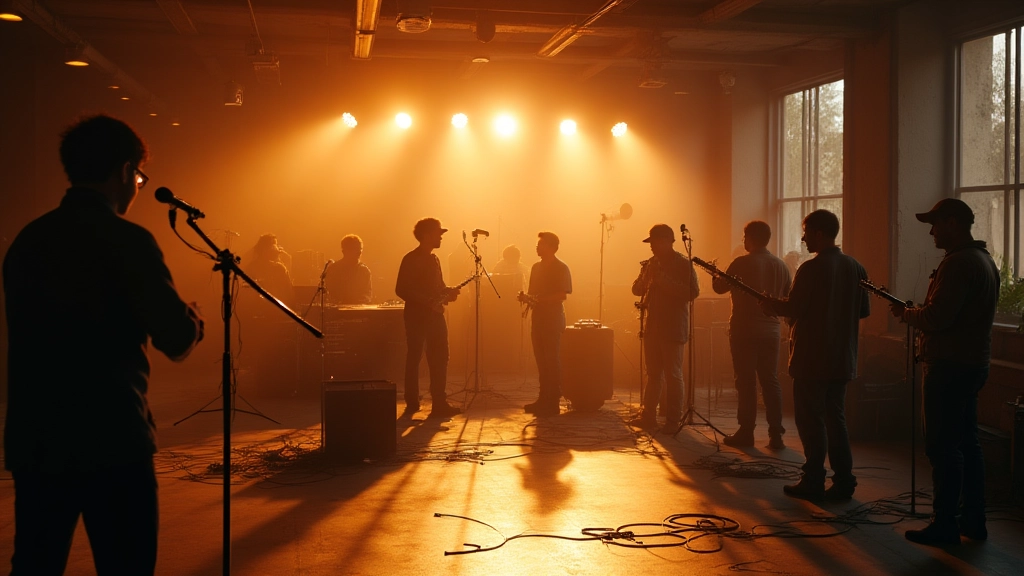
Step 4: Shoot for performance and strategic cutaways
Performance shots carry the energy of the song. Cutaways anchor context, story, and texture. A well-balanced music video often follows a two-camera plan: one camera for steady performance (A-roll) and another for movement, reaction, and environment (B-roll). When the track intensifies, let the A-roll frame tighten; when the energy shifts to the narrative, the B-roll can reveal detail—the guitar pedal board, a rustle of clothes, a crowd in the distance.
Exercise: draft a two-camera shot list with 60–70% performance frames and 30–40% cutaway frames. For a 3–4 minute track, outline 18–24 distinct shots total, ensuring each beat from Step 1 has a corresponding visual cue.
Mini-story: A gig-from-garage shoot uses a budget-friendly handheld for the performance frames and a static gimbal shot for a choreographed chorus move. The contrast between the handheld energy and the controlled gimbal cadence becomes the video’s heartbeat.
Step 5: On-set direction that keeps pace
Direction on set is about clarity, not charisma alone. Give performers a short, practical cue sheet: a one-sentence intent for each take, a target emotion, and the exact beat to land the action. Use a minimalist call sheet visible to everyone and a simple headset for communication if you have a small crew. When a take misses a beat, don’t backtrack; pivot. Use a quick reset and move forward, preserving momentum and mood.
Exercise: write a one-page on-set directive for your shoot day. Include your rhythm map from Step 1, the two lighting looks from Step 3, and a two-line prompt for each performer that anchors the emotion to the shot length. Practice a quick 15-second attempt at delivering the instruction with a calm, concise tone before you call action.
Step 6: Edit for rhythm—beat cuts and breathing room
Editing is where timing becomes emotion. There are two schools worth knowing: cut-on-beat editing and cut-on-breath editing. Cut-on-beat creates a punchy, energetic feel; cut-on-breath offers space for reflection and singer resonance. A practical rule is to mix both across the track: use beat cuts for high-energy sections and breaths for intimate moments, creating a dynamic rhythm that your audience can feel as well as hear.
Exercise: open your editing timeline and mark the downbeat of each bar. Create a rough cut that features 24–28 shots for a 3 minute track. Then go back and swap every other cut to land on the beat; for the remaining cuts, align with a breath or a visual punctuation like a blink or a guitar strum. This alternation keeps the pace alive without exhausting the viewer.
Mini-story: a DIY music video team experiments with a rapid-fire montage for a pre-chorus and a prolonged, single-shot performance for the bridge. The quick montage heightens energy; the single shot invites the viewer to connect with the singer's moment of vulnerability.
Step 7: Color, look, and visual consistency
Color is a storytelling tool. A consistent look across the video makes the cuts feel intentional rather than jarring. Start with a base grade that supports skin tones and the song’s mood, then use two or three additional look tweaks to signal transitions between sections. If you’re using color grading software, build a simple LUT chain and document it so you can reproduce the look on future shoots.
Exercise: design a three-step LUT plan: base grade for all footage, section cue for verse vs chorus, and a final polish pass for the climactic moment. Record your LUT settings in plain language so a collaborator can reproduce them if needed.
Mini-story: a touring guitarist shoots a backstage performance with mixed lighting; the editor applies a cool base grade, then shifts to a warmer, higher-contrast look for the final chorus, reinforcing the track’s emotional ascent without requiring reshoots.
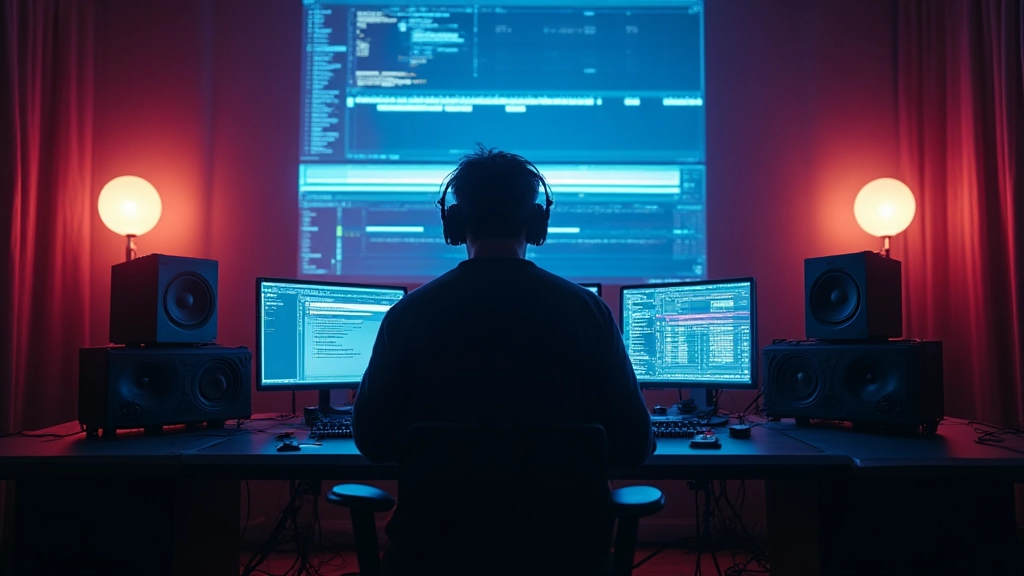
Step 8: Sound, sync, and final mix
Music videos live at the intersection of image and sound. The video’s impact often rests on how precisely visuals align with the track’s rhythm and vocal delivery. Sync isn’t just about lip flap; it’s about ensuring the hit of a drum, the pluck of a string, or a vocal punch lands at the correct moment in the cut. Use a reference audio track during picture lock and confirm lip-sync alignment and shot pacing against the original tempo.
Exercise: in your editor, enable waveform overlays and align cuts to prominent beats and vocal hits. Create a 30-second quick-check reel focusing on the chorus, a verse, and a bridge to ensure the rhythm holds across the song’s arc.
Mini-story: a bedroom producer overlays a phone-recorded vocal track onto a staged performance, then tightens the edits around the vocal sizzle. A light resync and a gentle volume duck during instrumental breaks keeps the vocal present without overpowering the music's energy.
Step 9: Release strategy and distribution basics
A successful music video doesn’t end with the final frame. Plan a release that respects your audience’s habits and platform realities. Consider a staggered rollout: a teaser clip on social platforms, a longer premiere on YouTube or Vimeo, and a behind-the-scenes story that invites fans to engage. Timing matters: align the release with a tour date, a new song drop, or a creator-focused event to maximize discovery and engagement.
Exercise: draft a two-week release plan with a 7–10 day lead time for teasers, a premiere date, and a post-launch engagement push. List three platforms where your core audience spends time and tailor each cut or caption to fit those formats. Prepare captions that reflect the video’s rhythm and mood without overloading with keywords or hype.
Budget-conscious field notes: three small stories
Story A: A solo artist in a small apartment builds a stills-and-crossfades lyric video using a single window as the backlight and a cheap LED panel. The rhythm map guides every cut, making the video feel bigger than the gear would suggest.
Story B: A college band leases a warehouse for a weekend. They run a tight schedule, but the steering comes from a single, well-planned storyboard and a two-camera setup. The final edit lands with a strong chorus snap and a cohesive color look that ties the room together.
Story C: An artist on a midwest tour uses a bus as a moving set. They shoot a mix of performance takes and b-roll of road moments. The on-set workflow, combined with a simple two-stage edit (performance first, then texture), keeps the project on track and under budget.
"Rhythm is a visual language; it teaches your audience how to feel the chorus before it hits."
Final pre-release checklist
- Rhythm map completed and printed; shot lengths aligned to sections
- Storyboard updated with beat cues and performance marks
- Two-look lighting plan tested on set and logged for consistency
- Edit timeline locked with beat-aligned cuts and breath moments
- Color grade chain documented and LUTs saved for future projects
- Final mix confirmed with the reference track and lip-sync check
- Release plan drafted with teaser, premiere, and post-launch engagement
Hear what these choices do to your own song.
Upload stems or a finished track, choose a reference direction, and compare a private Moozix mix before you export anything.