Music Video Color Language for Creators: An Anti-Hype Guide to AI Look Transfer
A practical, story-driven approach to plan, shoot, and edit AI-assisted color transfer for your music video, with concrete steps you can apply today.
The room breathes amber and teal; a guitarist tunes a chorus while a monitor displays a reference palette. A camera sits, patient, as you whisper a plan that blends artistry with code.
- Define a color language early so AI can help, not guess
- Plan for look transfer during post without burning performance energy
- Preserve skin tones and mood while unifying scenes across locations
The conversation about AI in music videos can feel loud, but color is a quiet force. It doesn’t shout captions; it seduces the eye into feeling the tempo, mood, and narrative. In this guide, you won’t find hype. You will find a practical route from idea to final edit, where AI assists you in shaping a look that supports the artist, the song, and the moment listeners fall into. If you are a touring musician, a bedroom producer, or somewhere between, the steps below are meant to be actionable today.
Why AI color matching matters for your music video
Color transfer and AI-assisted color matching are not about replacing your eye; they’re about amplifying it. When a director or videographer builds a color language—a set of anchors for shadows, midtones, and highlights—the AI becomes a helper that preserves that language as footage comes from different cameras, different times of day, or even different locations. The result is a cohesive experience, where the audience feels the music more deeply because the visuals aren’t fighting the track for attention.
Two truths guide this approach. First, AI excels when it has a strong reference frame—think of a palette you and your team agree on before you press record. Second, AI cannot salvage what isn’t captured well in-camera; if you neglect exposure, white balance, or skin tones, AI will struggle to compensate. The practical implication is clear: plan the look and capture with intention, then use AI to unify the result, not fix fundamental mistakes.
Actionable exercise: draft your color language bible
- Pick three mood anchors that describe the track (e.g., intimate, gritty, triumphant).
- Assign a dominant color temperature for each anchor (warm, cool, neutral).
- Choose a two-color pairing that will carry across scenes (e.g., amber for warmth, teal for depth).
- Capture a quick on-set reference shot with a color card and an exposure target in your camera profile.
- Document your choices in a one-page color language bible; include sample LUTs or grade references to share with the post team.
From shoot to post: aligning footage with AI-ready color language
On set, you want to maximize data that will feed the AI look transfer. That means consistent exposure, stable white balance, and thoughtful lighting that is easy to replicate across environments. You don’t need perfect footage at the moment you roll; you need footage with a clear direction you can carry into post. The moment you hand raw clips to your colorist or your AI workflow, you will be surprised by how much more predictable the results are when the team agrees on a color language beforehand.
On set lighting and camera setup for AI color transfer
- Use consistent color temperature targets (3250K–3800K for warm looks; 5200K–5600K for neutral daylight; avoid extreme whites).
- Capture gray cards in multiple lighting setups so the AI has solid references for color shifts.
- Expose for skin tones using the zebras or histogram; don’t overdrive highlights that will clip in midtones.
Camera profiles and color management you can trust
- If you shoot log, know your target grade; if not, shoot in a flat profile with minimal saturation so the AI can guide color placement.
- Keep a single white balance reference across scenes; if you must vary, note the change and apply a corresponding look adjustment in post.
- Label and organize clips by scene and take so the AI workflow can assemble references quickly.
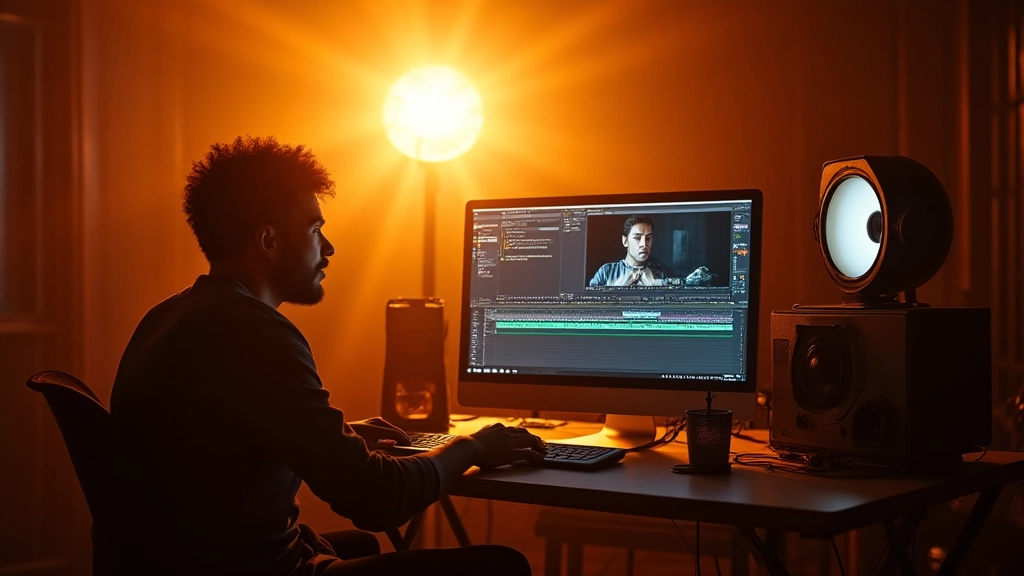
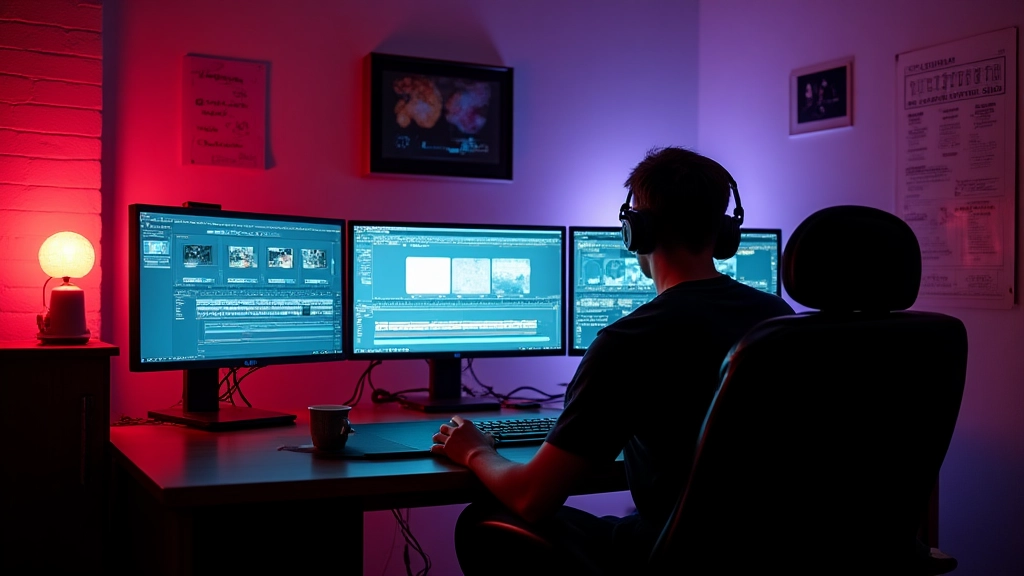
Post workflow: AI look transfer with a human touch
The post phase is where the color language you defined meets the machine that helps you execute it consistently. Your goal is to guide the AI toward your reference frames, then apply finishing touches that keep the artist's performance intact. Below is a practical workflow you can implement this week, whether you are editing in Resolve, Premiere, or a dedicated AI toolchain.
- Step 1: Import and catalog footage into your project; tag each clip with the scene name, camera, and lighting condition noted on set.
- Step 2: Create a reference library from your color language bible, including one or two representative stills or LUTs for each mood anchor.
- Step 3: Run a color match across clips that share a scene or mood, using a safe baseline grade to avoid radical shifts that would require heavy manual correction.
- Step 4: Apply an AI-driven look transfer to propagate your references; monitor the results frame by frame for skin tones and key midtones.
- Step 5: Grade with human oversight; fine tune skin tones using a dedicated vector scope or waveform to ensure natural hues.
- Step 6: Build a look map that explains how each scene should shift under the same color language, enabling the editor to preserve pacing and narrative clarity.
- Step 7: Create a deliverables kit: one-page color language summary, side-by-side before/after reels, and a legend for any AI-assisted steps.
- Step 8: Do a quick sign-off with the artist and director; adjust based on feedback before final export.
Three mini stories of color language in action
Story A offers a concrete example of how planning your color language saved an otherwise disjointed set of locations; Story B shows how AI can help unify a low-light performance; Story C demonstrates a quick turnaround for a tour video that needs a cohesive vibe across venues.
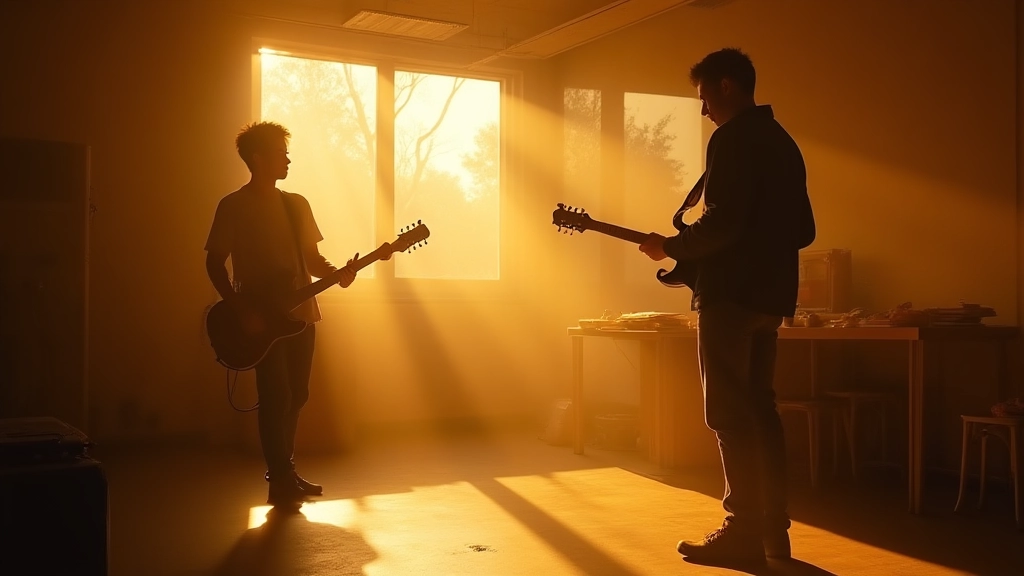
Story 1: The rooftop performance that required one palette
In a city rooftop shoot at golden hour, the sun dipped behind cranes and glass towers. We defined a two-color palette: amber for warmth and a deep teal for atmosphere. The AI look transfer was set to lean into that pairing, and we tracked the changes across three takes to keep skin tones natural while giving the skyline a painterly edge. The result was a performance that felt intimate against an urban horizon, not a polished stock clip.
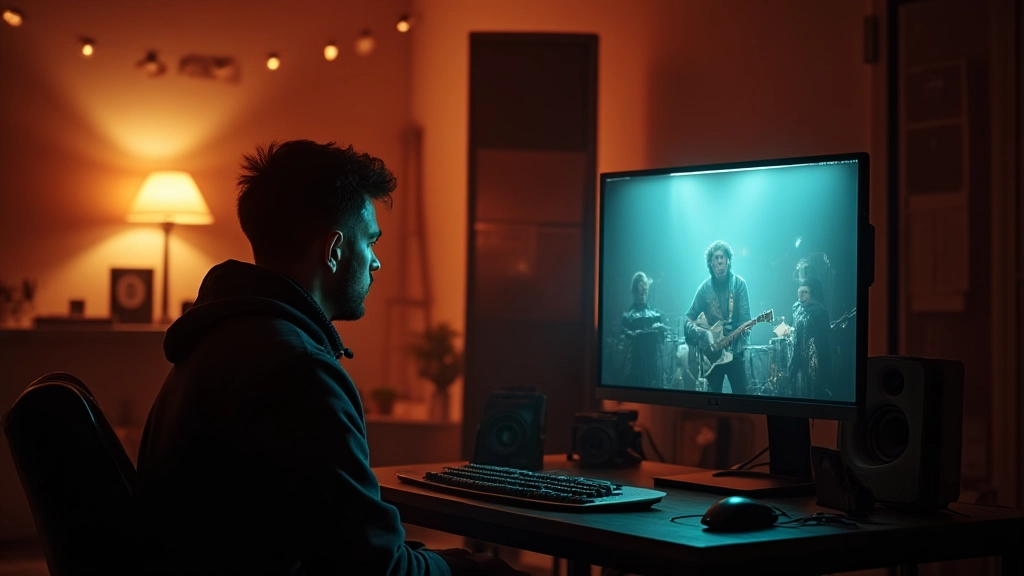
Story 2: The club night with mixed cameras
Two cameras captured the same beat in a dim club. The lighting varied, and the white balance drifted as smoke hung in the air. We used the color language bible to anchor the color transfer and applied AI-assisted matching to align shadows and highlights. A single reference shot per camera kept the look cohesive; a final pass preserved neon glow without washing out the performer’s expression.
Story 3: The bedroom studio turnaround
A bedroom studio track required a quick turnaround for a lyric video release. We prepared a compact color language with a warm but restrained palette; AI helped apply the look across lo-fi footage and performance takes. The finish retained detail in the fabric textures and kept the skin tones consistent even when the lighting was inconsistent across takes.
Quality checks: skin tone, detail, and color integrity
Quality control is the subtle engine behind successful AI color transfer. You want to confirm that the color language holds up under playback on various devices, and you want to make sure key details are preserved. The following steps provide a pragmatic checkpoint you can run in under an hour after you finish the initial pass.
- Check skin tones with vectorscope or histogram; ensure skin hue remains plausible across scenes.
- Compare shadows and highlights between reference and target clips; look for accidental color shifts that hide detail.
- Play back at target playback speed; ensure color changes feel intentional and not jittery with motion.
- Validate that the look enhances the song tempo and emotional arc rather than overshadowing performance.
Distribution, feedback, and iteration: making the look resonate
Your music video does not live in a vacuum. It lives on streaming platforms, in social feeds, and in the ears of your audience. After you deliver the final color grade, outline the narrative thread the look supports and how you want fans to experience the track across devices. A concise case study with before/after frames, a short quote from the artist about the mood, and a one-page color language summary can help reviewers understand the intent quickly. If you are releasing a behind-the-scenes piece, share the color bible and the rationale so fans can appreciate the craft without getting lost in jargon.
The most honest color language is the one that lets the music breathe and the performer tell the story without fighting for attention.
As you distribute, consider three practical channels: first, a short highlight reel focusing on the mood shifts between verses; second, a behind-the-scenes piece describing your color language process in plain language; third, a side-by-side comparison showing the before and after of the AI transfer. Each piece should clearly explain the color language anchors and the emotional intent behind the visual choices. Community feedback from other creators can be a valuable input for future videos, especially when you standardize your deliverables across tours or multiple tracks.
A practical, no-nonsense 8-step look transfer checklist
- Define the mood anchors and two-color pairing in your color bible.
- Capture on-set references: gray cards, color charts, and two quick performance takes with consistent exposure.
- Label and organize your footage by scene and camera for quick reference in post.
- In post, import references and create a baseline grade that preserves skin tones and texture.
- Apply AI-assisted look transfer, then review frame-by-frame for key moments where the performer’s expression matters most.
- Fine-tune with a human pass, focusing on midtones and skin tones for naturalness.
- Build a look map and ensure continuity across all scenes and cut transitions.
- Prepare deliverables with a one-page color language summary and a before/after reel for the team.
Ethics and representation: color language as storytelling
Color language can influence impression and perception. When you plan and execute AI-assisted color transfer, include considerations for inclusive storytelling. That means ensuring skin tones read naturally across diverse skin tones, avoiding exaggerated saturation that distorts identity, and acknowledging that color choices can reinforce or challenge stereotypes. Two practical habits help: (1) test your look on a diverse set of monitors and lighting, and (2) invite feedback from collaborators representing different perspectives. This is not about censorship; it is about accuracy, empathy, and craft.
Tools, tips, and gear that keep AI color transfer honest
To stay focused on production quality, keep a lean, repeatable toolset that serves both the planning and the post workflow. Here are pragmatic recommendations you can apply this week, regardless of your budget.
- Software: a dedicated color grading package with strong AI assist features and robust color management (Resolve or equivalent) plus a lightweight AI helper for look propagation.
- Hardware: reliable laptop or workstation with ample RAM, a calibrated display, and a portable color-check tool.
- References: a shared cloud folder with the color bible, LUTs, and sample frames that the team can access remotely.
- Workflow: a simple naming convention for clips, scenes, and camera makes look transfers predictable and repeatable.
In practice, the fastest path from idea to final grade is to begin with a (1) clear color language, (2) stable on-set data, and (3) a repeatable post pipeline that respects the artist’s voice. When you combine these elements, AI becomes a collaborator rather than a cumbersome gadget.
Closing reflections: you are not chasing perfection, you are chasing clarity
In the end, a music video is a conversation between sound and sight. AI color matching is not a shortcut; it is a tool that, when used with intention, helps you maintain a consistent voice across venues, cameras, and time of day. If you remember nothing else, remember this: begin with a color language you can defend in a room full of skeptics, test with a few quick references, and trust your own eyes to guide the machine toward your story. Your audience will feel the difference, even if they cannot name the math behind it.
Hear what these choices do to your own song.
Upload stems or a finished track, choose a reference direction, and compare a private Moozix mix before you export anything.