A practical, hands-on guide to turning a song into a music video that connects with audiences. This is a field-tested playbook for planners, shooters, editors, and distributors who want clear results without the hype.
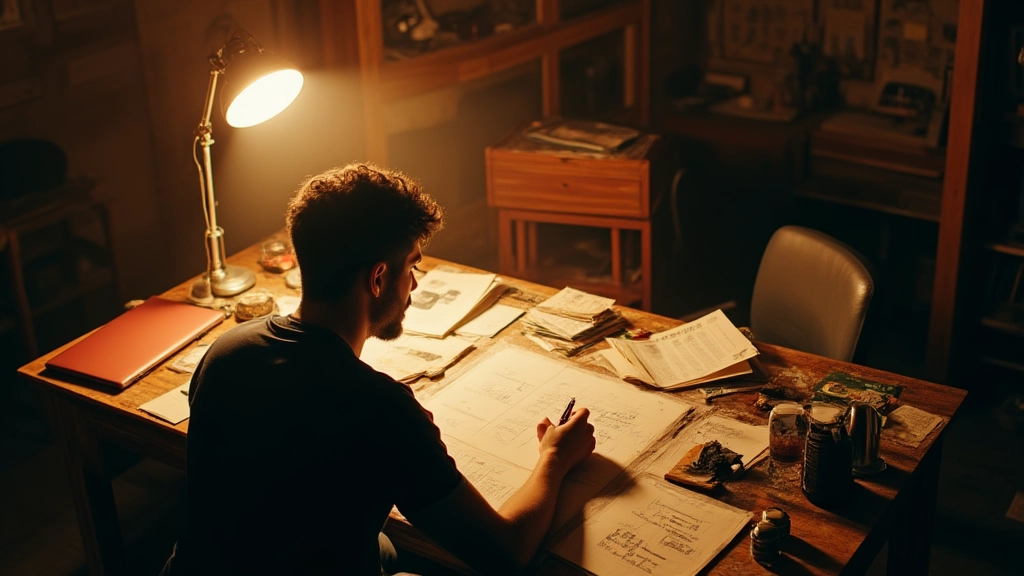
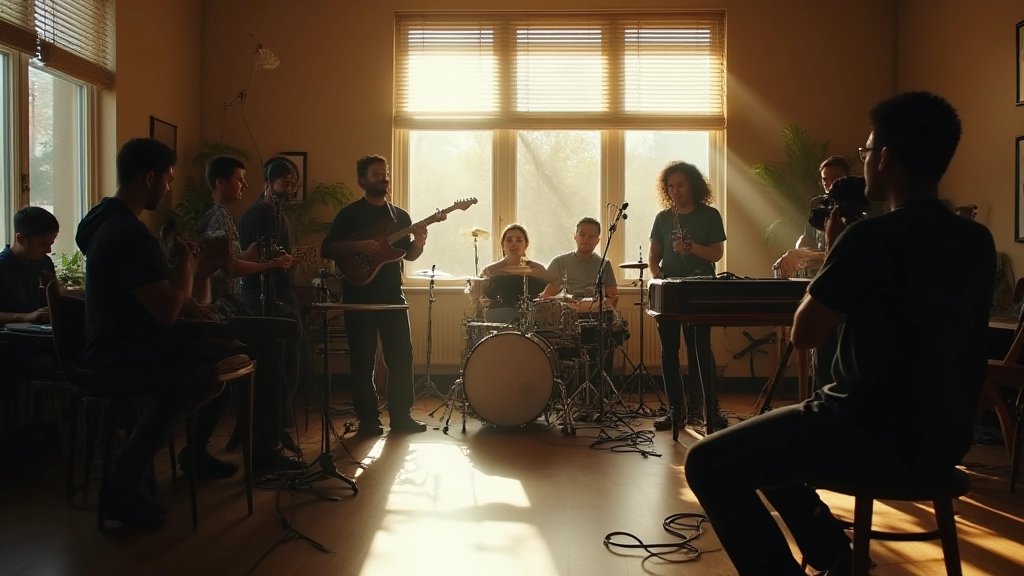
Open on a motel room at dawn. A guitarist tunes, a drummer tests a click, and a single practical light slants across a cluttered table of gear. The room smells of coffee and rain from outside. This is not a finished shot list; it’s the moment a story begins to breathe, frame by frame. The crew knows this is a music video about connection as much as technique.
The Seed Scene: Translating a Song into Visual Intent
Every great music video starts with a throughline that transcends just a performance. Ask yourself: What is the one emotional truth this song wants to share on screen? It might be resilience, longing, or a stubborn spark of joy. In practice, I push performers and crews to name that throughline in a sentence you can repeat to every department head. This grounding becomes your north star when the shot list grows long and the schedule tight.
Action item: write a one-sentence visual thesis for the video, then translate that into three concrete images that will appear in the opening sequence. For example, the sentence could be: "The chorus becomes a crowded bus of strangers finding a shared moment of release." The three images might be a close-up of hands on a fretting guitar, a wide shot of people swaying in a dimly lit bus, and a tight, rhythmic push-in on the vocalist’s expression as the drums kick in. This approach anchors your art direction and prevents drift as ideas proliferate.
Concrete exercise: in 20 minutes, draft a 12- to 14-frame storyboard skeleton that maps the three images to a rough beat chart. You don’t need finished art; you need a shot skeleton that you can hand to a DP and a producer to confirm feasibility.
Strategic Location Scouting, Permits, and Logistics
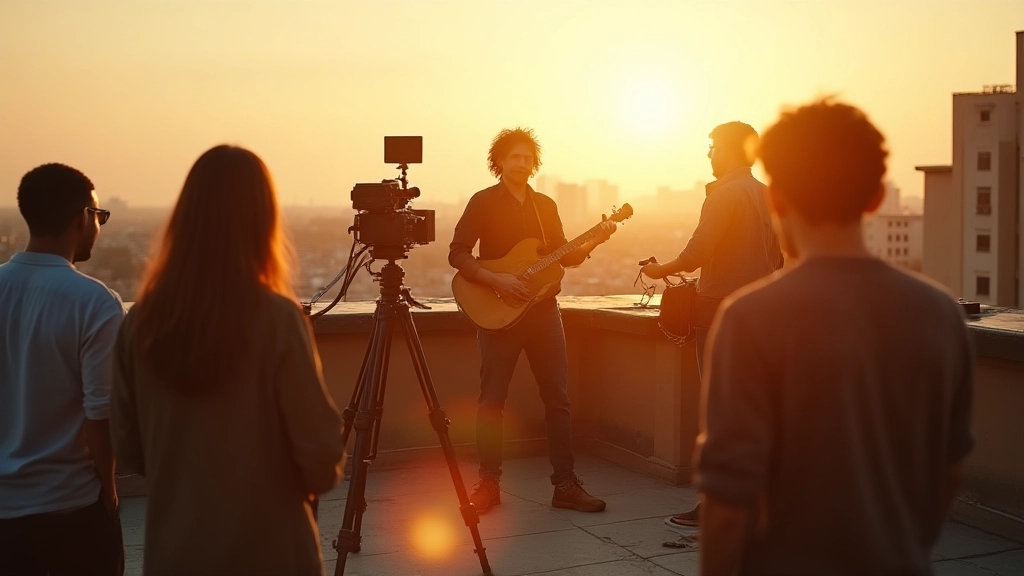
Location is not just scenery; it shapes performance, blocking, lighting, and even how you cut. Start with a simple grid: urban, rural, and studio options. Then layer in practical constraints like access hours, power, acoustics, and crowd control. Permits can feel like a hurdle until you approach them with a calm plan and a clear safety narrative. The right location can cut or multiply your shoot time, so you want options that align with the throughline and budget.
- Define access windows: note the exact hours you can shoot, lighting restrictions, and any noise curfews. Build your day schedule around the least flexible windows first.
- Assess power and coverage: count outlets, generators, and the need for extension cords or battery power. If you need a generator, specify fuel type and noise level to prevent surprises.
- Examine acoustics: if you’ll record vocals on location, check room tone and background noise. If not, plan to play back a pre‑recorded track with proper loudness and accuracy.
- Secure permits and access: line up permits early, and map a contingency plan in case access changes. Keep digital copies handy in the production folder.
- Walkthrough with your team: bring your key department heads for a 60‑minute location scout. Record measurements, sight lines, and potential alternate angles.
Storyboard, Shot List, and Blocking
With your throughline and location in hand, translate ideas into concrete frames. A well‑drawn storyboard is not a comic book; it’s a map of action, composition, and energy. You should also craft a precise shot list that colleagues can read at a glance. The goal is to minimize on‑set decision fatigue and keep the take count down without sacrificing expression.
Three practical moves: (1) break the beat into 4‑ to 6‑second blocks aligned to choruses or dynamic moments, (2) overlay camera moves with performer blocking so the frame mirrors the song’s rise and fall, (3) reserve a handful of flexible “action shots” that can adapt if you lose a location or a performer needs a reset.
Storyboard exercise: sketch a 12‑frame storyboard for the opening verse, including camera angle, movement, and a one‑sentence purpose for each frame. Then convert that into a shot list with numbers, shot types, and approximate durations. This is your on‑set backbone.
"If the shot list is a skeleton, the storyboard is the spine. The better your spine, the easier the rest of the shoot flows."
Structural devices you can borrow from professional playbooks: a numbered sequence of steps for each scene, and a running scene log that records what worked when you review dailies. The aim is not perfection on Day 1 but clarity for Day 2.
Lighting, Color, and On‑Set Sound
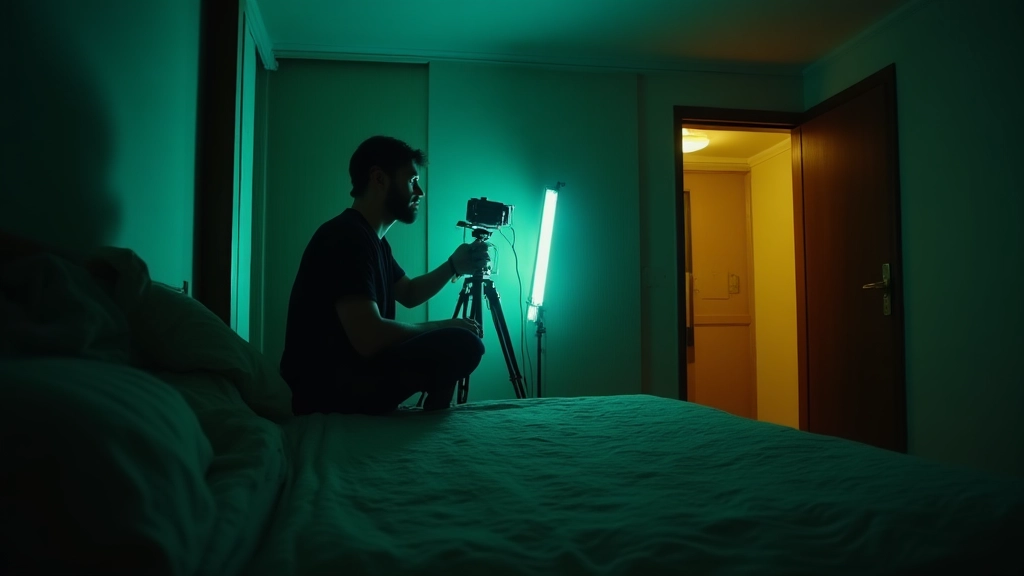
Lighting is storytelling in physical form. Your choices should illuminate the artist while shaping mood and rhythm. In a smaller space, you might lean into practicals and bounce to sculpt the scene. In broader environments, you can experiment with color gels or LED panels to establish a distinct color language that ties scenes together. Sound on location is often the unsung hero; you will either record room tone for a clean audio bed or rely on a playback track with clean separation during the mix.
On‑set routine: (1) pre-light each major area, (2) check white balance at the start of each location, (3) run a quick dialogue check with the talent to ensure the mic and playback sound natural, (4) keep a consolidated log of all audio notes as you shoot.
Mini‑story: in a dim studio, a single key light creates a warm halo around the artist; a second light carves the jawline, and a third provides a subtle rim. The sound tech keeps a tiny shotgun mic on a stand, while a scratch track plays softly in the background. The camera is slow, almost patient, letting the performer draw the audience in with each breath. It’s not about spectacle; it’s about presence.
Directing Performance: Coaching the Moment
Directing is the art of guiding emotion without over‑operating the moment. Your job is to create a space where the artist can improvise within the frame while staying anchored to the throughline. Start with a two‑pulse approach: (A) a quiet, intimate take focused on singer’s eyes and breath, (B) a more expansive, rhythmic take that matches the chorus. Between takes, offer concrete, specific feedback: 'Move the shoulder on the beat; let the note lean into your chest; breathe through the line and let the guitar ring softly into the microphone.'
On a recent field test with a bedroom producer who used a Moozix workflow template, the team captured a standout performance by letting the artist breathe for a beat before each chorus, then guiding them into motion with a simple hand gesture. The result was a performance that felt alive, not staged.
Exercise: film three quick micro‑scenes of the artist delivering a 4‑count phrase, then review with the performer to identify what felt true and what felt staged. Repeat until the body responds naturally to the tempo.
Shooting Efficiency: On‑Set Workflows and Proxies
Time is your most valuable resource. The entire shoot hinges on a predictable cadence: a tight call sheet, visible but unobtrusive cueing, and a workflow that moves teams efficiently from shot to shot. Proxies are your friend when you must review scenes at the end of a long day or when you need to test edits with the artist’s schedule. Keep proxies clear and well‑organized, with filenames that include location, take number, and scene tag.
Checklist snippet: set your schedule with a 10‑hour window, reserve two 20‑minute buffers for translation between scenes, and build a contingency list of two backup locations or times if weather shifts. The ability to adapt is the difference between good and great on a live set.
Editing Rhythm: Cutting for Emotion
Editing can be the most transformative part of the process. A music video doesn’t need every frame to be a perfect capture; it needs a rhythm that supports the track. Start by assembling a rough cut that follows the storyboard beats, then prune for energy: long, single takes can carry mood; quick cuts can push tempo. A practical approach is to cut to the beat, while also letting the performance breathe in parts where the singer holds a note or a guitarist sustains a chord.
Action steps: (1) assemble a rough cut in 24–30 hours after wrap, (2) run a 60‑second review with a friend who doesn’t know the song to test narrative clarity, (3) apply a consistent cross‑fade rhythm between scenes to maintain mood, (4) test different pacing options on a second timeline to see what lands strongest with the chorus.
"Rhythm is a collaborator. Let the timing of the cut tell the story as much as the shot does."
Color, Looks, and Visual Consistency
A cohesive palette helps an audience stay with the story across locations and outfits. Start with a core look: a base grade that preserves skin tones, then layer a color‑grade pass that subtly shifts warmth, contrast, and saturation to mirror the song’s evolution. Maintain a simple rule: if you can describe a scene’s mood in a single color, you can justify it in the grade. This keeps you from chasing a new look every scene and instead builds a recognizable aesthetic.
Tip: maintain consistent white balance across locations, then apply a look transfer to ensure continuity. For AI‑assisted workflows, use look matching smartly to preserve a consistent baseline while allowing creative exploration in secondary scenes.
Sound Design, Final Mix, and Release Strategy
Sound matters just as much as picture. A clean bed of rhythm and texture anchors the visuals. Plan for a final mix that respects the track’s dynamics, with careful attention to the interplay between dialogue, ambience, and the vocal or instrument tracks. When distributing a music video, a realistic release plan is essential: align your premiere with streaming playlists, submit to independent film boards where appropriate, and use a staggered release approach across platforms.
Action plan: create a 6‑week release calendar that includes a premiere date, teaser clips, subtitles in two languages if relevant, and a post‑release plan for social clips and behind‑the‑scenes content.
Pre‑Shoot Checklist: A Bootstrap Kickoff
Use this checklist to ensure nothing slips through the cracks before you press record.
- Clarify the throughline and three visual anchors
- Lock locations, dates, and permits
- Create shot list and storyboard skeleton
- Arrange equipment, power, and backups
- Plan quick check-ins with the artist and crew
- Prepare proxies, audio plan, and playback tracks
- Safety plan and accessibility considerations
- Color and look baseline, white balance, and LUTs
The Road Map to Distribution: Quick Wins for Various Creators
Distribution is a conversation with your audience. For touring performers, a quick‑cut teaser can promote upcoming shows, while bedroom producers can maximize reach with a short, song‑length cut designed for social platforms. The core idea is to tailor the release to the audience’s viewing habits while preserving the song’s emotional rhythm. In practice, plan a release package that includes the music video, a caption that conveys the throughline in one sentence, and a set of vertical cuts for mobile platforms.
Concrete example: map a 90‑second version to a 9:16 mobile cut, plus a 60‑second teaser with a single hook moment. Prepare subtitle files and alternate language captions if you expect international reach.
A Short Field Note on AI and Your Video Craft
Artificial intelligence is a tool that can help with look transfer, rotoscoping, and fast proxies, but it doesn’t replace the human elements of timing, emotion, and storytelling. Use AI to handle repetitive tasks and to prototype ideas, then validate and polish with your own eye and your team’s collaboration. The best videos emerge when humans set the vision and let machines handle the heavy lifting with intelligence, not as a shortcut to the core work.
Closing Scene: Bringing It All Home
Back to the rehearsal space, the room quiets as the camera rests on the final take. The throughline you defined at the outset now sits in every frame as a quiet, persistent current. The crew exchanges a few nods; the artist takes a moment of stillness between beats, and the monitor shows a cut that feels inevitable—like you finally found the rhythm you were chasing. This is how a plan becomes something that audiences can feel, not just watch.
A Final Thought in the Form of a Practical Exercise
Take an afternoon to map your next project with the 8 steps outlined here. Start with the seed scene, then build a location plan, storyboard skeletons, a light plan, a direct‑performer brief, and a post‑production blueprint. Finish with a release calendar. When you complete each step, you’ll find the process itself informs the next one, turning ideas into a cohesive, shareable music video craft that any musician can execute.
Hear what these choices do to your own song.
Upload stems or a finished track, choose a reference direction, and compare a private Moozix mix before you export anything.