Tiny Changes, Big Results: Master File Management for Music Video
A practical, story driven guide to organizing media, deploying proxies, and building rock solid backups that keep your music video workflow flowing from shoot to release.
- Plan a folder tree that mirrors your shoot day by day
- Use proxies to edit fast without sacrificing future quality
- Back up in triplicate across local, network, and offsite locations
- Test restores on a regular schedule to prevent surprises
- Ingest and metadata discipline pays dividends in post
Map Your Digital Stage: Plan, Then Shoot, Then Edit
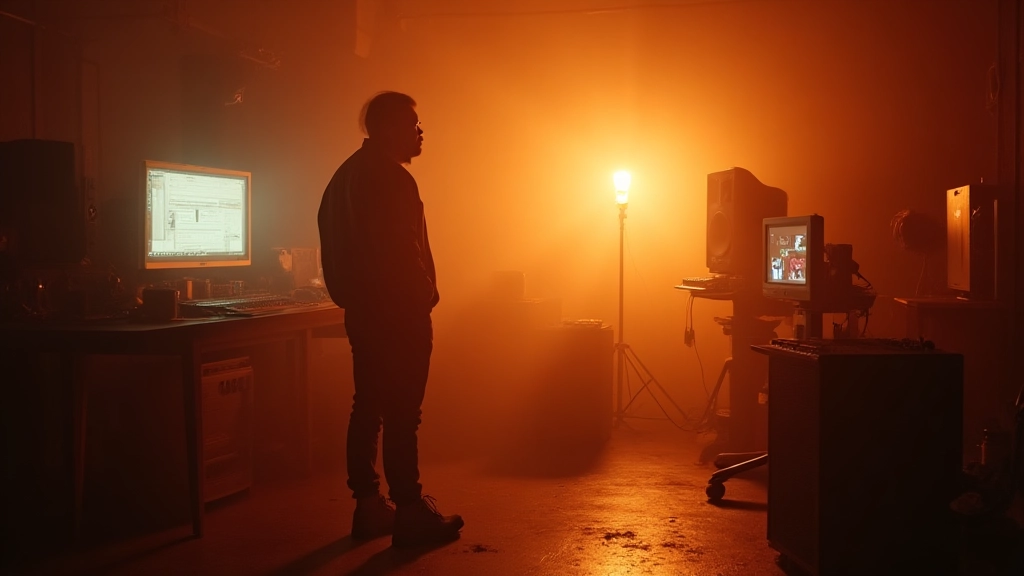
On a recent shoot in a warehouse repurposed as a music video stage, the director called for a quick pickup after sunset. The team had a simple but powerful advantage: a pre defined folder tree that mirrored the production timeline. When the DP handed over a new shot, the assistant could drop the footage into Projects/MoonlitRoad/2025-10-14/RAW, copy existing proxies into PROXY, and slide the edit notes into EDIT without ever opening a single card reader again. This is the value of planning before you roll camera: it turns chaos into a clean, navigable storyboard inside your file system.
Mini-story: Mia on the rehearsal floor — Mia, a vocalist who loops through ideas in a sunlit room, keeps her laptop open to a folder tree that looks like a small city map: RAW lives under RAW, proxies under PROXY, edits under EDIT, and a separate ARCHIVE that mirrors the shoot takes with read-only copies. When a director asks for a last-minute pickup, Mia simply duplicates a single folder, relinks proxies, and the team is editing on the same page within minutes, not hours. The discipline saves energy that would otherwise be spent chasing assets across drives and devices.
To make this real for your setup, start with a two-minute exercise: draw your project timeline as a folder map. Create a root named after your project and year, then add subfolders for RAW, PROXY, EDIT, ARCHIVE, SOUND, and DOCUMENTS. Name shots with a consistent pattern like MoonlitRoad_01, MoonlitRoad_02, and so on. This becomes your navigational backbone when you’re on set or on tour between venues.
In the field the file structure is the storyboard your editors live in.
Proxy Magic: Edit Faster Without Losing the Original Tale
Proxies are lower resolution copies of your high-res footage. They let you scrub timelines, apply rough cuts, and color grade in real time without dragging your system toward a hard stop. The trick is to establish a proxy workflow that fits your editing software, your hardware, and your shoot schedule. Below are concrete steps that work whether you are on a touring rig, a bedroom studio, or a full-blown production.
- Decide proxy resolution and format: In a laptop-dominant setup, 720p or 540p proxies often strike the right balance between performance and fidelity. If you have strong GPUs and fast SSDs, 1080p proxies can be viable for more detailed editing. Label proxies in a parallel folder path like PROXY/ MoonlitRoad_01.mov.
- Automate proxy creation: Create a one-click script or a preset export in your editor. For DaVinci Resolve, use the Proxy workflow to generate optimized clips automatically on ingest. For Premiere, rely on lightweight transcode presets and a watch folder that triggers proxy generation on file arrival.
- Relink with the master when you’re ready: Before you render final cuts, switch back to high-res media. In Resolve, use Relink; in Premiere, choose Link Media and select the original R3D/RAW files. A careful relink preserves your grading decisions and shot history.
- Test at least a full scene: Pick a two-minute sequence, edit with proxies, then relink to master and render a short draft. If color or sharpness shifts are detectable, tighten your proxy color space or re-check your ingest settings. The goal is seamless parity between proxy edits and final renders.
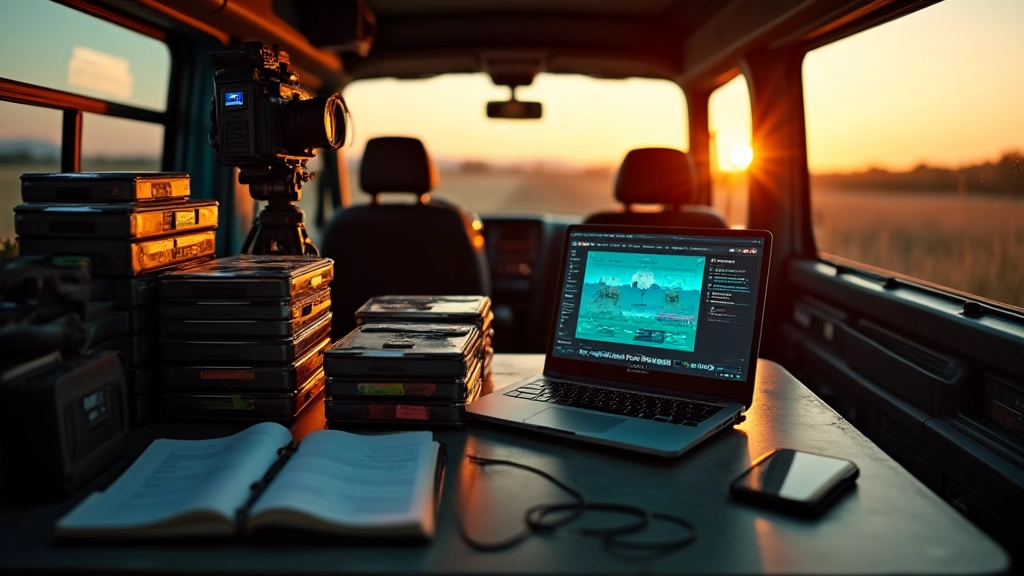
Mini-story: On a moving tour bus, Jon the guitarist juggles a compact laptop and a field drive. The bus rattles as the engine hums. He swaps footage from PROXY to RAW with a few keystrokes and keeps the bus moving while the rest of the crew handles lighting and sound. When the performance track is locked, the same proxy folder becomes the editable sandbox and the final render proves faithful to the live take.
Backups That Actually Stand Up: The 3-2-1 Plus Mindset
Backups are not a single copy on a drive. They are a leveled defense against drive failure, human error, and misnamed folders. The classic 3-2-1 rule is a solid baseline: three copies of every essential asset, on two different media, with one copy offsite. Add automation and verification to turn this from a ritual into a reliable habit.
- Create three copies: Your original on a primary drive, a local backup on a NAS or second drive, and a cloud or offsite copy. The exact devices are flexible; the discipline isn’t.
- Diversify media: Don’t store all backups on spinning disks. Mix SSDs for speed with larger HDDs for capacity. If you can, integrate a cloud tier for archival and a physical vault for long-term safety.
- Automate and verify: Schedule nightly backups and weekly integrity checks. A simple checksum routine or a file comparison tool verifies that your backups match the source assets.
- Version your edits: Keep incremental versions of edits and color grades in a separate VERSION folder. If you revert to an earlier cut for a remix or a re-plate, you won’t be hunting for the right clip again.
Table 1 compares common backup strategies so you can pick what fits a touring rig, a home studio, or a collaborative project. The aim is to reduce recovery time and prevent data loss during a marathon post window.
| Strategy | Pros | Cons |
|---|---|---|
| Local + NAS | Fast access, easy collaboration | NAS may fail; requires network |
| Local + Cloud | Offsite resilience; easy recovery from anywhere | Dependent on internet; bandwidth limits |
| Local + Cloud + Physical Archive | Best resilience; long-term retention | Costs and management overhead |
In the Field: Field Storage, Caching, and the 2-Minute Ingest Ritual
Field storage is the heartbeat of a timely edit. The minute you finish a take, you should have a ritual to ingest, cache, and tag. A minimal setup can look like this: a rugged SSD for fast on-the-road transfers, a backup drive for local redundancy, and a cloud sync to capture takes in real time if you have a mobile hotspot.
- Ingest on set: After a take, copy from memory cards to RAW immediately. Create a separate folder for the day and a mirror copy on a second drive to avoid bottlenecks on one device.
- Cache for quick editing: Move a compressed proxy or low-res cache into PROXY so you can scrub edits while the high-res is still copying in the background.
- Tag metadata at the source: Attach scene, take ID, and camera settings in a sidecar file or within your media management app so editors don’t have to infer values later.
Mini-story: A cabin in the hills becomes a mobile post hub for a weekend shoot. Alex, who tracks the day’s footage on a single rugged SSD, remarks that the real magic is in the ritual: the same two folders, the same naming, the same checksum check. Within hours, the day’s footage is already in the cloud, proxies are rendering, and the first rough cut is taking shape on a borrowed laptop screen.
Ingest, Transcode, and Metadata: The Big Three for a Smooth Cut
Ingest is not just copying files; it is confirming the chain of custody for your footage. Transcoding to a proxy-friendly format is only half the job; metadata is the other half. A consistent naming convention and metadata fields mean your editors find what they need in seconds, not hours.
- Ingest with validation: Use a checksum or hash to ensure files arrive intact. If a card fails the checksum, you know immediately and can re-shoot or re-ingest before the cut falls behind.
- Transcode to proxies with a standard profile: Create a master proxy profile (for example, 720p H.264 with Auto Bitrate) and apply it consistently. Keep a log of proxy names that maps back to the RAW assets for relinking later.
- Metadata discipline: Capture shot metadata (scene, take, camera, lens, frame rate, resolution) in a sidecar JSON or an annotated spreadsheet. Editors who know the metadata see a dramatic drop in search time and mis-cut risks.
Mini-story: On a rooftop set, the assistant producer relies on a simple metadata sheet to ensure that each shot aligns with the shot list and the director’s vision. Later, in post, the editor calls out a single line of metadata that unlocks a whole sequence and accelerates the color decision process. It feels almost invisible, but its impact is undeniable.
The Release Moment: Archive, Deliverables, and Light Waste
As you near the release, your job shifts from capture to preservation and delivery. The archive is not a museum piece; it is a living room where every future remix or re-cut lives. Use a dedicated ARCHIVE folder with long-term retention policies, and prepare deliverables in clearly labeled variants that your client or streaming platform expects.
- Deliverables that scale: Create standard specs for deliverables across platforms, including aspect ratios, color spaces, and the appropriate proxy-to-master relink guidelines.
- Archive rotation: Schedule annual checks to move older materials to colder storage or reduce footprint with verified compressed backups.
- Client-friendly handoff: Package a one-click project bundle that includes the project file, media, proxies, and a short guide to relinking for future edits.
Three quick wins you can implement this week: (1) set up a one-click ingest-to-archive script; (2) add a simple VERSION folder for all edits; (3) build a compact, client-facing deliverables package that minimizes re-work in the future.
Three Real-Life Case Notes: Concrete Wins, Concrete Methods
Case A: The Bus Rig
A touring duo shot a music video on a mobile rig. By treating the bus as a temporary facility and using a compact backup tower, they kept RAW, PROXY, and ARCHIVE synced on the road. The result: a polished first edit delivered two days after the final show.
Case B: Bedroom Producer, Big Output
A bedroom producer organized a tiny but robust file system and used proxies to simulate a full-scale edit. The team delivered a release-ready video with color grade that translated well to streaming and live screens alike.
Case C: The Studio Comeback
A temporary studio turned into a mini post suite. A single external drive chain, mirrored to a cloud account, allowed color tests to go from rough to refined within a single day, while the budget stayed under control.
Putting It All Together: A 7-Day Actionable Sprint
If you start fresh on a Monday, here is a practical sprint to implement the core ideas without burning out. Day 1 is planning: agree on folder structure, naming conventions, and backups. Day 2 is ingest and proxy creation. Day 3 is labeling and metadata. Day 4 is a rough cut on proxies. Day 5 is relinking to master and final tweaks. Day 6 is backup verification and archive. Day 7 is delivery package and a retrospective note for the next production.
- Day 1: Create root folder ProjectName/Year, subfolders RAW, PROXY, EDIT, ARCHIVE, SOUND, DOCUMENTS. Define naming rules and a simple backup script.
- Day 2: Ingest and generate proxies; set up a watch folder that triggers proxy creation on new files.
- Day 3: Populate metadata for each clip; confirm scene and take IDs; attach color grading notes if available.
- Day 4: Light rough cut on proxies; track changes with a versioned folder.
- Day 5: Relink to master files and render a 60-second preview; adjust color space to ensure fidelity.
- Day 6: Run checksum verification on backups; verify a restore from each storage type.
- Day 7: Deliver the client package and write a short post-mortem for the next production.
Hear what these choices do to your own song.
Upload stems or a finished track, choose a reference direction, and compare a private Moozix mix before you export anything.