7 Scenes That Teach You to Build an AI-Infused Music Video
The night air hums with the promise of visuals that aren’t just pretty to look at but vital to the song’s story. In this seven-scene playbook, you learn to choreograph a music video that blends human storytelling with AI tools that expand what you can imagine on screen — without losing your own voice.
- Lead with narrative first, then let AI shape the visuals around it.
- Plan for on-set practicality and post-production synergy from day one.
- Use AI as a creative partner, not a replacement for your instincts.
Whether you tour with a crew, write and shoot in a home studio, or collaborate remotely with a visual artist, this framework helps you stay focused and deliver a cohesive, market-ready video. Each scene offers concrete actions you can apply now, plus short anecdotal vignettes to fuel your imagination. Let’s begin with how a song becomes a visual idea that your audience can feel as much as hear.
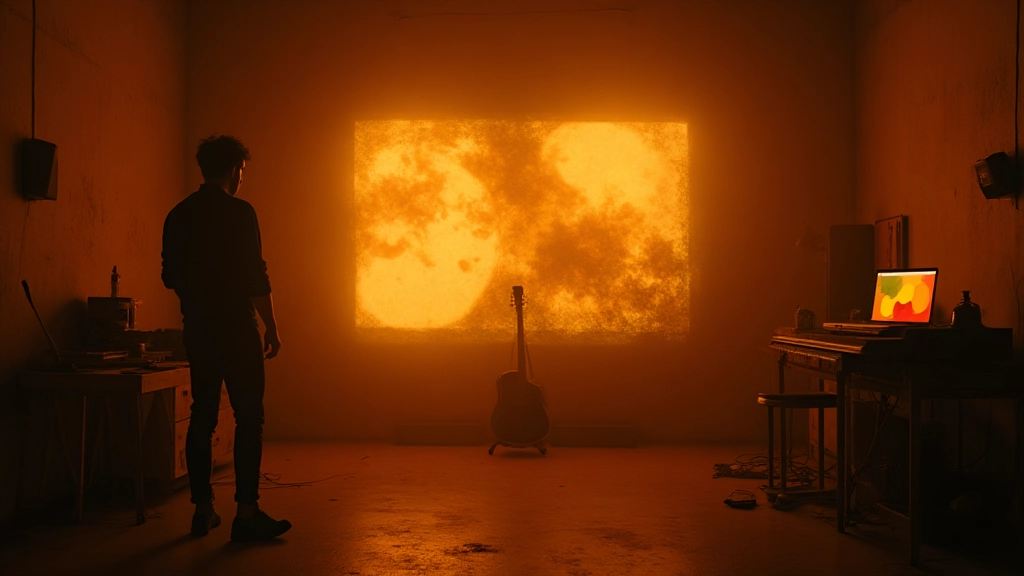
Scene 1 — The Spark: Translate Song Feeling into Visual Prompts
Every great video starts with a feeling the audience recognizes within the first 10 seconds. In this scene, you translate that feeling into a visual mood using a simple process that your future self will thank you for in the editing bay. Start by naming three adjectives that describe the energy of the track. If the song feels gritty and hopeful, you might choose warm grit, optimism, and motion. Then craft two short visual prompts that express those adjectives without spelling out literal imagery. The aim is to guide AI-assisted pre-visualization without boxing in your own creativity.
Actionable steps you can take today:
- Write down three adjectives that capture the track's emotional core.
- Draft two concise prompts for mood boards or AI concept tools. Keep it evocative rather than literal.
- Save the prompts to a project folder labeled Scene 1 — Spark to keep your universe coherent across departments.
In this scene you may encounter your first tangible breakthrough story. A bedroom producer named Lin used AI art generators to draft mood visuals from a chorus she loved. Those images became the storyboard’s spine, not the final frames. The result was a video that felt true to her song and unmistakably hers. The lesson: when you map feeling to mood first, AI becomes an accelerator, not a dictator.
"Let your eye guide the story, then let AI fill the color and texture around it."
Scene 2 — The Blueprint: Storyboards, Moodboards, and AI-Generated Comp Folders
With mood established, the storyboard is your map. In this scene you synchronize the script, visuals, and tempo. A compelling storyboard translates the song’s arc into a rhythm of shots — but you can still leave room for AI to surprise you. Use AI to generate multiple storyboard variants from a single prompt. This is not cheating; it’s exploring the visual language your audience will intuitively understand. Keep a single master file, and create variant boards as backups so you can compare pacing and framing without redoing the whole plan.
Concrete approach you can replicate:
- Choose a single track arc (intro, build, drop, resolution) and map it to camera moves (static, push-in, wide to tight, drone reach).
- Create a moodboard for each arc variant using AI-generated images that reflect the adjectives from Scene 1.
- Consolidate the best visuals into Scene 2's storyboard, with shot list, timing, and approximate palette.
Here are three real-world micro-stories to spark your planning. A touring indie band used AI to generate color palettes based on audience reactions captured in social clips, then applied those palettes to lighting on a cramped bus-van shoot. A bedroom producer collaborated with a visual artist who used AI to draft surreal overlay motifs that matched the tempo changes in the chorus. A duo on a remote lake gathered minimal gear, but AI-assisted pre-visualization helped them choreograph a drone shot that makes the water feel alive. All benefited from a disciplined folder structure and a shared language about tone rather than fixed visuals.
| Arc | Shot Type | AI Role | Key LUT/Palette |
|---|---|---|---|
| Intro | Establishing | Mood visuals | Ash and gold |
| Build | Macro movements | Overlays | Teal/amber |
| Drop | Close-ups | Texture pass | Deep shadows |
Scene 3 — Light, Lens, and AI-Friendly Camera Language
Lighting is the conversation your visuals have with the audience. When AI is involved, you can plan lighting that responds to tempo or mood shifts, enabling on-set decisions that feel natural rather than contrived. Three practical lighting patterns often translate well to AI-enhanced visuals: 3-point lighting for clean portraits, practicals for texture and context, and dynamic backlighting to separate subject from richly generated overlays. Your goal is to create a scene where the AI-generated elements feel like an extension of the light you already control, not a separate layer that fights your shot.
On the technical side, align your camera settings with your AI outputs. Use consistent frame rate (24 or 30 fps) and a standard shutter angle to keep motion smooth. If you plan motion graphics in post, shoot a few extra seconds with a neutral background so AI overlays anchor cleanly. A useful trick is to shoot a neutral plate that can be composited with AI elements later, which reduces real-time pressure on lighting and camera movement.
Three quick optimizations you can use now:
- Test a 3-point lighting setup with a soft key light and a gentle fill to preserve shadow detail for AI overlays.
- Record a separate color pass: shoot a frame with no AI effects, then capture a color reference frame that you can reuse when grading AI elements.
- Capture extra B-roll in varying intensities to give the AI a broader palette to work with during post.
To illustrate, consider a field test by a touring artist who used a low-budget lighting kit on a rooftop shoot. The three-point setup produced a clean key that allowed the AI overlays to remain legible while the ambient city lights did the heavy lifting in the background. The result was a video that felt both cinematic and intimate, a balance your viewers will notice without needing to understand the tech underneath.
"If your lighting tells a story, AI can color that story in, not overwrite it."
Scene 4 — On-Set Workflow: AI-Assisted Shot Lists and Tempo Mapping
On set, you want efficiency without sacrificing spontaneity. AI can be a proactive assistant that suggests shot order, tempo-aligned transitions, and plausible overlays while you focus on performance. Start with a living shot list that you update in real time. Tie shot durations to the track’s tempo so that transitions feel intentional when the AI overlays are applied in post. A light but reliable on-set workflow helps you maintain momentum, even when you’re working with a skeleton crew or solo.
Practical steps you can implement in your next shoot:
- Draft a shot list linked to the song’s tempo map (beats per minute cues for each shot length).
- Use AI to generate alternate framing options for pivotal moments and compare in real time with your DP or director of photography.
- Record a quick v-roll log each day to document performance energy and mood for later AI-driven color and overlay decisions.
Three miniature stories here. A road-worn guitarist mapped each chorus to a specific camera move and used AI to propose alternative framings that preserved his performance while adding variety. A producer with a drone swarm on a festival set used AI to track crowd energy and adjust the shot list on the fly, preserving the moment while respecting safety constraints. A solo creator shot a compact video with a vlogging-on-location vibe; AI helped stitch the day’s footage into a cohesive narrative while keeping her voice intact.
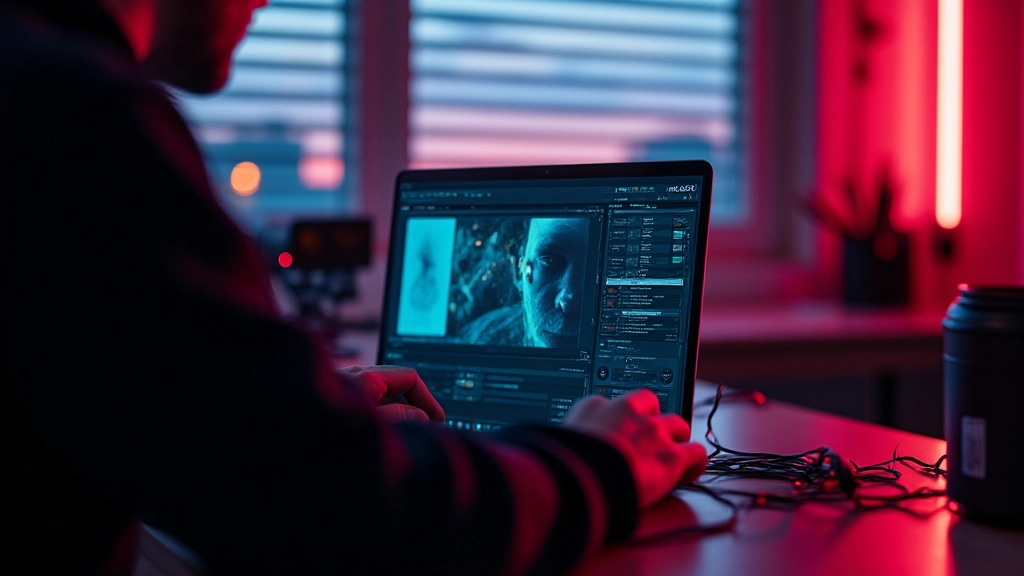
Scene 5 — Post-Production: Color, Compositing, and AI-Assisted Creativity
Post is where the AI tools truly become a partner. Color grading can be guided by AI-generated LUTs that match the mood you planned in Scene 1, while your own notes shape the final polish. AI-assisted compositing lets you blend live-action plates with generated overlays, creating seamless integration between the real and the synthetic. The aim is harmony: the AI visuals should enhance the song’s storytelling without shouting at the viewer. A good workflow uses AI as a color- and texture-suggester, then you adjudicate the final look with your eye and taste.
Practical steps to adopt now:
- Run a base grade that preserves skin tones, then test AI LUTs to extend mood toward your palette from Scene 2.
- Do a few pass-throughs of overlay elements (glows, particles, holographic shapes) and constrain them with opacity and blend modes to avoid clutter.
- Create a rough cut with AI-assisted auto-montage, then refine timing by human instinct for emotional peaks.
In one case, a duo used AI to generate a set of glow overlays that responded to the track’s tempo. The overlays were applied in moderation, yielding a shimmering but not distracting effect that supported the chorus rather than competing with it. In another instance, an indie filmmaker combined AI-driven color grading with a simple, high-contrast look to give a documentary vibe to a performance piece; the result felt authentic, not artificial.
"The best AI tools are the ones that respect your voice and only offer helpful suggestions."
Scene 6 — Sound, Sync, and Sensory Coherence
Sound design is not an afterthought in AI-infused videos. The music, visuals, and AI overlays must feel synchronized. AI can help by aligning visual cadence with musical cues, suggesting momentary micro-edits to visuals that react to bass drops or snare hits. The key is to keep timing consistent with the track while allowing space for human performance to breathe. A well-timed shimmer or glow on a beat can elevate a moment without distracting from the music itself.
What you can implement now:
- Map audio cues to visual accents (glow on a bass hit, a flare with a cadence change).
- Use AI-assisted motion graphics to track the performer’s breaths or phrasing for subtle synchronization cues.
- Test a few micro-edits in the edit to ensure the AI overlays feel integrated, not simply decorative.
Three micro-stories from recent projects illustrate the power of sound-visual coherence. A touring singer used AI to design light pulses that matched her breath during a chorus, making the stage glow in time with her voice. A bedroom artist experimented with AI-generated particle trails that followed the tempo of a synth line, adding texture without stealing focus. A duo on a small stage used AI to synchronize motion graphics with the song’s verse, producing a sense of momentum that carried the audience through the entire set.
Scene 7 — Distribution, Metadata, and Audience Engagement
The final scene is the afterglow: how you package and share the video so it finds the right viewers. AI can help optimize metadata, thumbnails, and social captions. The trick is to balance data-driven choices with human intuition. Use AI to generate multiple thumbnail concepts, but choose the one that feels most true to the song’s mood and your brand. Write descriptions that reflect the track’s emotional arc and the visuals you delivered. A strong thumbnail can dramatically boost click-through rates, but it should remain honest to the video’s content.
Actionable steps you can apply now:
- Create three thumbnail options using AI-assisted visual prompts; test varying captions that emphasize mood and story rather than just the genre.
- Draft metadata grounded in keywords like AI-infused music video, visual storytelling, and lighting design for small-budget shoots.
- Publish with a short behind-the-scenes note that invites fans to explore how the visuals were created, inviting dialogue and community engagement.
Three contemporary anecdotes illustrate the impact of thoughtful distribution. A road-tested indie artist released a teaser that paired a dramatic AI-generated overlay with a stripped-down acoustic version, hitting a sweet spot for fans who crave both spectacle and intimacy. A bedroom producer used a behind-the-scenes micro-documentary to accompany the video, which engaged a new audience segment interested in the creative process. A touring act launched a live-streamed Q&A about the video’s visuals, deepening fan connection and driving streaming engagement across platforms.
| Scene | Focus | AI Role | Deliverables |
|---|---|---|---|
| 1 | Spark | Mood prompts | Scene concept draft |
| 2 | Storyboard | Overlays concepts | Storyboard comp |
| 3 | Lighting | Camera language | Lighting plan |
| 4 | On-set | Shot list, tempo map | In-progress shoot plan |
| 5 | Post | Color, VFX | Rough cut with overlays |
| 6 | Sound | Sync cues | Sound-driven visuals |
| 7 | Distribution | Metadata, thumbnails | Published video assets |
Final notes: a quick-start checklist for your next project
- Define the song’s emotional arc in three words and translate that to three visuals.
- Create a 7-scene storyboard baseline, then generate AI variants for exploration.
- Plan on-set workflows that keep performance front and center while AI adds texture.
- Grade with AI-recommended LUTs but trust your eye for final corrections.
- Draft metadata and thumbnails that reflect the story, not just genre.
- Gather B-roll and plates that simplify AI compositing in post.
- Document decisions and craft a behind-the-scenes story to fuel engagement.
Three fresh, real-world examples demonstrate the variety of paths you can take. Lin, the bedroom producer, used AI to craft mood-driven overlays that reflected her track’s tempo shifts, then collaborated with a videographer who treated AI as a partner rather than a tool. A touring band built a visual rhythm that mirrored their live energy, using AI to suggest alternate framing while staying faithful to the performance. A duo filming on a remote lake blended a documentary approach with AI-generated aurora-like overlays that synced with the song’s soaring chorus, delivering a performance piece that felt cinematic and authentic.
Takeaways you can implement this week: start with a clear emotional map, use AI to expand your visual vocabulary, and keep your artistry in the driver seat. The result is a music video that feels inevitable — the kind of piece fans want to watch again and again because it resonates with both their ears and their eyes.
If you want a simple, repeatable framework for your next project, revisit Scene 1 and Scene 4 early in pre-production, then let the rest of the scenes unfold as you build trust between your music and your visuals. The goal is not to chase novelty for novelty’s sake; it is to invite your audience into a cohesive, emotionally charged experience that happens to leverage AI as a capable co-creator.
Hear what these choices do to your own song.
Upload stems or a finished track, choose a reference direction, and compare a private Moozix mix before you export anything.