From Rough Cut to Release: A Practical Playbook for DIY music video craft
A live, scene-driven guide to planning, shooting, editing, and distributing a music video that feels big even when you’re working with limited gear or a small crew.
Planning the end first lets you sculpt a video that breathes with the music, not a montage of pretty moments.
H2. Crafting the shot list with a 12-shot skeleton
Think of your music video as a musical phrase mapped to frames. The 12-shot skeleton gives you a rhythm you can feel as you shoot and as you edit. Each shot has a purpose, a lens choice, and a moment that reveals emotion.
- Establishing shot that situates the scene and the vibe
- Two intimate performance angles that capture facial nuance
- A wide that shows space and movement within the frame
- A cued interaction with an object or prop that tells a story
- Close-ups of hands, strings, pedals, or keys for tactile texture
- Over-the-shoulder shot to frame the performer’s focus
- Rule-of-thirds mid shot for energy and balance
- Low-angle hero shot to elevate presence
- High-angle observational shot to reveal environment
- Cutaway to environment or audience reaction
- Reverse angle to reconnect with the performer
- Closing frame that mirrors the opening but resolves the arc
Exercise: map your song’s structure to these 12 positions. Write a one-sentence purpose for each shot, then sketch the framing in 2 quick diagrams.
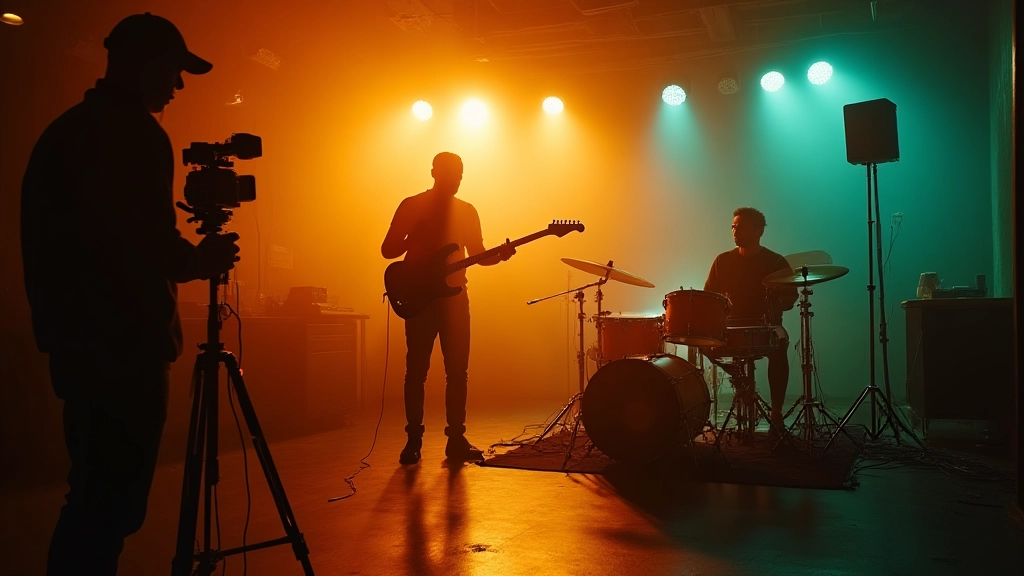
H2. Lighting and camera on small stages and tight spaces
Small rooms don’t limit creativity; they force you to design light that owns the frame. Three-point lighting is a starting point, but practicals, bounce cards, and color temperature tricks turn confinement into character.
| Scenario | Key Approach | Budget & Gear |
|---|---|---|
| Bedroom or apartment studio | One key with diffusion, a bounce from a window, a backlight for separation | LED panel or practical lamp, white bounce board |
| Bus or van interior | Low-contrast, warm light, minimal rigs, keep cables tidy | Small LED panels, clamp-on arms, gaffer tape |
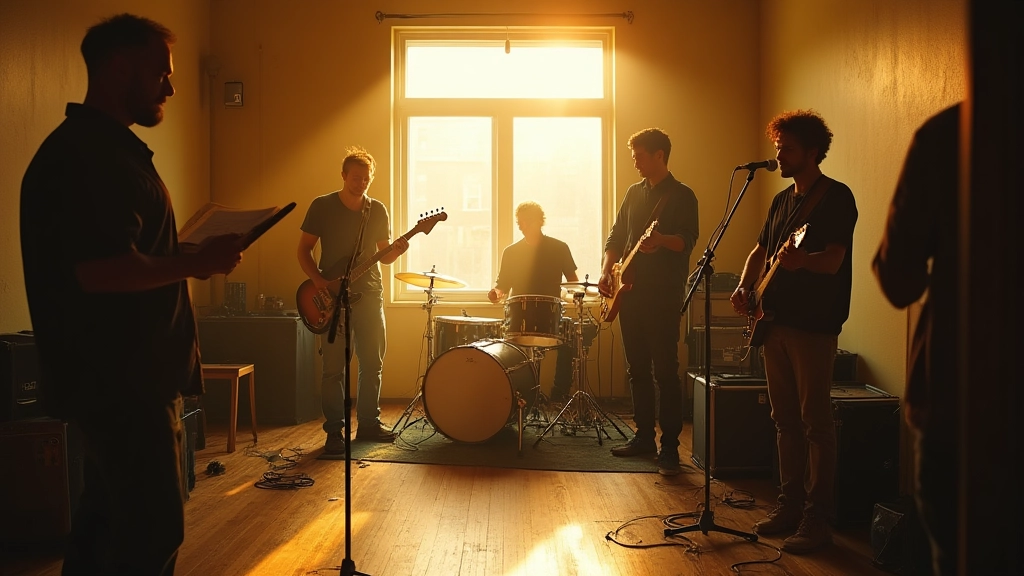
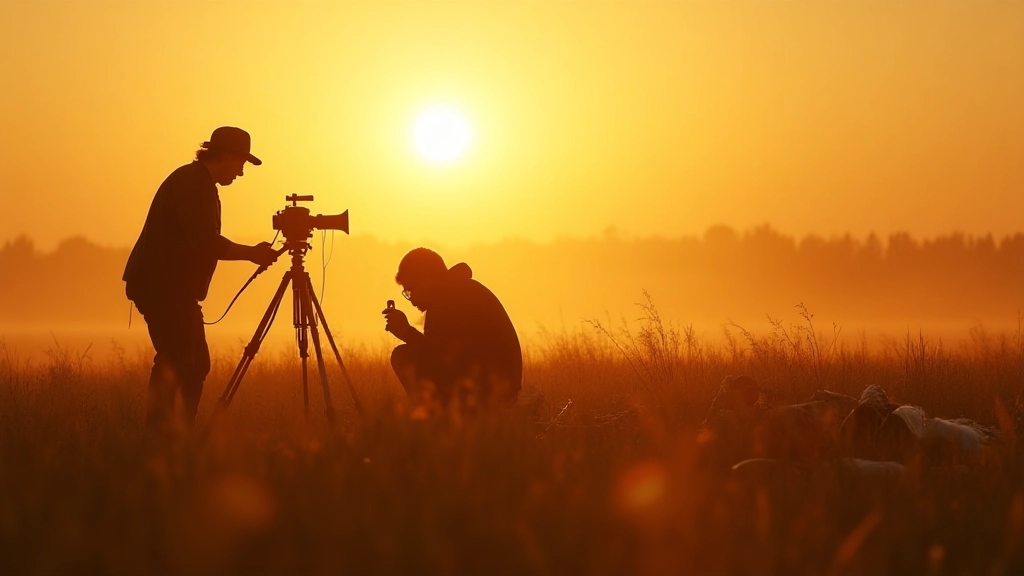
| Outdoor during golden hour | Natural light as lead, negate flare with scrims, add fill | Reflector, compact diffusion, portable battery light if needed |
Tip: label each light by shot in your shot list. The mental map reduces setup time and keeps the pace tight when you’re racing the sun or a hotel curfew.
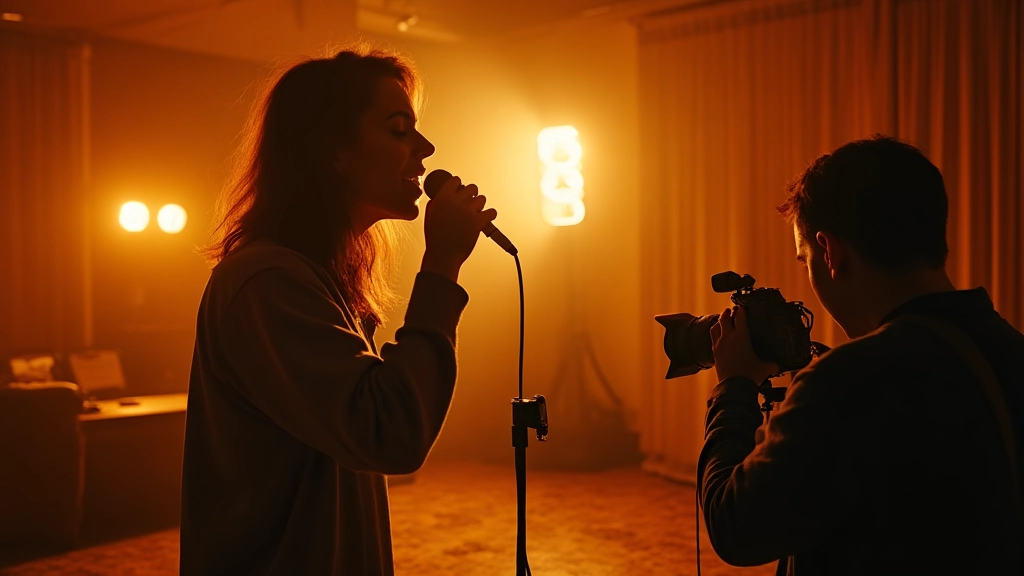
H2. Directing performance for on-camera honesty
Performance on a camera demands a blend of empathy and direction. When nerves show, make space for a moment, then cue a repeat with a different angle. The trick is to treat each take like a conversation rather than a line read.
H2. Sound first, syncing visuals to rhythm
Copyrighted music is not your sound track in the room; you want a clean, monitor-grade playback so lips, breaths, and dynamics align. Keep a scratch track ready, but plan to replace it with the final mix during post. The visuals should feel tied to the tempo, not marching to a generic beat box.
- Set a consistent playback volume and metronome feel for the performers
- Record room tone at the start and end of the session for easy audio stitching
- Capture room reflections and ambient textures for later mix decisions
- Label all takes with timestamped notes so editing is fast
H2. Editing rhythms, cutting styles, and pacing
The edit room is where the music and the motion fuse. Start with a rough cut that respects the song’s structure, then layer performance cuts, B-roll, and reaction moments to breathe. Consider a mix of rhythm-driven cuts and emotion-driven pauses to mirror the dynamics of the track.
- Assemble a rough cut using the 12-shot skeleton, matching each shot to a beat or lyric
- Introduce rhythmic variations: cut on the beat, hold on a breath, then cut again
- Layer B-roll that reveals environment or metaphorical imagery
- Color-match shots from different cameras to keep visual cohesion
- Apply a subtle motion twist to add energy without distracting from the performance
H2. Color grading, looks, and visual consistency
A consistent look lets the performance shine. Start with a simple grade that preserves skin tones, then craft a look that fits the genre and mood of the track. If the budget is tight, rely on a couple of well-chosen LUTs and digital grain for texture rather than big, flashy shifts.
H2. AI and the modern music video workflow
Artificial intelligence can accelerate repetitive tasks and unlock creative options, but it does not replace craft. Use AI to speed up rotoscoping, color matching, or upscaling, and reserve human judgment for performance choices and storytelling. The smartest crews pair AI-assisted tools with hands-on direction to keep the work intimate and authentic.
- Automated lip-sync alignment to ensure performances stay in-sync with the final mix
- Background replacement to expand space without a larger location budget
- Rotoscoping assist for tricky edges on fast motion or hair
- Automated color matching between cameras to preserve look across takes
Creative note: treat AI as a creative assistant rather than a shortcut. Use it to explore options, then decide which path best serves the song’s emotion and message.
H2. Location scouting, permits, and scrappy fixes
Location choices shape the story as much as the song does. Scout spaces that offer natural texture and storytelling potential. If permits are a barrier, think modular: a single room, a hallway, or a vehicle that can be transformed with lighting and art direction. The best DIY videos turn constraints into character.
H2. On-set workflows and continuity in busy rooms
Continuity is a muscle you train. Assign one person to track wardrobe, props, and movement across takes. Use simple shot logs and timestamp notes so you can stitch moments together without re-shoots. A calm on-set mind keeps energy high and miscommunications low.
- Assign a dedicated continuity keeper at the start of the day
- Record a quick, one-line recap after each take
- Mark any prop movement or microphone placement changes
- Use a clean, portable slate to align audio and video in post
H2. Post-production and the release plan
Post is where the song and the visuals become one. Build a release plan early, including teaser cuts for social platforms, captions for accessibility, and a distribution timeline. The fastest route from rough cut to release is a deliberate, repeatable process with clear milestones.
For distribution, consider a staggered rollout: an ambient teaser on social, an official video drop on a primary platform, and a follow-up behind-the-scenes piece that invites fans into your process.
H2. Mini-case studies: three real-world scenarios
Scenario A — The bedroom producer who turned a small room into a cinematic stage. A single camera, a couple of cheap LEDs, and a well-chosen prop canvas created a strong mood that complemented the track’s intimacy. The lesson: strong performance and story beat a big budget when the concept is clear.
Scenario B — The tour bus shoot. With a moving vehicle and rolling natural light, the team used a lightweight gimbal, a second camera on a clamp, and a compact audio setup to capture energy and spontaneity. The outcome: kinetic energy that mirrors the road-dust grit of the music and a sense of motion across cuts.
Scenario C — The warehouse collaboration. A small crew, a bigger space, and a plan to shoot in two sessions allowed time for exploration. They layered a steel-blue palette with warm practicals to evoke a nocturnal mood, then introduced a subtle VFX element to hint at a larger world beyond the frame. The takeaway: space + time = creative latitude, even on a budget.
H2. A practical weekly sprint you can start today
If you’re ready to move, here’s a compact sprint that you can run over seven days. It emphasizes planning, testing, and finishing strong. Each day has a concrete action you can complete with minimal gear, but maximum focus on storytelling.
- Day 1: Define the song’s emotional arc and map it to a 12-shot skeleton
- Day 2: Scout your location(s) and test audio in the space
- Day 3: Create a lighting plan and block rehearsals with camera angles
- Day 4: Run through the performance takes and log notes
- Day 5: Edit a rough cut focusing on timing with music
- Day 6: Apply color grade, add sound design, and prepare captions
- Day 7: Deliver a final render and publish teaser clips for social
H2. Quick wrap-up: your action checklist
- Finalize the 12-shot skeleton with purposes for each shot
- Lock a location and test audio in the space
- Shoot a performance that captures the core emotion of the track
- Edit with the beat; layer B-roll and performance alternately
- Grade for cohesion and add a subtle texture
- Plan release with teasers, captions, and accessibility in mind
Closing thought: great music videos aren’t about the most expensive cameras; they’re about a well-told moment. When you finish a project that feels inevitable, fans feel that inevitability too.
Hear what these choices do to your own song.
Upload stems or a finished track, choose a reference direction, and compare a private Moozix mix before you export anything.