Inside the Edit: A Practical music video From Idea to Release
This guide follows a musician at a laptop and a crew on a set, showing how to plan, shoot, edit, and distribute a music video that feels intimate, cinematic, and doable for any setup.
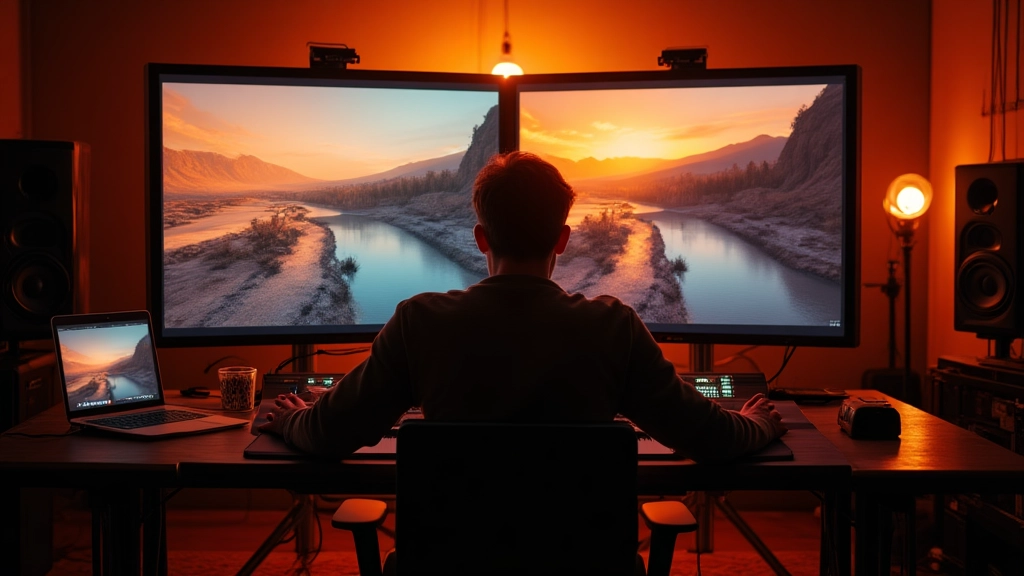
Opening Scene: A Moment That Breathes in Your Music Video
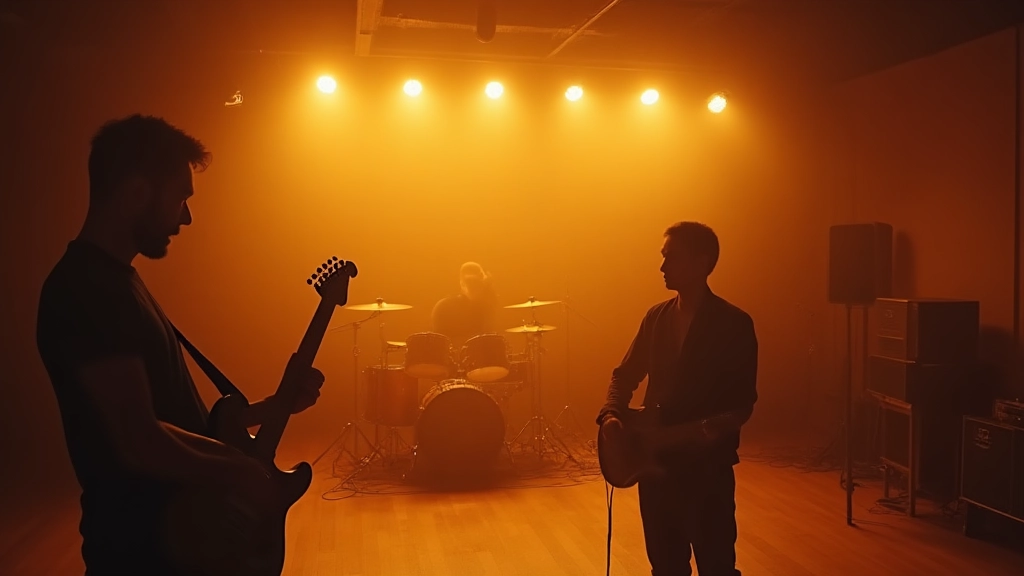
Picture this: a guitarist leans into a mic in a small studio, the clock ticks, a dim lamp flickers, a single warm beam lands on a sheet of lyrics. The camera waits, then the first chord lands. This opening moment sets the tone for the whole piece. How we build that moment matters as much as the chorus itself. In practice, I start with a one-sentence image: what does this moment want to say, and which part of the song will it frame? Then I translate that image into a plan for lighting, framing, and performance direction.
Practical tip: use a simple, repeatable framing language for the opening shots. For example, predefine a 2-shot mid-close of the performer, then a wide establishing shot that travels toward the singer as the melody intensifies. The goal is to invite the audience into the moment and make the first 8 bars of the song feel inevitable. If you shoot with a single camera, treat this moment like a stage rehearsal that invites the viewer to lean in and listen to the song before the story takes off.
Concrete action: draft a 60-second image sheet that lists 3 angles, 2 lighting states, and 2 performance cues for the opening beat. Then lock a single take on the beat that matters most.
From Idea to Storyboard: Mapping the Visual Narrative
A song has structure, but a video has to translate that structure into images. Start with emotional beats, not technical ideas. Each beat maps to a visual motif, a camera move, or a character action. This is where you move from concept to sequence. I like to begin with a one-page narrative that mirrors the song’s arc, then break it into 8–12 thumbnail frames that act as a storyboard language you can translate to shot lists.
Practical workflow: after writing the beat lines, sketch quick thumbnails or describe frames in plain language. Assign each frame a location, a camera setup, and a performance cue. Then reorganize the frames into a logical flow that minimizes wandering and maximizes emotional peaks. This process often reveals gaps you can fill with a simple prop, a new angle, or a cut that emphasizes a lyric's meaning.
- Identify the emotional spine of the chorus and bridge; write a one-sentence beat for each section.
- Translate beats into shot ideas; sketch quick thumbnails or describe frames in plain language.
- Create a shot list organized by location and time of day; note camera setup, lens, and movement for each shot.
- Determine the pacing: how many shots per bar or per phrase; plan for tempo shifts with editing choices.
- Plan a few signature moments that can be achieved with minimal gear but high impact, like a single-take move or a dramatic reveal.
Shooting It: Light, Lenses, and Shots That Sing
With a clear storyboard, the real work begins. Start with light shaping: a key light, a fill, and a rim can transform a spare room into a narrative stage. If you are on a budget, think in layers: one practical light on a stand, another as a backlight with a color gel, and natural window light as a fill. For lens choices, use a 50mm or 35mm for intimacy, a 24mm for room scale, and a longer lens for compression in outdoor scenes. Movement should feel intentional, not random: a slow push in on the moment of truth, a sideways tracking shot that mirrors the rhythm of the chorus. I also encourage you to plan your blocking so your performers know where to look and where the camera will be during key lines; this reduces takes and keeps energy honest.
Gear plan by budget tier: - Low budget: smartphone with an external microphone, a compact gimbal, two LED panels with warm gels. - Mid-range: a DSLR or mirrorless body with a 24-70 lens, a small lighting kit, a basic stabilizer. - Pro: cinema camera, prime lens set (24, 35, 85), external monitor, wireless follow focus, scalable lighting kit. For a single-location shoot, budget two cameras if possible for coverage of performance from two angles; for a rooftop or outdoor scene, a lightweight slider or monopod can deliver cinematic movement without a crane.
The best music video moments come when the camera feels like a collaborator, not a recorder.
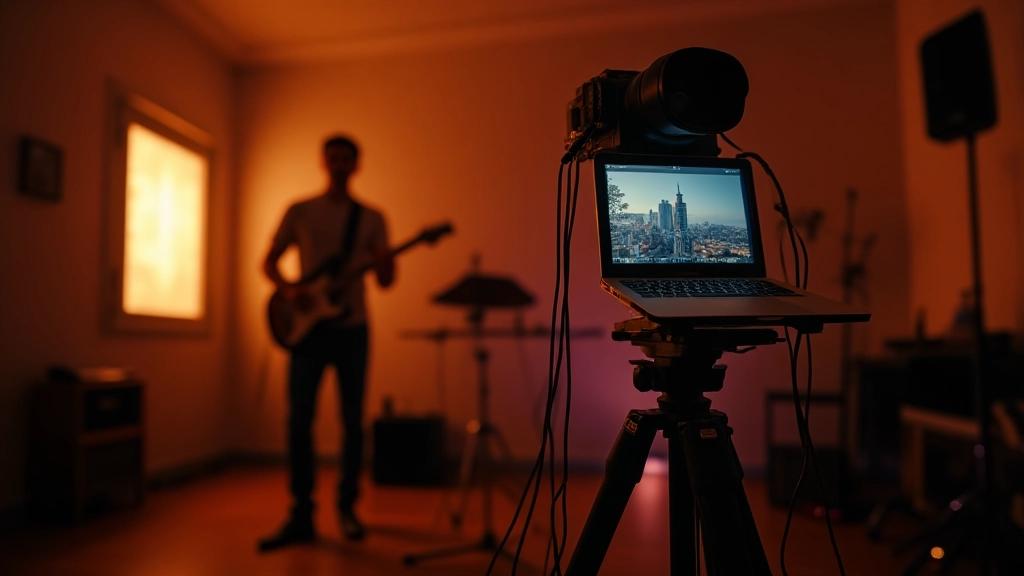
Directing Performance: Getting the Best On-Camera Moment
Performance is a conversation between the artist and the frame. Give your performer a target, then let the moment breathe. Three practical approaches I use: 1) Rehearsal tempo: align the energy of the performance with the song tempo; 2) Micro-gestures: small changes in eyes, fingers, posture that amplifies emotion; 3) Real-time feedback: show the performer the monitor with a simple 2-second delay, so they can adjust without breaking flow. Another technique: build a beat map for the performer where they know the exact lyric or cue to hold, then return to the camera for a second pass with a different emotion. For example, in a mid-tempo indie ballad, a singer can shift from quiet introspection in verse to a close, breathing moment in the chorus, then back to a restrained finish in the bridge.
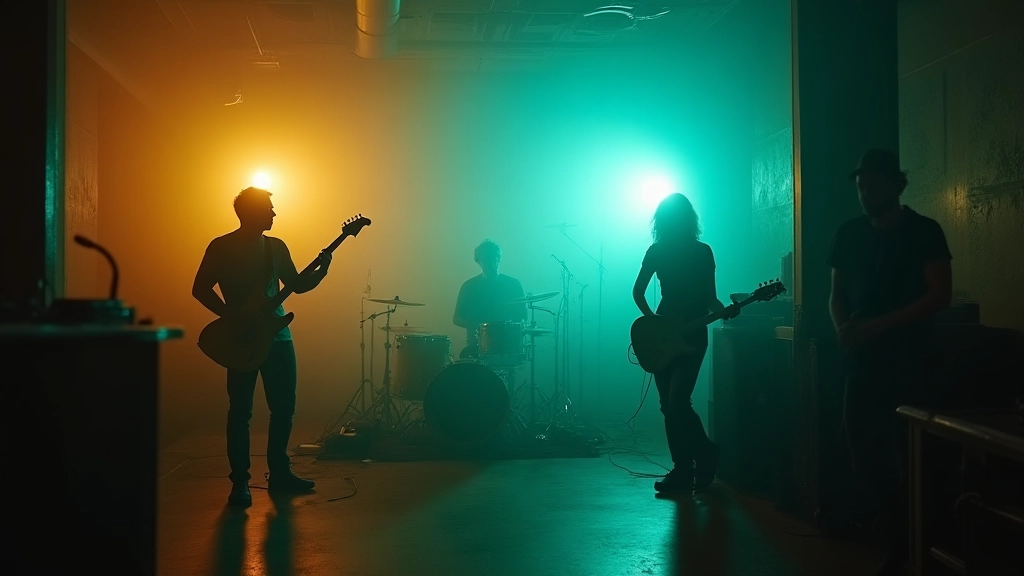
Mini-story: a bedroom producer named Maya records a quick scratch vocal in a closet studio; the singer uses a stick-on mic pop filter and a smartphone; on the monitor, the team sees an expressive, intimate moment that becomes the anchor of the video. The lesson: low-budget setups can still deliver a moment with emotional truth. In a live room session, a guitarist and drummer discover a subtle swap in eye contact that transcribes to a second camera angle, revealing a shared heartbeat in the rhythm and intensifying the chorus.
Editing for Pulse: Rhythm, Color, and Pace
Editing is the choreography of time. Start with a rough cut that matches the vocal phrases to the cut points. Then refine: adjust rhythm by adding or removing frames to hit each beat. Color should support mood: warm tones for nostalgia, cooler hues for detachment, or a mixed look to reflect a snapshot of the artist's world. The key is to let the music tell you where to cut, not the other way around. If you shoot with natural light and practicals, your color grade can unify disparate sources into a cohesive world. A simple rule: keep a consistent LUT or color grading direction across all scenes unless the narrative requires a deliberate shift. In practice, I often start with a base timeline where audio and picture are locked first, then layer in texture via color decisions and subtle sound design that accentuates the movement of the track. For example, a chorus hit can be reinforced with a brief color pop or a reverb tail that bleeds into the next verse.
Tip: for quick-turnaround projects, start with a base grade on a reference shot that you apply to the rest of the timeline; this keeps the language consistent and saves time in the last day of editing. If you have shot B-roll, consider using macro textures in the grade to differentiate the performance from the surrounding visuals without creating abrupt shifts. A pull quote below captures the idea: Rhythm is color you can hear; cut to the heartbeat of the song, and the audience will feel the pulse.
Rhythm is color you can hear; cut to the heartbeat of the song, and the audience will feel the pulse.
Captions, Subtitles, and Accessibility: Speak to Every Listener
Captions are not an afterthought. They are your first viewer when sound is off. Construct captions that read as dialogue, align to the tempo of the track, and preserve the cadence of your lyrics. Keep line lengths short; use punctuation to guide rhythm; label speakers if there are multiple voices; include non-speech cues like [applause] or [guitar riff] when needed. Create a clean SRT file during editing, then export a consolidated VTT for streaming platforms. If you are working solo, plan caption timing while you assemble the edit; you will save time in the final steps.
- Plan captions early and revisit them during the rough cut
- Keep lines under two lines per caption; break at natural phrases
- Label dialogue if there are multiple performers
- Include non-speech cues for context
- Export SRT and VTT with accurate timestamps
Distribution Blueprint: Release Plan and Metadata
When your video is finished, distribution becomes part of the craft. Choose your primary platform and tailor metadata to its search and discovery. Write a concise title, a descriptive description, and relevant tags that reflect mood, genre, and instrumentation. Create a thumbnail that communicates the video’s emotional core without giving away the ending. Plans for premiere events, social clips, and behind the scenes teasers help maintain momentum after release. Also, consider closed captions, translations if you have a multi-faceted audience, and caption-friendly thumbnails for accessibility.
- Choose a primary platform based on your audience and goals
- Draft metadata: title, description, tags, and categories
- Create multiple thumbnail options and test with a small audience
- Schedule a release window and plan supporting clips
- Monitor analytics and adjust future videos based on what resonates
Eight Creative Exercises to Jumpstart Your Music Video Concept
- Palette Play: pick three words that describe the mood and build a color palette to mirror them in lighting and grading
- Location Roulette: list two spaces you can shoot in under an hour and map a 3-shot sequence in each
- Sound-Driven Frames: watch a recording of your track and sketch a frame at each beat where the melody changes color or intensity
- Character Snapshot: create a fictional quick backstory for a performer to guide facial expressions and body language
- One-Take Challenge: design a 15-second continuous shot that conveys a full emotional beat
- Caption Sprint: write a tight, lyrically descriptive caption for the chorus and test length in two lines
- B-Roll as Narrative: plan B-roll that strengthens the story rather than just filler
- Final Cut A/B: edit two versions of a chorus and compare how pacing shifts affect energy
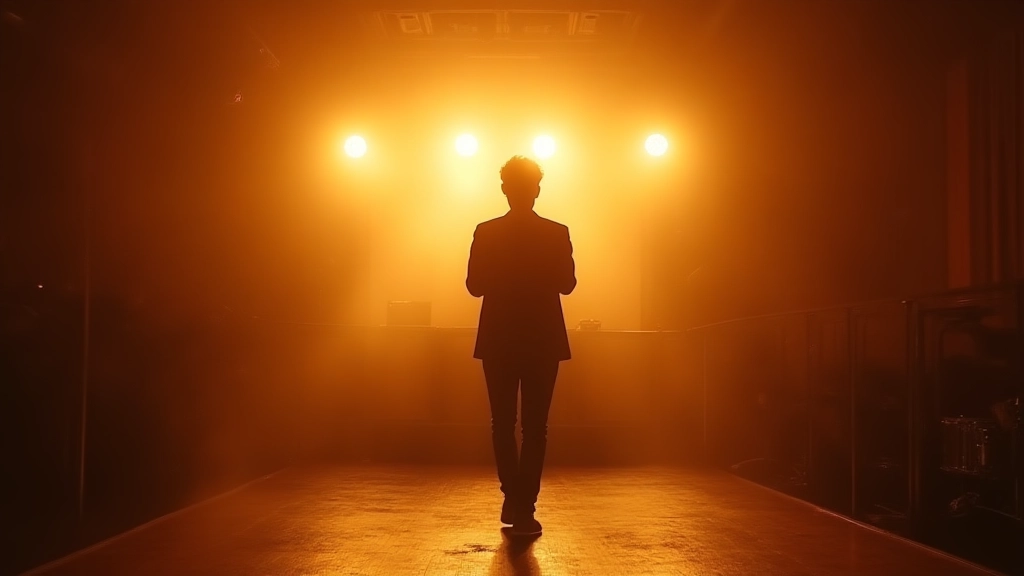
Final Frame: A Closing Moment That Lingers
Endings are as important as opens. In your final moment, let the performer hold a breath before the last note settles. A camera push in slowly as the singer holds a final gaze can crystallize the message. Then fade to black or dissolve into a single color that echoes the opening hue. A strong ending gives viewers something to remember when the next track drops on their feed. When you export, create platform-specific cuts and ensure captions are synchronized for the last frame as well. This is the frame that travels across feeds, so it should feel inevitable and true to the song.
As you move into distribution, rehearse export settings for each platform and prepare a few social-ready cuts of 15 to 30 seconds. The final language should travel across formats without losing its emotional center.
Hear what these choices do to your own song.
Upload stems or a finished track, choose a reference direction, and compare a private Moozix mix before you export anything.