The 8-Step Sprint for DIY Music Videos: A Pragmatic Playbook for Getting It Done
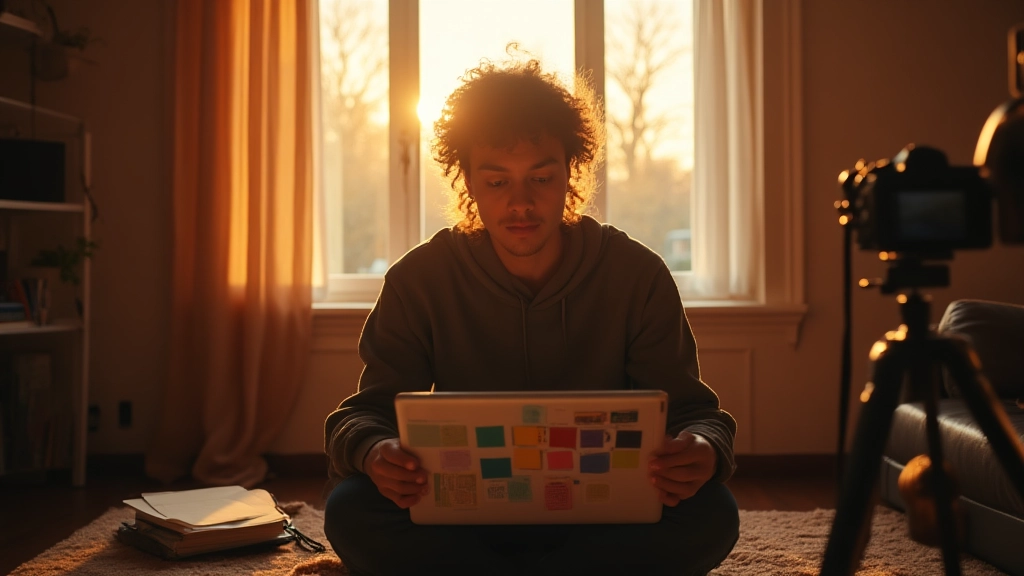
In a cramped rehearsal space as evening settles, a single practical idea cuts through the noise: you can make a compelling music video with intention, not with oodles of gear or a big crew. This eight-step sprint is built for musicians who juggle gigs, studio time, and creative experiments, proving that lean, thoughtful production can outshine flashy but unfocused shoots.
"Less gear, more story. The fastest way to great visuals is to plan tight and execute cleanly."
Sprint mindset: why speed and clarity beat big budgets
When you’re touring or working from a bedroom studio, momentum matters more than money. A sprint locks the narrative, anchors a handful of must-have shots, and ships a video that feels intentional rather than sprawling. I’ve seen artists start with a 15-second concept, test it on a phone screen, and discover it communicates more powerfully than a sprawling shot list that misses the core emotion.
Consider Mara, an indie artist who balanced a club residency with finishing a new track. Between soundchecks and social posts, she carved out two evenings to pre-produce and one full shoot day. The result was a video that captures her stage presence, her friendly banter with the crowd, and the song's heartbeat, all with a single camera and a few practical lights. The secret was a ruthless focus on what mattered: the moment the chorus lands and the small gestures that tell the story between lines.
Step 1 – Define the narrative in 15 seconds
Your video should begin with a hook that lands in a handful of breaths. A 15-second synthesis is a compact storyboard you can reference on set to guide performance, framing, and pacing. Start by writing a one-sentence premise that answers three questions: who is the protagonist, what is the emotional pivot, where does the story unfold. Then translate that premise into a visual sentence for three motifs you will repeat to create visual coherence.
- Protagonist and mood: a fearless performer discovering something new about themselves while the song unfolds.
- Emotional pivot: a moment when the singer looks toward the camera and the audience feels seen.
- Visual motifs: a recurring symbol or gesture (for example, a wristwatch catching the light, a neon alley, or a guitar pick bouncing on a drum head).
For Mara, the 15-second concept centered on the chorus moment when the crowd becomes the chorus itself. The visual plan featured a tight close-up on her eyes, a slow push with the camera revealing the crowd, and a final silhouette with the city lights behind her. In practice, this translated into a quick phone test clip that she shared with the band to confirm the emotion before any large gear was assembled.
In a dim warehouse at dusk, a singer checks the lighting with a tiny reflector and a borrowed light from a neighbor. The crew is three friends, laughing softly as they rehearse the timing. This is the core ritual of the sprint: keep the story tight, the gear lean, and the energy high.
Step 2 – Build a lean shot list and a master plan for the day
A lean shot list is a map, not a museum of ideas. It should cover the essential beats that carry your narrative, plus a handful of safety shots in case you miss a moment. A strong shot list pairs with a simple shot-to-scene mapping so you can move quickly between setups without second guessing.
| Shot Type | Purpose | Gear/Notes |
|---|---|---|
| Close-up performance | Conveys emotion and singer's connection to the song | 50mm lens, handheld, minimal movement |
| Chorus push-in | Builds energy into the hook | Compact camera, tripod, floor marks with tape |
| Audience moment | Shows engagement and scale | Phone shot from the crowd, stabilizer if possible |
| Landscape reveal | Establishes setting | Wide angle, tripod, natural light |
| Closing silhouette | Leaves a memory cue | Backlight, long lens for depth |
To visualize this, picture a small loft where the singer stands at the window as dusk settles. The camera glides from her fingertips to her face, then drifts to the skyline. The shot list keeps you from chasing every idea in every room and instead anchors you to the song's emotional spine.
The heart of a great video lies not in how much gear you own, but in how clearly you tell your story.
Step 3 – Pre-produce with micro-budget clarity
Pre-production is where you save the most time and money. The goal is to lock in locations, permissions, and performance cues long before you roll the camera. Use a one-page shoot brief that answers: what is the visual look, which scenes are non-negotiable, and who is responsible for what. Then do a quick run-through with your cast and crew, even if it's just you and a friend wearing multiple hats.
- Define the look in a single mood board with 3 reference images
- Lock locations and permissions a week ahead
- Assign time blocks and clear roles
- Keep a tiny prop kit and a simple wardrobe plan
The micro-budget frame invites creativity. One artist filmed a chorus scene against a transit-station wall, using natural light and a single portable LED panel borrowed from a neighbor. Another used a rooftop at golden hour with a borrowed tripod and a friend directing from the curb with a phone. The point is to make the concept real with minimal friction and maximum clarity. Jon, a guitarist on a tight tour, shot a hotel-room video using the mirror as a window light, a soft-bed sheet as a diffusion panel, and a borrowed compact camera. He kept the plan lean and delivered performance-first moments that matched the loop of the song.
Step 4 – Lighting and sound on a lean budget
Light shapes mood more than any other element in a DIY shoot. You do not need a $5,000 rig to look cinematic; you need controlled light and thoughtful placement. A repeatable, low-cost setup works best when you have a small crew and tight timing:
- Key light off to one side to sculpt the face and reveal character
- Fill light at a lower intensity to soften shadows without flattening mood
- Backlight or hair light to separate subject from background and create depth
- Practical lights, like a visible lamp or neon sign, enrich the frame and reduce light spill
- Soft, diffuse sources for interview-style moments to maintain readability on phones
One artist used a couple of inexpensive LED panels, a clamp-on reflector, and a white wall as a bounce surface. The result was intimate and present, with the camera work carrying the energy without flashy tricks. If you test a few lighting angles and run a 15-second clip, you can see what works before committing to a longer setup.
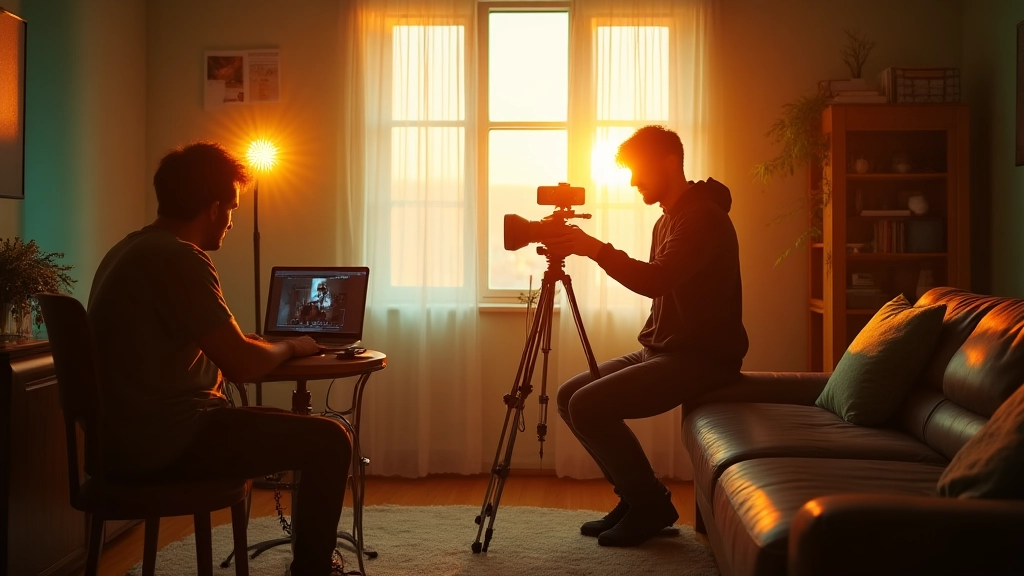
Step 5 – Shoot plan and call sheet for small teams
With small teams, a clean plan is your best friend. A one-page call sheet and a tight shoot schedule keep people aligned and reduce the chaos that eats time on set. The trick is to concentrate around a core sequence and map every shot to a 60–90 minute window, with a built-in buffer for hiccups.
| Stage | Window | Notes |
|---|---|---|
| Setup and rehearsal | 6:00–6:45 PM | Blocking, sound check, camera check |
| Scene A performance | 7:00–7:25 PM | Primary close-ups, tempo of song |
| Chorus push and crowd moment | 7:25–7:40 PM | Camera movement, crowd perspective |
| Alternate angle B-roll | 7:40–7:55 PM | Ambient shots, walk-throughs |
| Wrap and log | 8:00 PM | Review takes, quick backup |
In practice, this plan can be a lifeline for an artist balancing a tour with a studio day. The call sheet becomes a simple ritual: one take of the performance, one take of a mid shot, one closing silhouette. The result is a video that feels cohesive, not chopped up by location switches or gear swaps. On set, a tiny but powerful habit helps everyone stay efficient: a five-minute stand-down at the end of each block to review what worked and what didn't. The practice reduces waste and keeps energy high when you move to the next shot.
Efficiency on set is less about speed and more about purpose. When every shot earns its place, you finish with a stronger story.
Step 6 – Post-production workflow you can actually finish
Post can eat time if you let it. A clear workflow helps you lock the edit, color, and sound in a way that matches the script and mood you established on set. Build a simple pipeline with three stages: rough cut, fine cut, final polish. Treat color and sound as characters in the narrative, not as afterthought polish.
- Rough cut: assemble the best performance takes into a coherent sequence that tells the story in 60 to 120 seconds
- Fine cut: tighten pacing, remove distractions, and add rhythm through quick cuts on the beat where needed
- Final polish: color grade, audio sweetening, and final export at platform specs
Lea, a bedroom producer, pulled a tiny audio set into a single track and cut her video to the beat on a laptop with headphones. A short test run in the living room revealed that a few frame holds and crisp audio cues sold the chorus emotion without crowding the image track. In post, restraint can be a feature, not a fault. Meanwhile, Jon used AI-assisted color matching to ensure scenes shot on different days felt cohesive, while preserving his artistic voice. The key is to use automation to enhance, not dilute, your storytelling.
Step 7 – Release, feedback, and iteration
Release is not an ending but a doorway to a new cycle. For DIY artists, data is a compass, not a trap. Track watch time, rewatch moments, and where viewers drop or rewatch. This information informs the next video and helps you scale your concept without abandoning the lean approach. A strong first release acts as a proof of concept; the next video can push the idea further while keeping production lean.
- Publish with a simple, human caption that invites comments
- Set 2–3 metrics to measure: watch time, shares, comments
- Plan a follow-up that uses learnings without breaking the budget
In one tour scenario, a band released a video shot during a long layover in a city. They used a single camera, a tiny lighting kit, and a 60-second cut that captured the show energy and a few backstage moments. The video built momentum through steady posting, social clips, and a behind-the-scenes piece showing the sprint workflow. The audience responded to the honesty and the sense that the crew was a tight, accessible team rather than a distant production unit. As AI accelerates editing and color matching, the emphasis remains: protect your voice, use automation to refine, and let emotion stay center stage.
Closing: A practical mindset for lasting creative momentum
This eight-step sprint is not magic; it is a discipline you can apply anywhere. It respects the musician who writes late at night, the performer who tours with a carry-on camera, and the creator who builds a video from a corner of a bedroom studio. The aim is not perfection in gear but clarity of vision, speed of execution, and a repeatable process that prevents burnout.
Story first, shoot second, edit with intention. Your music video should feel inevitable because the choices were deliberate and aligned with the song.
If you want a quick takeaway, print this mini-checklist and keep it in your camera bag:
As you explore new frontiers in music video creation, remember this: technology can speed your work, but true power comes from your ability to tell a human story with the smallest, most precise set of tools. The sprint format gives you a map for turning a spark of an idea into a finished video that resonates with fans and collaborators alike.
A story well told is a video well shot. Your voice is the anchor; your workflow is the sail.
If you're ready to keep momentum, start by printing the eight steps, then pair each step with one small action you can complete within 24 hours. Small wins compound into a compelling, repeatable process that makes your next video faster, smarter, and more emotionally honest. The goal is not perfection in gear but a confident, repeatable method that keeps your art moving forward.
Hear what these choices do to your own song.
Upload stems or a finished track, choose a reference direction, and compare a private Moozix mix before you export anything.