Three musicians, three recording sessions, three completely different outcomes. Wesley plugged his bass straight into a DI and nailed the funk groove in one take. Charlene ran her guitar through a cranked Marshall and spent six hours fighting room noise. Doug split his signal both ways and discovered something neither approach could achieve alone.
When Clean Signal Wins the Mix
The control room fell silent as Wesley laid down the bass line for what would become the band's biggest single. No amp, no cabinet, no microphone placement headaches. Just his vintage Fender Jazz bass flowing through a high-end DI box straight into the preamp. The signal arrived pristine, uncolored, and ready for sculpting.
"I can hear every fret buzz, every string scrape," the producer murmured, adjusting the compressor threshold. "This is exactly what we need."
Direct input recording captures your instrument's pure electrical signal before any acoustic coloration occurs. When you plug directly into a DI box or audio interface, you're preserving maximum flexibility for the mix stage. The engineer can add amp simulation, distortion, or any character later without committing during tracking.
- Complete isolation from room acoustics
- Consistent signal regardless of amp condition
- Easy punch-ins without matching mic placement
- Maximum headroom and dynamic range
- Perfect for overdubbing and layering
Bass guitars particularly benefit from DI recording. The low frequencies that define bass presence often get muddied by room reflections and speaker coloration. A clean DI signal lets you dial in exactly the right amount of sub-bass content without fighting unwanted resonances.
The Amp-Recorded Magic You Can't Fake
Two weeks later, Charlene faced a different challenge entirely. Her indie rock anthem demanded the natural compression and harmonic saturation that only comes from pushing a tube amp to its sweet spot. The room had been treated, the microphone positioned with surgical precision, and every variable controlled.
"Turn it up until it starts breaking up," she called from the live room, adjusting her Telecaster's volume knob. "That's where the magic lives."
The resulting recording captured something no DI could replicate: the physical interaction between speaker cone, air molecules, and microphone diaphragm. Each note bloomed with natural compression as the tubes heated up and the speaker pushed against its mechanical limits.
| Recording Method | Frequency Response | Dynamic Character | Mix Flexibility |
|---|---|---|---|
| Amp + Microphone | Colored by speaker/room | Natural compression/saturation | Limited post-processing options |
| Direct Input | Flat, uncolored | Full dynamic range | Unlimited shaping potential |
| Amp Simulation | Modeled coloration | Programmed compression curves | Moderate flexibility |
Amp recording excels when the performance and tone work together organically. A guitarist who plays differently through a cranked Marshall versus a clean Fender brings distinct musical choices to each approach. The amp becomes part of the instrument, influencing both technique and expression.
Signal Splitting: The Best of Both Worlds
Doug discovered the hybrid approach almost by accident. His signal splitter had been set up for a completely different session, but when it came time to track his rhythm guitar parts, he decided to experiment. One path went to his vintage Vox AC30, the other to a pristine DI signal.
"Record both," he suggested to the engineer. "We'll figure out what we want later."
That decision saved the entire session. The amp signal provided gorgeous midrange warmth and natural compression, but a slight timing issue with the drummer became apparent during mixing. The DI signal, processed through a different amp simulation plugin, could be nudged perfectly into place without affecting the original performance character.
- Set up your signal path: Connect your instrument to a DI box or splitter device
- Route to multiple destinations: Send one signal to your amp, another to the recording interface
- Record simultaneously: Capture both the miked amp and clean DI on separate tracks
- Monitor both signals: Use your DAW to blend the signals during tracking
- Process independently: Apply different treatments to each signal during mixing
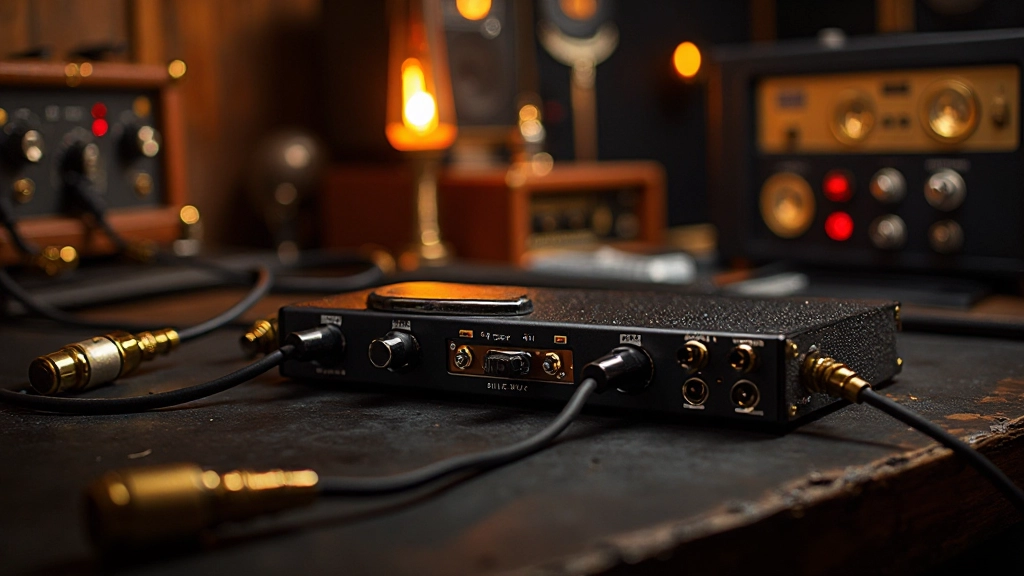
Impedance Matching and Signal Integrity
The technical foundation of great DI recording starts with proper impedance matching. Guitar pickups typically output high-impedance signals that can lose high-frequency content when connected directly to standard microphone inputs. A quality DI box converts this high-impedance signal to low-impedance, preserving frequency response across long cable runs.
Active DI boxes provide additional benefits through their built-in preamps. The extra gain stage can drive the signal harder into your recording interface, improving the signal-to-noise ratio. Some active DIs also include input pad switches for accommodating hot signals from active pickups or line-level sources.
"The difference between a $50 DI and a $500 DI isn't just about specs. It's about how the circuit handles transients, how it colors the harmonics, and whether it disappears into the signal path or announces its presence."
Genre-Specific Considerations
Different musical styles demand different approaches to the DI versus amp decision. Electronic music producers often prefer DI signals because they integrate seamlessly with programmed elements. The clean signals can be processed through the same plugin chains used on synthesizers and samplers, creating sonic cohesion across the entire arrangement.
Jazz recording typically favors amp recording for guitars, where the natural compression and frequency shaping of a clean tube amp enhances the instrument's role in the ensemble. Bass guitars in jazz contexts, however, often benefit from DI recording to maintain clarity in complex harmonic passages.
Metal and hard rock present interesting challenges. Rhythm guitars almost always sound better through high-gain amplifiers, where the preamp distortion and speaker interaction create the aggressive character the genre demands. Bass guitars in metal, conversely, often use DI signals to maintain low-end clarity beneath heavily distorted guitars.
Processing Strategies for DI Signals
The flexibility of DI recording becomes apparent during mixing, where you can shape the signal without the constraints of committed amp coloration. EQ decisions become more precise when you're working with the full frequency spectrum of the original signal.
High-pass filtering on DI bass signals can remove subsonic rumble without affecting the fundamental frequencies that define the note. Low-pass filtering can tame harsh upper harmonics without losing midrange presence. These surgical adjustments are often impossible when working with amp-recorded signals that already have frequency response curves baked in.
- Over-processing clean signals with multiple amp simulations
- Ignoring gain staging between DI box and preamp
- Applying guitar-specific processing to bass DI signals
- Forgetting to account for plugin latency when blending with miked amps
Modern Workflow Integration
Contemporary recording workflows increasingly rely on hybrid approaches that combine traditional techniques with modern flexibility. Re-amping allows engineers to send DI signals back through amplifiers during mixing, essentially time-shifting the amp recording process until after the musical decisions are finalized.
This approach proves especially valuable in home studio environments where amp recording might disturb neighbors or family members. The musician can track clean DI signals during late-night sessions, then re-amp through cranked amplifiers when appropriate volume levels are possible.
Some engineers maintain libraries of DI signals from particularly inspired performances, treating them as source material for multiple projects. A single bass performance might be processed differently for various songs, with each treatment highlighting different aspects of the original musical expression.
Making the Decision Track by Track
The choice between DI and amp recording should serve the song first, technical preferences second. Fast, aggressive passages often benefit from the immediate response of DI signals, where every note attack remains crisp and defined. Slower, more expressive parts might call for the natural compression and harmonic complexity that only tube amplifiers provide.
Consider the arrangement context as well. Dense mixes with multiple guitar parts might need DI precision to maintain clarity, while sparse arrangements can accommodate the frequency coloration and dynamic variations of amp recording. The other instruments in the production should inform your signal chain decisions.
Budget and time constraints also factor into the equation. DI recording eliminates variables like microphone selection, room acoustics, and amp maintenance. When you need consistent results quickly, the direct approach often proves more efficient than managing the complexities of amplifier recording.
The most successful recordings often combine both approaches strategically, using each method where it serves the music best. Whether you choose the pristine clarity of direct input or the organic complexity of amplifier recording, the decision should enhance the emotional impact of the performance, not just satisfy technical preferences.
Hear what these choices do to your own song.
Upload stems or a finished track, choose a reference direction, and compare a private Moozix mix before you export anything.