Two hours is enough to set a direction, lock a look, and tell a story that sticks.
The Two-Hour Sprint Music Video Blueprint
A lean, narrative-driven approach helps you move from idea to on-screen moment without burning out your schedule or your budget. In this guide we walk through a practical sprint that covers planning, shooting with AI in mind, and finishing in a way that scales across platforms.
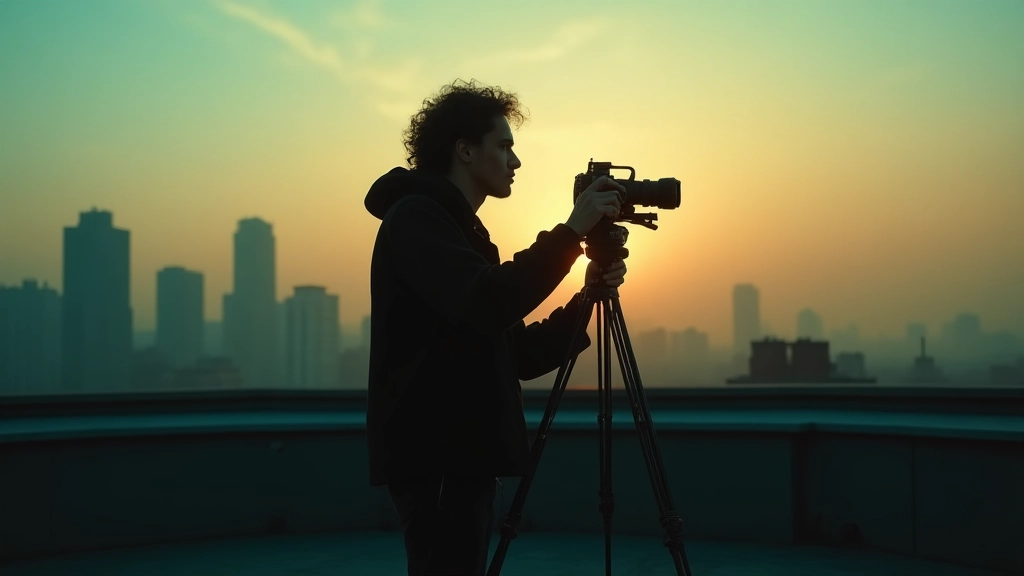
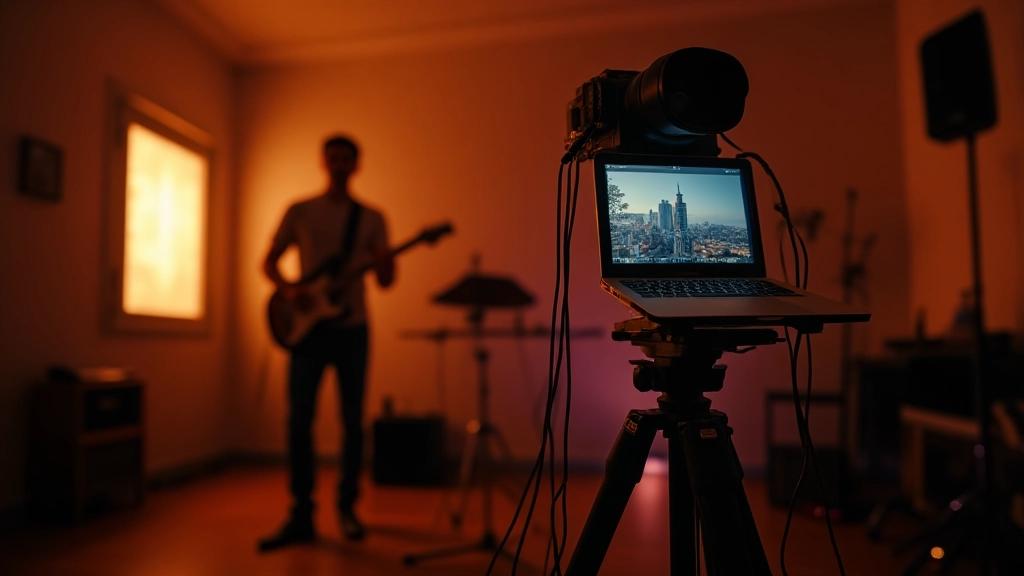
In the opening scene, a guitarist named Sam stands in a compact living room studio. A laptop glows with an AI upscaling preview, the camera is on a sturdy tripod, and a single light casts a warm pool across a clutter of pedals and cables. This is not a glossy set; this is a real creator space where constraint becomes a catalyst.
1) Groundwork: define the beat in 120 minutes
- Set a single, concrete objective for the video. Example: show the emotional arc of a chorus in three performances across two locations.
- List the three must-have visuals that support that arc. For instance, a close-up of hands on strings, a second with a city light outside, and a third that reveals the artist in a quiet moment.
- Write a one-page storyboard script. Sketch, describe, and timestamp each shot so you can navigate the shoot without a full crew.
Next, create a two-column shot plan that aligns with your music's dynamics. The left column is what happens in the frame, the right column is the sound and tempo. This simple alignment is a secret weapon when you have limited time and talent.
2) Compose with AI in Mind: planning shots that upscalers love
When you shoot with AI upscaling in mind you gain flexibility in post. Shoot with high resolution, consistent lighting, and simple textures that scale well. Use a neutral background or a single color wall to ease color matching across takes. Consider looping or static elements to keep motion readable, which helps upscalars preserve detail rather than amplify noise.
- Capture at minimal motion blur; shoot a few seconds of clean, still frames between performance takes.
- Use a consistent white balance and exposure across all shots for smoother upscaling results.
- Record room tone and clean audio separately so the final mix can glide over scaled footage.
3) Post window: AI upscaling, denoise, and artifact cleanup
In post you will orchestrate a careful upgrade of your footage. The goal is to preserve performance energy while lifting resolution and reducing distractions from compression or noise.
| Step | Why it matters |
|---|---|
| Upscale to 4K | Enables clean detail preservation when viewed on modern displays; gives room for color grade without crushing shadows. |
| Denoise selectively | Preserves texture in skin and instruments while removing grain that becomes amplified after upscaling. |
| Artifact cleanup | Removes blocky edges and halos that appear around tight cuts or motion interpolation. |
| Frame stabilization | Keeps the open visual feel coherent across long takes and edits. |
Experiment with different tools on a handful of frames to compare results before committing to a full pass. For one scene, test three approaches: subtle denoise, heavy upscaling, and moderate artifact removal. Pick the balance that maintains the performance energy while sharpening the look.
Look for fidelity in performance first, polish in polish second. The best AI upscaling enhances emotion, not reality.
4) Tone and color: moving look across rooms and cameras
Look transfer is not about matching every frame exactly; it is about creating a felt throughline. Start by color matching the primary source across takes, then apply a consistent LUT or grading pass that ties the palette together. If your rooms vary, build a tiny LUT that captures the core contrast and hue relationships and reuse it on all shots.
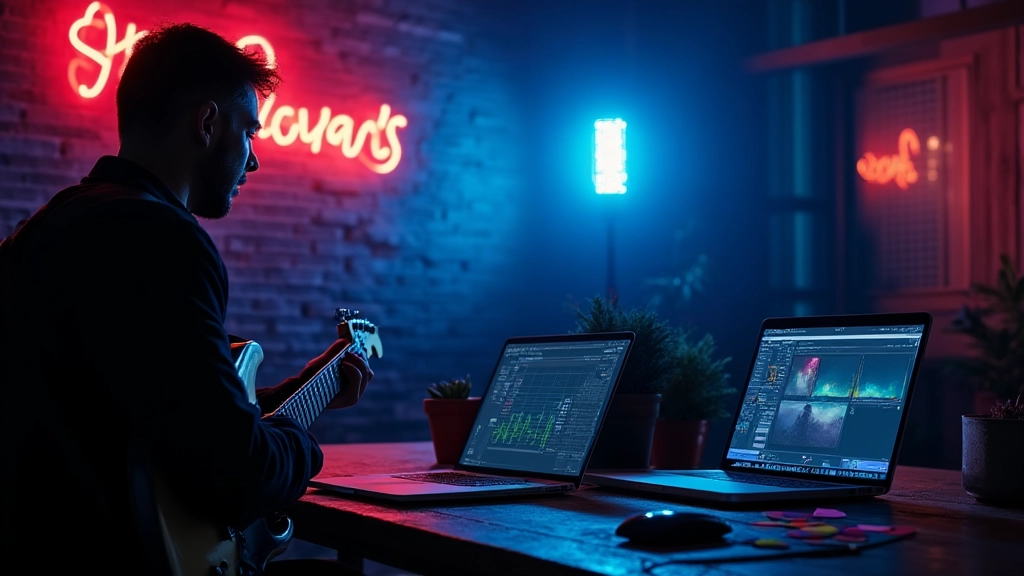
Live shoot sample: bus tour room
A musician on a tour bus improvises, lights flicker from a nearby neon sign, and a phone camera records a quick chorus. The footage, though rough, is saved by a stable look and a crisp, clear vocal take.
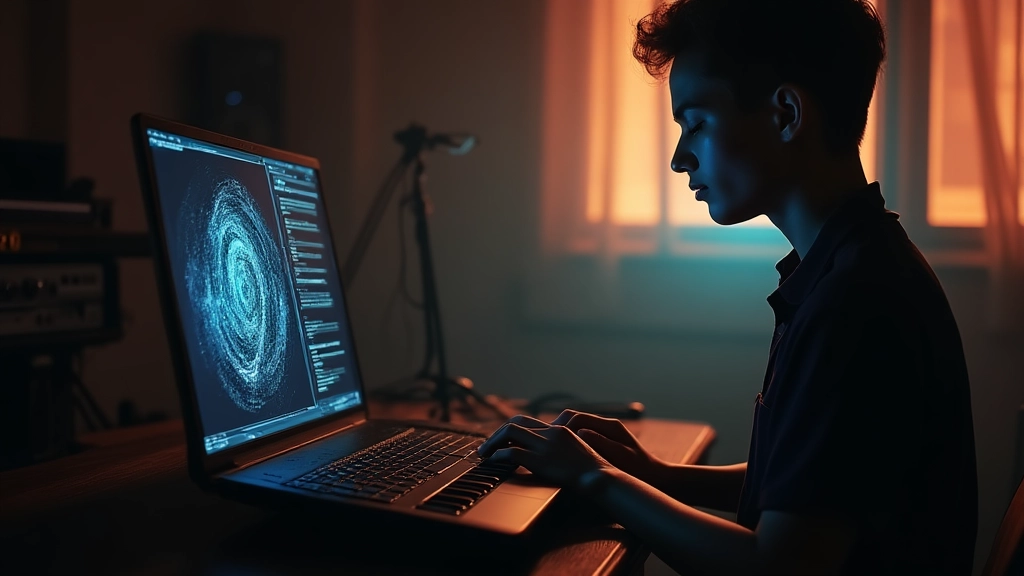
Bedroom producer moment
In a cramped apartment, a producer sits with a laptop and a modular synth. An AI-integrated monitor previews the upscaled video, guiding color decisions that feel intimate and warm.
5) Three mini-stories that illuminate the craft
First story follows a guitarist called Sam who travels with a compact Moozix kit. In a hotel room after a show, the look of the room becomes a character as AI upscaling reveals textures in the guitar finish you never noticed before. Second story centers on a singer in a rehearsal space who molds the performance into a three-beat arc, treating the camera like a collaborator rather than a machine. Third story shows a bedroom producer who uses a minimal setup to build a music video around a single riff, with AI-assisted upscaling to create the illusion of a larger stage.
These vignettes demonstrate that the sprint is not a single path but a flexible process. Each storyteller uses the same workflow but adapts to space, gear, and tempo.
6) Distribution plan: from render to streaming and searchability
Prepare a distribution plan that maps file formats, aspect ratios, and metadata. Deliver the final cut in multiple aspect ratios (16:9 for YouTube, 9:16 for reels, 1:1 for IG grid) and bake in timecode-friendly reels for social previews. Captioning and a concise description help accessibility and SEO. In practice, a small set of ready-to-upload exports reduces last-minute scrambling.
7) The formal sprint checklist you can use tonight
- Define objective and one-line story beat
- Assemble a two-shot plan and one location card
- Lock camera settings and white balance
- Capture three performance takes plus two b-roll angles
- Perform a quick rough cut and note fixes for post
- Run a two-pass upscaling and denoise pass on a sample scene
- Finish color grade and apply LUT across shots
- Export, caption, and publish with a tight release plan
As you complete the sprint, document what felt slippery and what clicked. Your notes become the seed for the next video and the next two-hour window that follows.
Two hours is not a deadline it is a creative constraint that unlocks focus. Use it to capture a moment that can scale in post.
8) Real-world examples to spark your own sprint
A singer named Maya shot a live version of a chorus in a sunlit kitchen, then used AI upscaling to blend that warm domestic light with a glossy studio feel. A guitarist named Ivan filmed a bus-stop riff in the rain, using a single backdrop to keep the look consistent across takes. A producer named Lena tested a 4K capture in a small apartment and applied a minimal color grade to maintain the emotion of a close-up performance. Each case shows that the sprint is about intent, not gear.
9) Budget-smart gear and backup plans
In a two-hour sprint, you will maximize value with a small, reliable kit. A fixed lens 24-70, a second compact camera for B-roll, a travel tripod, a portable LED panel, a field monitor, and a laptop capable of running a live upscaling preview. Prepare a one-page budget template with line items for gear rental (if needed), transportation, consumables, and editing time. Create a cost-friendly shooting plan: choose one location, schedule a short shoot window, and reuse wardrobe pieces. Always have a contingency shot that can be filmed in a single take and used across multiple cuts. If AI processing hits a snag, revert to in-camera edits and keep a clean master drive with organized folders.
10) Quick QA and release readiness
Before you publish, run a 5-minute test screening with friends or collaborators. Watch on a phone and a laptop to spot artifacts and compression issues. Check pacing against the track's tempo; ensure captions are synced; verify metadata and thumbnail; export a short 15-second teaser for social. Keep a simple release checklist: final render, caption files, alt text for accessibility, and a publish window aligned to your audience's peak times.
Hear what these choices do to your own song.
Upload stems or a finished track, choose a reference direction, and compare a private Moozix mix before you export anything.