The vocal booth smelled like old carpet and dreams deferred when Trevor stepped inside, clutching his new condenser mic like a talisman. He'd spent three months saving for it, convinced this single purchase would transform his bedroom recordings into radio-ready gold. Two hours later, his voice sounded thinner than tissue paper, while his acoustic guitar had somehow developed an unpleasant nasal quality that made him wince. The expensive microphone sat there, beautiful and useless, a monument to his fundamental misunderstanding of how recording actually works.
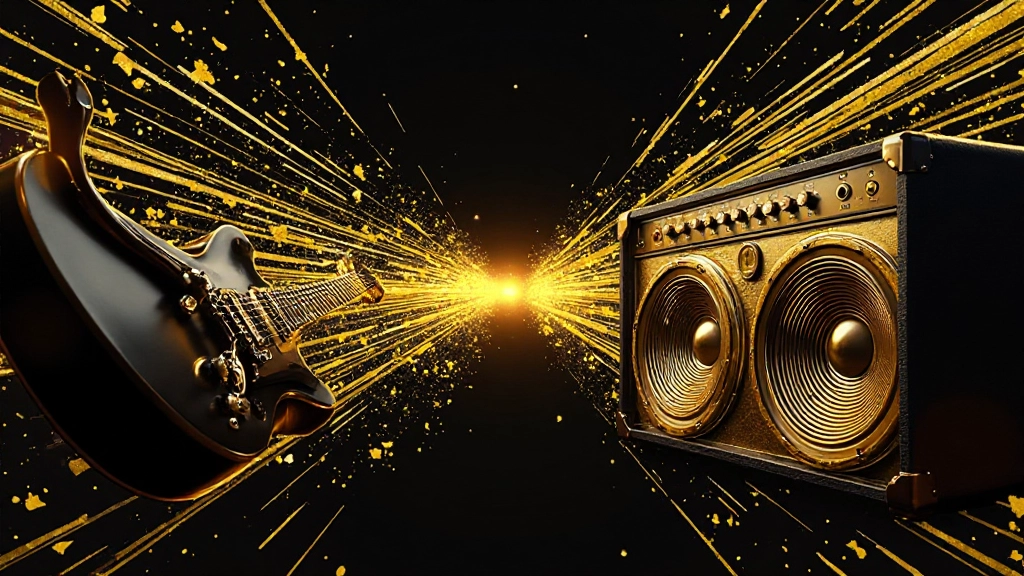
When Good Mics Go Bad
Trevor's story plays out in home studios worldwide every single day. Musicians invest in quality microphones without understanding the critical relationship between source characteristics and microphone selection. The truth is, there's no such thing as a universally perfect microphone – only perfect matches between specific sources and specific mic characteristics.
The problem starts with marketing. Manufacturers love to promote their flagship condensers as "studio standards" or "vocal mics," creating the illusion that one microphone can handle everything from whispered ballads to screaming Marshall stacks. This oversimplification leads to expensive mistakes and recordings that never reach their potential.
Step 1: Decode Your Source's Sonic Fingerprint
Before touching a single microphone, you need to understand what you're actually trying to capture. Every sound source has distinct characteristics that determine which microphone will serve it best. These characteristics include frequency content, dynamic range, directional behavior, and harmonic complexity.
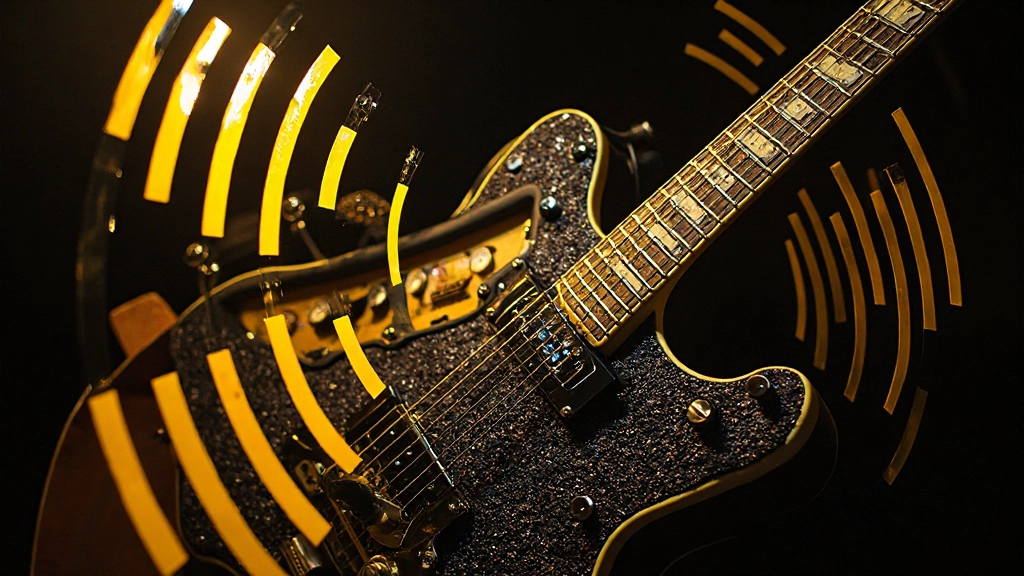
Consider the difference between a fingerpicked acoustic guitar and a heavily distorted electric guitar amp. The acoustic guitar produces complex harmonics across a wide frequency spectrum, with subtle transients and natural resonance that benefits from detailed capture. The electric guitar amp, conversely, might be pumping out compressed, harmonically saturated content that requires a microphone capable of handling high sound pressure levels without adding unwanted coloration.
| Source Type | Key Characteristics | Microphone Considerations |
|---|---|---|
| Intimate Vocals | Wide dynamic range, detailed expression | Large-diaphragm condenser, controlled environment |
| Rock Vocals | High energy, consistent projection | Dynamic mic, excellent off-axis rejection |
| Acoustic Guitar | Complex harmonics, transient detail | Small-diaphragm condenser, accurate frequency response |
| Electric Guitar Amp | High SPL, focused frequency content | Dynamic mic, midrange emphasis |
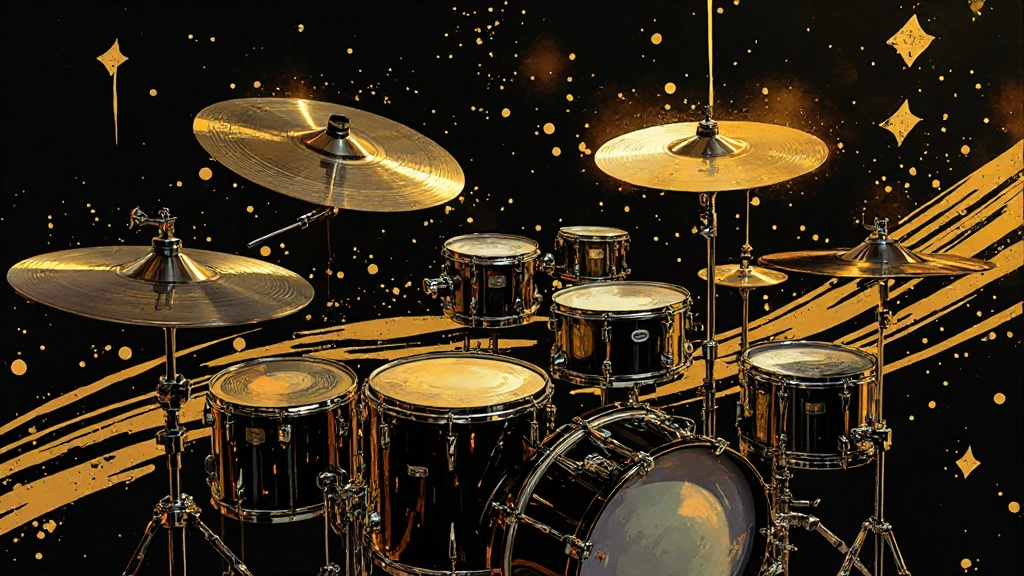
| Drum Kit | Explosive transients, varied frequency content | Multiple mic types, specialized placement |
Step 2: Understand Microphone Personalities
Microphones aren't neutral devices – they're creative tools with distinct sonic personalities. Understanding these personalities allows you to make intentional choices rather than random guesses. The three main microphone types each excel in different scenarios.
Dynamic microphones handle high sound pressure levels and offer excellent off-axis rejection, making them ideal for loud sources or untreated rooms. Their frequency response often emphasizes midrange content while rolling off extreme highs and lows, which can actually benefit sources like male vocals or electric guitar amps.
Large-diaphragm condensers capture incredible detail and offer extended frequency response, perfect for sources with complex harmonic content. However, they're also sensitive to room acoustics and require careful placement in treated environments.
Small-diaphragm condensers provide accurate frequency response and excellent transient handling, making them versatile choices for acoustic instruments. Their smaller size allows for precise placement, while their typically flat frequency response preserves the natural character of the source.
Step 3: Match Frequency Response to Source Content
The frequency response curve of your microphone should complement, not compete with, your source material. This principle seems obvious, but implementation requires careful consideration of both the source's natural frequency content and your creative goals.
When recording vocals, consider the singer's natural timbre and the song's emotional content. A bright, airy condenser might enhance a pop vocal that needs to cut through dense production, while a warmer dynamic microphone could better serve a soulful ballad that requires intimacy over presence.
- Analyze your source's fundamental frequency range and harmonic content
- Identify which frequencies need enhancement or control
- Select a microphone whose frequency response supports your creative vision
- Test multiple options when possible, trusting your ears over specifications
Step 4: Consider Proximity Effect and Working Distance
Proximity effect – the increase in bass response when sources move closer to directional microphones – can make or break your recording. Understanding and controlling this phenomenon allows you to use it creatively rather than fighting against it.
Bass instruments often benefit from proximity effect, adding weight and presence that enhances their role in the mix. Vocals, however, might become muddy and boomy if the proximity effect isn't managed properly. Some microphones include bass rolloff switches specifically to counteract unwanted proximity effect.
"The best engineers I know don't fight proximity effect – they dance with it. Sometimes getting closer to add warmth is exactly what the song needs. Other times, backing off preserves clarity. The microphone choice determines which option you have."
Step 5: Factor in Your Room Acoustics
Your recording environment dramatically influences microphone selection. A beautifully designed studio with proper acoustic treatment opens up possibilities that simply don't exist in untreated bedrooms or basements. Acknowledging these limitations leads to better microphone choices and ultimately better recordings.
In untreated rooms, dynamic microphones often outperform condensers simply because they capture less room ambience. Their directional characteristics and lower sensitivity help isolate the source from problematic reflections and background noise.
Conversely, well-treated rooms allow you to take advantage of sensitive condenser microphones without sonic compromises. The controlled acoustic environment lets you capture source detail without unwanted room coloration.
- Test microphones in your actual recording space, not based on studio reviews
- Consider the room's contribution to the overall sound
- Choose microphones that work with your space, not against it
- Invest in acoustic treatment before expensive microphones
Step 6: Test Polar Pattern Options
Polar patterns determine how microphones respond to sound from different directions, and this choice can dramatically affect your recording quality. The standard cardioid pattern works well for most applications, but understanding alternatives opens up creative possibilities.
Omnidirectional microphones capture sound equally from all directions, making them excellent for sources with complex acoustic behavior or when you want to include controlled room ambience. Figure-8 patterns reject sound from the sides while capturing front and back, useful for isolating sources in multi-instrument recordings.
Some microphones offer switchable polar patterns, providing flexibility for different recording scenarios. This versatility can be valuable in home studios where one microphone might need to handle various sources.
Step 7: Evaluate Handling Noise and Mechanical Considerations
Physical interaction between performer and microphone affects recording quality in ways that specifications can't capture. Handling noise, vibration sensitivity, and mechanical feedback all influence the final result.
Singers who move while performing need microphones with excellent handling noise rejection. Some condensers, despite superior audio quality, become unusable when mechanical vibrations travel through mic stands or when performers gesture while singing.
Wind instruments present unique challenges, producing not only musical content but also air movement that can create unwanted noise. Microphone selection and placement must account for these physical realities.
Step 8: Consider Signal-to-Noise Ratio in Your Environment
The relationship between your source's output level and your recording environment's noise floor determines which microphones will work effectively. High-output sources like guitar amplifiers can work well with relatively insensitive microphones, while quiet sources like fingerpicked acoustic guitars might require the sensitivity of quality condensers.
Home studios often have higher noise floors than professional facilities due to HVAC systems, computer fans, and external sound sources. These environmental factors influence microphone selection just as much as the musical source itself.
Step 9: Test Phase Relationships with Multiple Microphones
When recording sources that require multiple microphones – drum kits, piano, or stereo acoustic guitar techniques – phase relationships between microphones become critical. Microphones with different capsule designs or polar patterns might introduce phase shifts that cause problematic cancellation or comb filtering.
This consideration extends beyond just microphone selection to placement and timing. Some engineers prefer matched pairs of identical microphones for stereo techniques, while others deliberately choose different microphone types to create complementary perspectives on the same source.
Step 10: Trust Your Ears Over Specifications
Technical specifications provide useful starting points, but your ears make the final decision. Two microphones with identical frequency response graphs might sound completely different on your source in your room. The numbers tell you what might work; listening tells you what does work.
Develop systematic listening skills by recording the same source with different microphones under identical conditions. Compare not just the isolated tracks, but how each microphone's character serves the complete mix. Sometimes the "worse" sounding individual track creates the better mix component.
Trevor eventually learned this lesson the hard way. After months of frustration, he borrowed a basic dynamic microphone from a friend and discovered it captured his voice with the warmth and presence his expensive condenser couldn't achieve in his untreated bedroom. The "inferior" microphone became his go-to vocal mic, proving that matching microphones to sources isn't about prestige – it's about understanding the relationship between tool and task.
The art of microphone selection combines technical knowledge with creative intuition. Every source tells you what it needs; learning to listen is the first step toward capturing it perfectly. Your next great recording might come from the microphone you least expect, matched perfectly to the source you're trying to serve.
Hear what these choices do to your own song.
Upload stems or a finished track, choose a reference direction, and compare a private Moozix mix before you export anything.