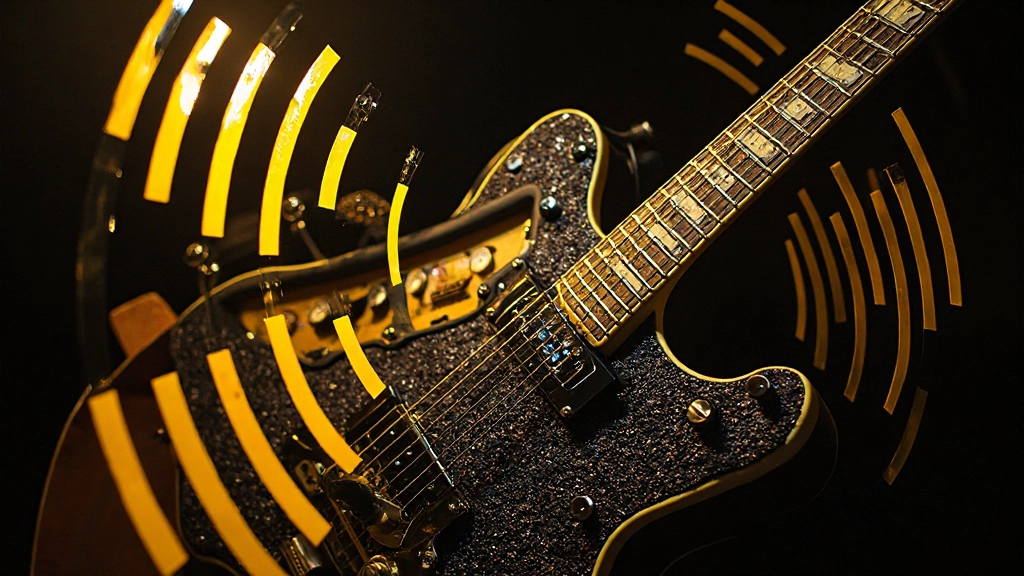
Every guitar recording walks a tightrope between warmth and clarity. Push too far toward warmth, and your track disappears into muddy territory. Chase clarity too hard, and you end up with a thin, lifeless sound that cuts through but lacks soul.
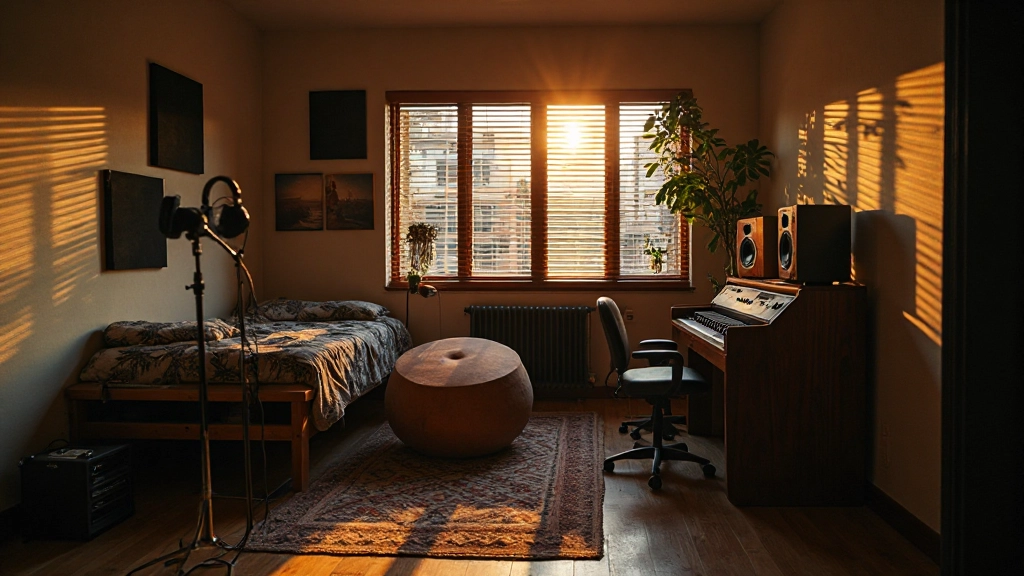
Trevor had been chasing this balance for months. His indie rock band's latest sessions kept hitting the same wall: guitar parts that sounded perfect in isolation but vanished the moment drums and bass entered the picture. The warm, vintage tone he loved from his tube amp became a muddy mess in the full mix, while his attempts to add clarity resulted in harsh, brittle recordings that made everyone wince.
This struggle isn't unique to Trevor's situation. The warmth versus clarity dilemma represents one of the most common challenges in guitar recording, especially in home studios where acoustic treatment and monitoring might not be ideal. The good news? There's a systematic approach to finding that sweet spot where character meets definition.
Step 1: Choose Your Sonic Foundation Before You Press Record
The warmth-clarity balance starts with your amp settings, not your mix. Many guitarists make the mistake of dialing in a tone that sounds huge and warm when playing alone, then wonder why it doesn't translate in a full arrangement.
Start with less low-end than you think you need. That thick, woolly bottom end that feels so good under your fingers often translates to mud when other instruments join the party. Roll back your amp's bass control to around 3 or 4 instead of 7. You can always add low-end character later with EQ, but removing muddiness from the source is much harder.
Pay attention to your midrange settings. The mids are where guitars live in a mix, particularly the 800Hz to 2kHz range. A slight boost in the upper mids (around 1.5kHz) can help your guitar maintain presence without relying on excessive brightness.
Step 2: Master the Art of Strategic Microphone Placement
Microphone placement might be the most powerful tool you have for balancing warmth and clarity. The classic approach of pointing a dynamic mic straight at the speaker cone's center gives you presence and cut, but it can sound harsh and one-dimensional.
Try the "off-axis" technique: place your microphone at a 45-degree angle to the speaker, pointing toward the edge of the cone rather than dead center. This position captures more of the speaker's natural character while reducing the harshest frequencies that cause listener fatigue.
Distance matters enormously. Close-miking (2-6 inches from the speaker) emphasizes clarity and reduces room reflections, but it can sound clinical. Pulling back to 12-18 inches introduces more natural ambience and warmth, though you'll need decent acoustic treatment to make this work in most home studios.
Consider a dual-mic approach if your interface allows it. Combine a dynamic mic close to the speaker with a condenser mic 2-3 feet back. Blend them during mixing to dial in exactly the warmth-to-clarity ratio your song needs. The close mic provides definition, while the room mic adds body and natural reverb.
Step 3: Embrace the Power of High-Pass Filtering
This step often feels counterintuitive when you're chasing warmth, but aggressive high-pass filtering can actually enhance the perception of both warmth and clarity. Most guitar recordings benefit from removing everything below 80-100Hz, and sometimes even higher depending on the arrangement.
Guitar amplifiers naturally produce very little fundamental energy below 80Hz, so you're mainly filtering out rumble, room noise, and unwanted resonances. Removing this low-end clutter makes space for your bass guitar while allowing the guitar's natural warmth to shine through more clearly.
For rhythm guitars in busy mixes, don't be afraid to high-pass up to 120-150Hz. This might sound thin when soloed, but it prevents the frequency buildup that causes muddiness when multiple instruments compete for the same sonic space.
- Start conservative: Begin with a gentle high-pass around 80Hz
- Listen in context: Solo your guitar against the bass and drums
- Push gradually: Increase the high-pass frequency until you notice the guitar losing body
- Pull back slightly: Find the sweet spot just before it starts sounding thin
Step 4: Sculpt the Critical Midrange Frequencies
The 200-800Hz range often determines whether your guitar sounds warm or muddy. This frequency band contains the fundamental frequencies of many guitar chords and notes, but it's also where muddiness lives.
Many engineers reflexively cut frequencies in this range, but that approach can rob your guitar of its body and warmth. Instead, try surgical cuts of specific problem frequencies rather than broad strokes. Use a narrow Q setting on your EQ and sweep through this range while playing your track. When you hear the sound clear up significantly, you've found a frequency to reduce by 2-4dB.
The upper midrange (1-4kHz) controls your guitar's presence and ability to cut through dense mixes. A gentle boost around 2-3kHz can add clarity without harshness, but be careful not to overdo it. Small moves of 1-2dB often provide all the presence you need.
Tara, a session guitarist who frequently records for pop productions, has developed a signature approach to midrange sculpting. She starts by cutting 2-3dB around 400Hz to remove muddiness, then adds a gentle 1.5dB boost at 2.5kHz for presence. This combination maintains warmth while ensuring her rhythm guitars never disappear behind vocals and other instruments.
Step 5: Use Compression to Enhance Both Warmth and Definition
Compression affects the warmth-clarity balance in subtle but important ways. Fast attack times can reduce the punch and clarity of your guitar's initial transient, while slow attacks preserve the pick attack but might let through unwanted peaks.
For most guitar recordings, try starting with a medium attack time (10-30ms) and a medium-fast release (100-200ms). This preserves enough transient information to maintain clarity while smoothing out the sustain portion of notes to enhance warmth and body.
Ratio settings between 3:1 and 6:1 typically work well for guitars. Higher ratios can sound pumpy and obvious, while lower ratios might not provide enough control over dynamic range. Aim for 2-4dB of gain reduction on the loudest peaks.
"The best guitar compression is the kind you feel more than hear. It should make the performance more compelling without drawing attention to itself."
Step 6: Balance Brightness Without Sacrificing Character
The treble frequencies above 5kHz control your guitar's brightness and air, but they require careful handling. Too much emphasis here creates harshness and listener fatigue. Too little makes your guitar sound dull and lifeless.
Instead of broad treble boosts, try gentle shelving starting around 8-10kHz. A 1-2dB shelf in this range can add sparkle and definition without emphasizing the harsher frequencies in the 3-6kHz range that cause ear fatigue.
If your guitar recording sounds dull, resist the urge to immediately reach for high-frequency EQ. Sometimes the problem is actually in the midrange. Clearing up muddy low-mids can make the entire recording sound brighter and more defined without touching the treble at all.
Step 7: Consider Your Guitar's Role in the Arrangement
The ideal warmth-clarity balance depends heavily on what your guitar needs to accomplish in the song. Lead guitars generally need more clarity and presence to cut through and grab attention. Rhythm guitars often benefit from a warmer, more supportive character that fills space without competing with vocals.
For doubletracked rhythm parts, try processing each side slightly differently. Pan one guitar left and EQ it with slightly more warmth (less high-pass filtering, gentle low-mid boost around 250Hz). Pan the other right and process it for more clarity (higher high-pass, slight upper-mid boost). This approach creates a wide, full rhythm section that maintains both character and definition.
In dense arrangements, don't be afraid to sacrifice some low-end warmth for clarity. A guitar that sounds slightly thin in isolation but cuts through perfectly in the mix serves the song better than one that sounds great alone but disappears in context.
Step 8: Use Reference Tracks to Calibrate Your Decisions
Load up professional recordings in your DAW that feature guitar tones you admire. Pay attention to how those guitars balance warmth and clarity in context, not just when soloed. Notice how much low-end they actually contain (often less than you'd expect) and where their presence frequencies sit.
A/B your guitar recordings against these references at matched levels. This comparison quickly reveals whether you're heading in the right direction or if you need to adjust your approach. Don't aim to copy the reference exactly, but use it as a guide for professional standards of clarity and warmth.
- Load reference tracks into your DAW session
- Match levels between your guitar and the reference
- Solo the reference guitar track to study its tonal balance
- Listen to both guitars in full mix context
- Adjust your processing to move toward the reference's balance
Step 9: Test Your Decisions Across Multiple Playback Systems
The warmth-clarity balance that sounds perfect on your studio monitors might not translate to earbuds, car speakers, or laptop speakers. Before finalizing your guitar sounds, test them on at least three different playback systems.
Pay particular attention to how your guitars sound on smaller speakers with limited bass response. If your "warm" guitar tone disappears entirely on laptop speakers, you probably need more midrange presence. Conversely, if it sounds harsh and brittle on earbuds, you might have pushed the brightness too far.
Car speakers often reveal the truth about low-midrange buildup. A guitar tone that sounds perfect in your treated studio might reveal muddiness when played through car audio systems, where road noise masks subtle details and emphasizes problem frequencies.
Step 10: Document Your Successful Settings for Future Reference
When you achieve that perfect balance between warmth and clarity, document everything: mic position, amp settings, EQ moves, compression settings, and any other processing. Take photos of your mic placement and amp controls. Save your EQ settings as presets.
Create a simple template that includes your successful guitar processing chain. This doesn't mean you'll use identical settings for every song, but having a proven starting point saves time and provides a reference when you're struggling with similar challenges in future sessions.
Keep notes about which techniques worked for different musical styles. The approach that works perfectly for indie rock rhythm guitars might need adjustment for blues leads or metal textures. Building this knowledge base makes you more efficient and consistent over time.
The balance between warmth and clarity will always require artistic judgment calls specific to each song and arrangement. But by following this systematic approach, you can make those decisions from a position of technical understanding rather than guesswork. Your guitars will sit better in mixes, translate across playback systems, and serve the music more effectively.
Remember Trevor from our opening? He eventually found his sweet spot by combining strategic high-pass filtering with careful midrange sculpting and dual-mic techniques. His guitars now maintain their vintage character while cutting through even the densest arrangements. The key was treating warmth and clarity not as opposing forces, but as complementary elements that enhance each other when properly balanced.
Hear what these choices do to your own song.
Upload stems or a finished track, choose a reference direction, and compare a private Moozix mix before you export anything.