Blueprint, Not Buzzwords: DIY Music Video From Idea to Final Cut
A practical, end-to-end guide for musicians who want to plan, shoot, edit, and release a DIY music video with concrete steps, real-world scenes, and AI tools used with care.
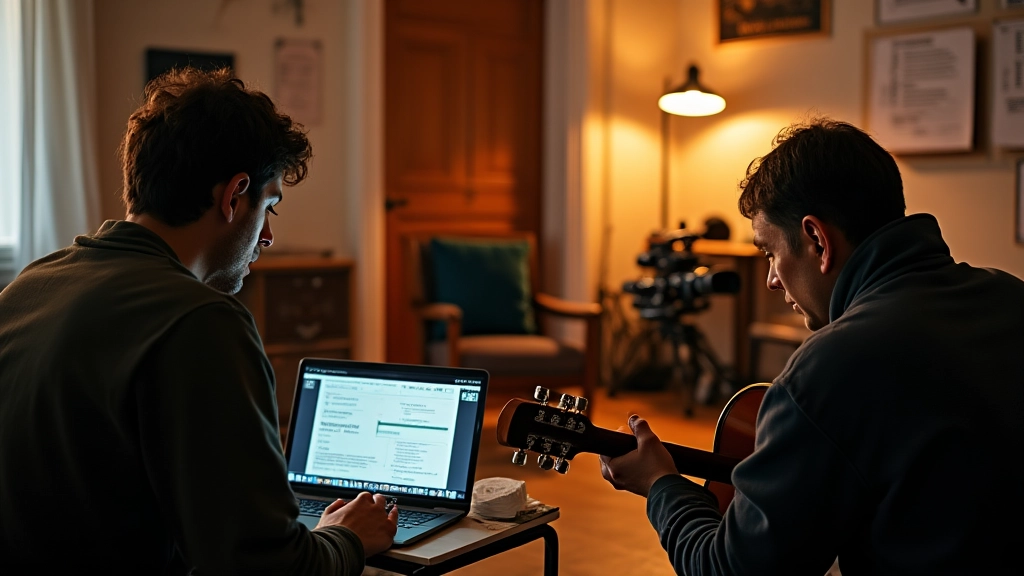
Opening Frame: A Night in the Bedroom Studio
In a small apartment, a desk lamp and a compact LED panel glow like twin suns. The artist, Mina, tunes a guitar perched on a folding chair, letting the room's quiet hum set the tempo. The idea for the video is simple: show how a song survives the pressure of travel and crowded cities by focusing on small, honest details. The challenge is to translate that feeling into images that feel intentional, not accidental.
From Spark to Script: Building the Narrative Skeleton
Before you touch a camera, your story must be anchored in concrete moments that map to the song's rhythm. I approach this with a three-step method: define the hook, align the chorus with a visual beat, and scaffold verses with micro-scenes. This keeps the video tight even if you shoot with limited gear.
- Hook first: identify a single moment that will pull viewers in within the first five seconds.
- Beat-based visuals: translate each chorus into a visual motif that repeats or evolves.
- Beat map: sketch 8-12 micro-scenes that correspond to the song's sections.
As you translate this into a script, create a one-page document with columns for shot type, location, and approximate duration. This becomes your shooting guide and helps you avoid drift on day one.
Location and Set Design: Make the Ordinary Sing
The bedroom studio from the opening frame becomes a template for all other scenes. Create a flexible set that can morph with practical props instead of complex builds. A string of lightweight, movable panels, a few fabric scraps, and a handful of lighting gear can transform a corner into a dynamic stage.
| Option | Pros | Cons | Budget |
|---|---|---|---|
| Low-cost apartment corner | Fast, authentic; easy to reconfigure | Limited space; light control required | Low |
| Temporary faux-wall setup | Creates depth; can stage multiple angles | Storage after shoot | Medium |
| On-location corner studio | Great acoustics; professional look | Permits and logistics | High |
Concrete tip: build a simple backdrop frame using PVC pipes and fabric drops; they are cheap, collapsible, and transportable. Use a few movable furniture pieces to create depth: a chair, a stool, a shelf with everyday objects that tell a story about the artist.
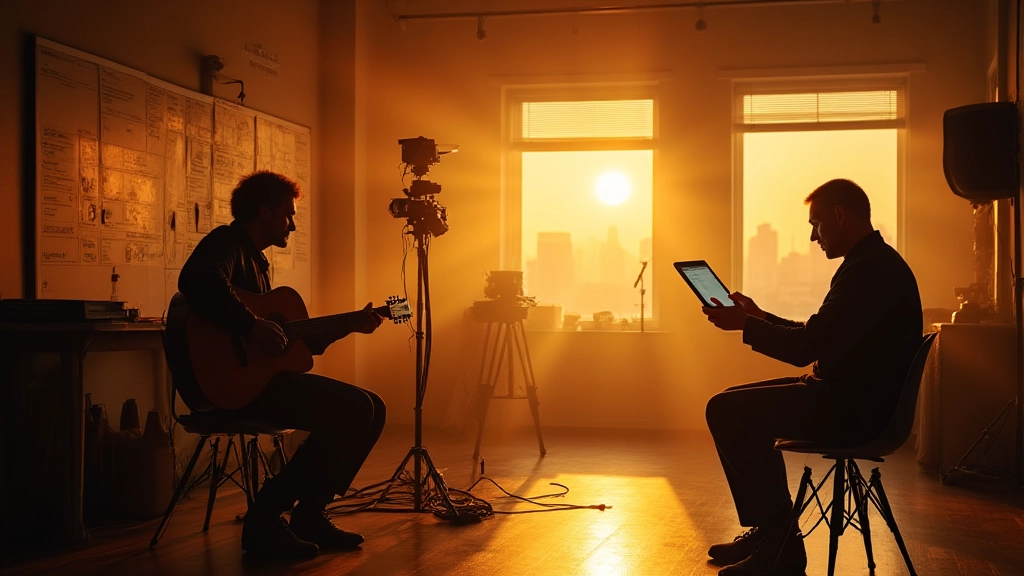
Lighting and Camera: Shaping Mood Without a Big Crew
Three-light setups work wonders: Key, Fill, and Back light. A practical lamp can double as a Key if positioned to sculpt the face. A soft box or diffusion sheet on a small LED panel serves as Fill, while a backlight adds separation from the backdrop. If you have a window with natural light, you can harness it as a second key; just beware of changing color temperature as clouds drift by.
- Tip 1: Keep whites balanced around 5400K for a modern look or push to 3200K for a warmer vibe.
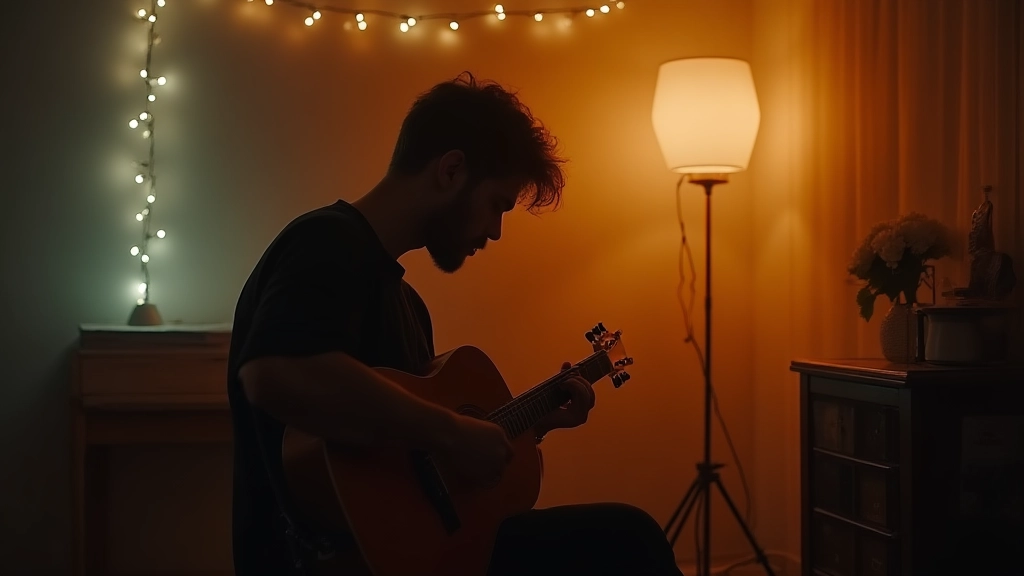
- Tip 2: Use practicals in frame; a desk lamp, a neon sign, or string lights to create depth.
- Tip 3: Shoot at 24fps for a cinematic feel; 60fps is great for performance moments with a touch of rhythm.
One mini-scene can illustrate a core concept: the performer steps toward the camera as a distant city hums outside the window. The backlight isolates the silhouette, turning the performer into a symbol for resilience. It is not about looking perfect but about capturing a moment of truth that matches the song.
Great lighting is a conversation with the subject; never a monologue.
Storyboard to Shot List: A Practical, Stepwise Bridge
With your script page in hand, translate to frames with minimal text; your storyboards can be simple stick figures or annotated images. The goal is to confirm: where does the camera live, what is the artist doing, and how long does each beat last?
- Create a shot list with 8 to 12 blocks aligned to song sections, each with a location note and a rough duration.
- Define camera moves for each beat: static, push in, slow pan, or a handheld rhythm that matches the tempo.
- Assign a fallback shot for any gear hiccup, such as a still frame that can be swapped in during editing.
- Perform a quick tech check: batteries, memory cards, lenses, and white balance pre-sets.
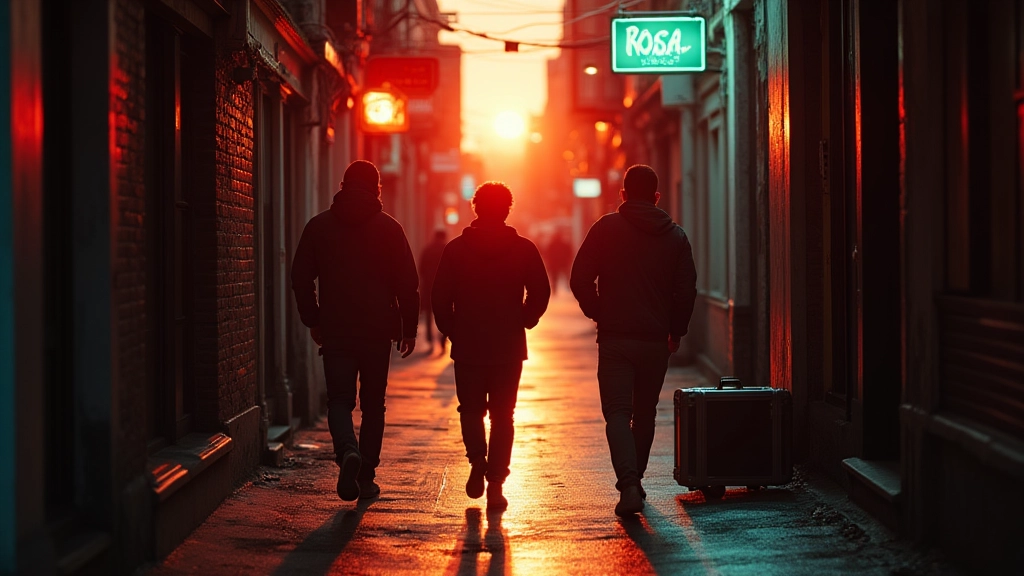
On-Set Moments: Real Scenes, Real Challenges
During a recent shoot, a touring artist named Aiden had to switch from a single-room setup to a small stage in a doorway. With a borrowed handheld stabilizer and a compact mirrorless camera, we captured a rush of improvisation that felt authentic. The lesson: give performers space to breathe; sometimes the best shots come from constraints rather than perfect gear.
Post-Production: Rhythm, Color, and Honest Audio
The editing room is where you reveal the video's heartbeat. Start with rough cuts that align with the song's tempo and arrive at a first-pass cut within 1–2 days of shooting. Color should be consistent but expressive; you can push midtones for warmth or cool them slightly to emphasize a modern edge. Audio alignment is crucial; click tracks from your DAW can sync to the camera's edits for a punchy result.
Rhythm-first editing
- Trim to the beat; remove filler frames that slow the cut.
- Use cutaways to mask transitions and maintain energy between chorus lines.
- Balance performance shots with environment shots to tell a broader story.
Color and sound polish
- Use a simple LUT to establish a mood, then refine in grading to maintain skin tones.
- Clean up hiss and room tone; keep vocal stems clear if they appear in the mix.
- Export a low-res draft for quick review with collaborators before finishing touches.
AI can assist without taking creative control. For example, AI-assisted noise reduction can salvage a noisy room, while intelligent upscaling helps when you want to revisit a shot captured on a mobile device. The key is to treat these as assistants, not directors; the performer’s emotional truth and the song's cadence remain yours to own.
Automation should serve the story, not replace it.
Release, Reach, and Reuse: A Practical Distribution Plan
Once the video is finished, distribution is about intent. Create a release plan that includes a premiere, short teasers for social, and an embed-friendly version for your own site. Write metadata that reflects the song and the video's mood; use keywords like music video, indie, live performance, DIY, and the artist's name. Consider closed-captioning to widen accessibility and a few thumbnail options to test which one behaviorally drives clicks.
Case in point: a bedroom producer released a video filmed with a compact mirrorless rig and a lighting kit. The video went from local venue clips to a global streaming release through a careful, staggered roll-out, plus a behind-the-scenes mini-doc that kept fans engaged after the drop.
| Platform | Best use | Suggested formats |
|---|---|---|
| YouTube | Anchor for long-term reach | HD, 4K, chapters |
| Bandcamp / personal site | Direct-to-fan | Full HD, high bitrate |
| Instagram / TikTok | Teasers, scenes, loopable moments | Short clips, vertical formats |
Closing Frame: A Quiet Victory
The night ends with a final wide shot of the room, now a little messier, the headphones on the chair, the coffee mug steaming. I sit back, listen to the final chorus, and smile the same small, tired smile that began the journey. The camera sits for a beat longer, letting the breath in the room absorb the song. What began as a simple idea has become a practical guide for other musicians who want to tell their story with a music video they can create themselves.
Hear what these choices do to your own song.
Upload stems or a finished track, choose a reference direction, and compare a private Moozix mix before you export anything.