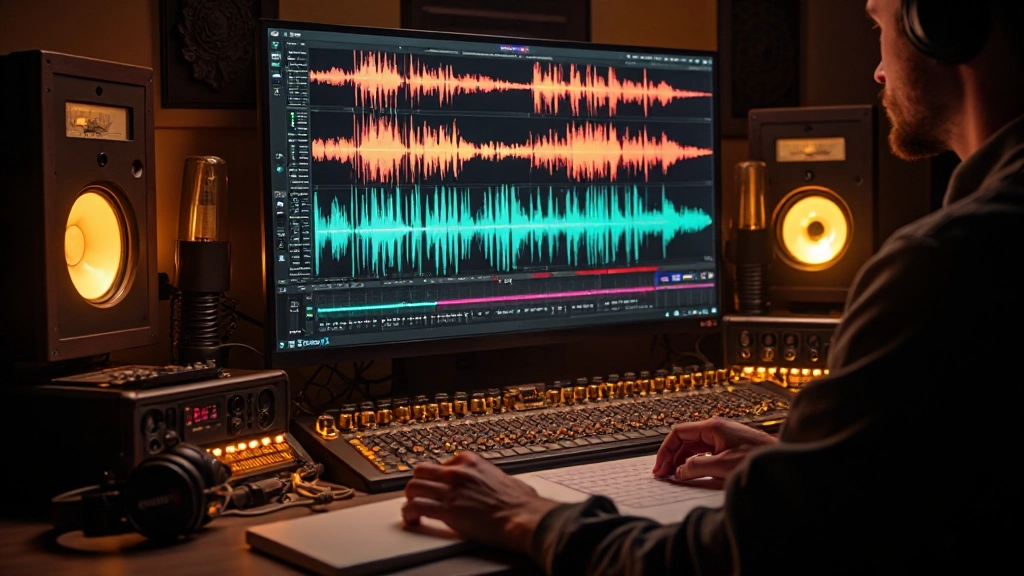
The control room monitors fell silent as Garrett lifted his hands from the guitar strings. Three takes in, and something still wasn't clicking. The tone had clarity—every note rang through with surgical precision—but it felt sterile, like listening to music through a hospital window. The warmth that made his playing special in the live room had vanished somewhere between the microphone and the mixing board.
This scenario plays out in home studios across the world every day. Guitar players plug in, dial up a tone that sounds incredible in the room, hit record, and discover their instrument has transformed into something cold and lifeless. The culprit isn't usually the gear or the performance—it's the delicate balance between capturing warmth and maintaining clarity during the recording process.
The Warmth vs. Clarity Paradox in Guitar Recording
Guitar warmth lives in the lower midrange frequencies, typically between 200Hz and 800Hz, where the fundamental notes create body and richness. Clarity, meanwhile, depends on the upper midrange and high frequencies, roughly 1kHz to 8kHz, where pick attack and harmonic detail reside. The challenge lies in capturing both without letting one dominate the other.
During a session last spring, I watched producer Diane Chen work with indie rock band Velvet Static on their debut album. The lead guitarist had spent hours crafting the perfect amp tone—a vintage Fender Blues Deluxe pushed just into natural compression, with a hint of tube saturation that made single notes sing. In the room, it sounded magical. Through the studio monitors, it sounded like someone had wrapped the guitar in blankets.
Step 1: Choose Your Microphone Based on Tonal Goals
The microphone choice sets the foundation for your warmth-to-clarity ratio before you've even pressed record. Dynamic microphones like the Shure SM57 naturally emphasize midrange presence, which can enhance clarity but sometimes at the expense of low-end warmth. Condenser microphones typically capture more full-frequency information, including the subtle low-midrange content that contributes to perceived warmth.
For the Velvet Static sessions, Chen started with a large-diaphragm condenser positioned about eight inches from the amp's speaker cone. "I want to hear what the guitar actually sounds like in this room first," she explained, "then I'll decide what needs to change." The condenser captured the full frequency spectrum, including room tone and the natural resonance of the amp cabinet—information that proved crucial during the mixing phase.
| Microphone Type | Warmth Characteristics | Clarity Characteristics | Best Use Cases |
|---|---|---|---|
| Dynamic (SM57) | Focused midrange warmth | Present, punchy clarity | Rock, punk, anything needing cut |
| Large Diaphragm Condenser | Full-spectrum warmth | Detailed harmonic clarity | Jazz, indie, complex chord work |
| Small Diaphragm Condenser | Controlled low-mid warmth | Crisp high-frequency detail | Acoustic, fingerpicking, clean tones |
| Ribbon | Vintage-style warmth | Smooth, musical clarity | Blues, vintage rock, warm leads |
Step 2: Position for the Balance Point
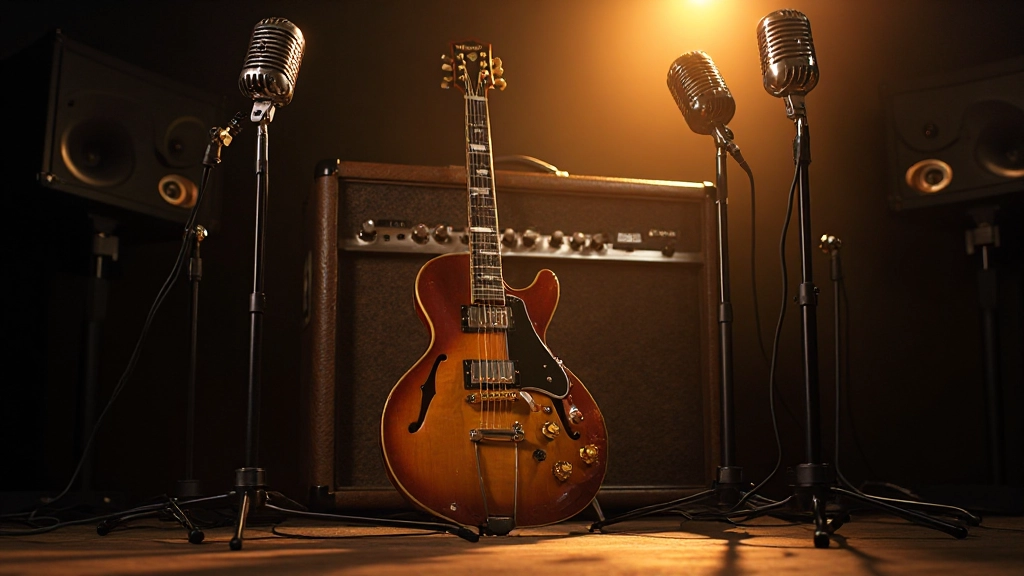
Microphone placement determines which frequencies reach the capsule first and strongest. On-axis positioning (pointing directly at the speaker cone's center) typically yields maximum clarity and presence, while off-axis positioning captures more room tone and natural warmth. The distance from the speaker affects this balance as well—closer placement emphasizes direct sound and clarity, while increased distance allows room acoustics and natural air movement to add warmth.
Chen's approach with Velvet Static involved what she calls "the triangle method." She positioned the primary microphone on-axis at the edge of the speaker cone, where the dust cap meets the cone itself. This spot provides presence without harshness. Then she placed a second microphone off-axis, pointed at the outer edge of the speaker, positioned about twelve inches away. "The on-axis mic gives me the attack and definition," she explained. "The off-axis mic gives me the body and warmth."
- Start with on-axis placement at the junction between the dust cap and speaker cone
- Listen for harshness in the 2-4kHz range—if present, move slightly off-axis
- Check low-midrange content by playing sustained chords—if thin, increase distance or add off-axis mic
- Test with both single notes and chords to ensure balance across playing styles
- Record test passes before committing to the full take
Step 3: Capture Multiple Perspectives
The most successful guitar recordings often blend multiple microphone perspectives to achieve optimal warmth-clarity balance. This doesn't necessarily mean using expensive multi-mic setups—even two carefully placed microphones can provide the flexibility needed to dial in the perfect balance during mixing.
During the Velvet Static session, Chen's two-microphone approach captured complementary information. The on-axis microphone provided the punch and presence needed for the guitar to cut through the band mix, while the off-axis microphone captured the natural resonance and harmonic complexity that made the amp tone special in the room.
"I never commit to a single perspective when recording guitar. The magic usually happens in the relationship between two or three different viewpoints of the same performance."
Diane Chen, producer
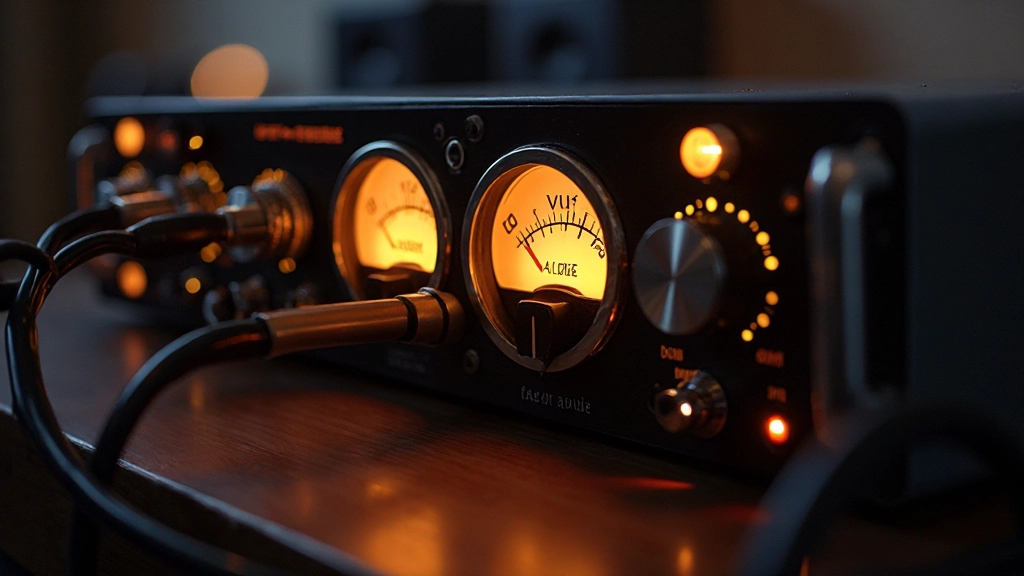
Step 4: Monitor Your Input Levels for Optimal Warmth
Input gain staging affects the warmth-clarity balance more than many engineers realize. Recording too hot can push preamp circuits into saturation, which may add perceived warmth but often at the cost of transient clarity. Recording too conservatively can result in thin, lifeless captures that require heavy processing to restore musicality.
The sweet spot typically lies in peaks hitting between -12dB and -6dB on your DAW's meters, leaving headroom for natural dynamics while ensuring strong signal-to-noise ratio. However, different preamp designs respond differently to various input levels—tube preamps may add musical warmth when pushed slightly harder, while solid-state designs often maintain clarity better with more conservative levels.
Step 5: EQ During Recording vs. Mixing
The decision of when to apply equalization affects the final warmth-clarity balance significantly. EQ applied during recording becomes part of the captured performance, while EQ applied during mixing allows for greater flexibility but may require more processing to achieve the same musical results.
For the Velvet Static project, Chen chose to record completely flat, without any EQ processing. "I want to capture what's actually happening acoustically," she explained. "If the amp sounds great in the room but thin through the mics, the solution isn't usually EQ—it's better microphone placement or choice."
This approach proved wise during mixing when the band decided to change the arrangement, moving the guitar part to a different register. The unprocessed recordings provided the flexibility to reshape the frequency balance to fit the new context without fighting against baked-in EQ decisions.
Step 6: Use Room Acoustics as a Tool
Room acoustics play a crucial role in the warmth-clarity equation, particularly in smaller home studio spaces. Reflective surfaces can add brightness and apparent clarity, while absorptive materials tend to preserve warmth but may reduce sparkle. The key lies in understanding how your room affects guitar tone and using that knowledge strategically.
In Chen's studio, a combination of absorption and diffusion creates what she calls "controlled warmth." Early reflections are managed with absorption panels, preventing comb filtering that can thin out guitar tone. Later reflections are scattered with wooden diffusers, adding natural ambience without muddying the direct signal.
- Position amp away from parallel walls to reduce standing wave buildup
- Use absorption behind the amp to control excessive reflections
- Experiment with amp height—floor coupling affects low-frequency response
- Consider room mics for natural ambience, blended subtly with close mics
Step 7: Multi-Band Dynamics During Tracking
Strategic use of multi-band compression during recording can help maintain the warmth-clarity balance across different playing dynamics. Unlike traditional compression, which affects the entire frequency spectrum equally, multi-band processing allows you to control warmth and clarity independently based on playing style and intensity.
Chen uses a hardware multi-band compressor sparingly during guitar tracking, typically with very gentle settings. "I might compress just the low-mids slightly to prevent muddiness during heavy chord passages, while leaving the high frequencies completely unprocessed to preserve pick attack," she explains. The key lies in transparency—the processing should be felt rather than heard.
The settings she favors split the guitar signal at approximately 800Hz. Below this frequency, gentle 2:1 compression with a slow attack preserves chord fundamentals while preventing excessive buildup. Above 800Hz, no compression maintains natural transient response and harmonic clarity.
Step 8: Reference and Context Checking
The final step in achieving optimal warmth-clarity balance involves checking your recorded guitar in context with the full arrangement. A guitar tone that sounds perfect in isolation may lack clarity in a dense mix, or conversely, may sound harsh when exposed without other instruments masking problematic frequencies.
During the Velvet Static sessions, Chen regularly bounced rough mixes to check guitar balance against the bass, drums, and vocals. "What matters isn't how the guitar sounds by itself," she noted, "but how it supports and interacts with everything else." This context checking revealed that the off-axis microphone provided crucial warmth that became apparent only when the full band was playing.
She also checked the mixes on multiple monitor systems—studio mains, near-field monitors, and consumer earbuds. Each playback system revealed different aspects of the warmth-clarity relationship, helping to identify potential issues before they became problems in the final mix.
The Blend That Works
Six months later, Velvet Static's debut album received critical praise for its "warm yet present" guitar sound. The careful balance between warmth and clarity allowed the guitars to support the songs emotionally while maintaining the clarity needed for each part to be heard distinctly.
The process Chen used—strategic microphone choice and placement, multiple perspectives, careful gain staging, and constant context checking—created recordings that retained the musicality of the original performance while providing the technical clarity needed for professional mixing and mastering.
The warmth-clarity balance in guitar recording isn't about choosing one over the other—it's about understanding how they complement each other to serve the music. When captured thoughtfully, warmth provides the emotional foundation that makes listeners lean in, while clarity ensures they can follow every musical idea. Master this balance, and your guitar recordings will connect with listeners on both technical and emotional levels, creating the kind of sonic experiences that keep people coming back to hear what you've created.
Hear what these choices do to your own song.
Upload stems or a finished track, choose a reference direction, and compare a private Moozix mix before you export anything.