The session was going sideways fast. Chelsea had just laid down what she thought was the perfect guitar take through her cranked tube amp, but when we played it back in the context of the full mix, it sounded like mush. The low end was fighting the bass, the mids were getting lost, and the whole thing lacked the punch she heard in the room.
"Can we just DI it instead?" she asked, reaching for her cable. I stopped her. "Better idea. Let's use both."
That moment taught me something crucial about modern recording: the old debate between DI and amp isn't really a debate at all. It's an opportunity. When you know how to blend direct and amplified signals effectively, you get the best of both worlds without the compromise that kills so many guitar tracks.
When One Signal Isn't Enough
Most guitarists think in binary terms. Either you go direct for that clean, punchy sound, or you mic an amp for warmth and character. But professional records rarely work that way. Listen closely to your favorite guitar-heavy albums, and you'll often hear the marriage of multiple signal paths working together.
The DI signal gives you precision. Every note is clear, the transients are sharp, and you can hear exactly what the player is doing. The amp signal gives you soul - the natural compression, harmonic saturation, and three-dimensional space that makes guitar recordings feel alive rather than clinical.
During that session with Chelsea, we ended up keeping her original amp recording but blending it with a clean DI signal that we ran through a subtle amp simulator. The DI provided the note definition her fingerpicking needed, while the real amp gave her the organic sustain and warmth. The combination sounded like neither source alone - it sounded like the guitar she heard in her head.
The Architecture of Signal Blending
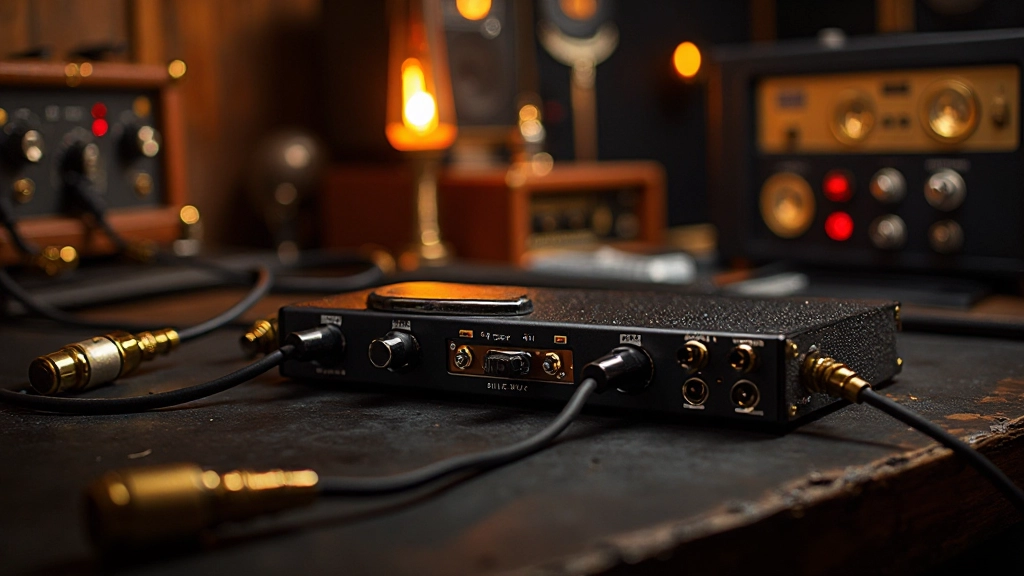
Before you start moving faders, you need to understand what each signal brings to the mix. The DI path captures the pure electrical output of your pickup. It's uncolored by room acoustics, speaker coloration, or mic placement. This gives you maximum flexibility in post-production but can sound sterile without processing.
The amp path captures the complete signal chain - preamp coloration, power tube compression, speaker frequency response, and room acoustics. It's already "mixed" in a sense, with natural EQ curves and dynamic response built in. But it's also committed - what you record is largely what you get.
| Signal Type | Strengths | Challenges | Best For |
|---|---|---|---|
| DI (Direct Input) | Clean transients, note clarity, flexible processing | Can sound sterile, lacks natural compression | Rhythm parts, complex chords, re-amping |
| Miked Amp | Natural warmth, harmonic saturation, spatial depth | Fixed tone, potential phase issues, room coloration | Lead lines, power chords, emotional passages |
| Blended | Clarity plus character, mix flexibility, tonal options | Requires careful phase alignment, more complex routing | Professional recordings, difficult mix contexts |
The magic happens when you assign specific frequency ranges and mix roles to each signal. You might use the DI for tight low-end control while relying on the amp for midrange character. Or you could use the amp for the fundamental tone while adding DI signal for pick attack clarity.
Phase Alignment: The Make-or-Break Moment
Here's where most people mess up blending: they ignore phase relationships. When you record a DI and a mic simultaneously, the two signals arrive at slightly different times. The DI is essentially instantaneous, while the mic signal includes the time it takes sound to travel from the speaker to the microphone.
This delay creates phase cancellation when the signals are combined. You'll notice it immediately - the low end gets thin, certain frequencies disappear entirely, and the whole thing sounds hollow and weak. I learned this the hard way during a session with a country artist who insisted on blending his DI with three different mic positions. What should have sounded huge ended up sounding like we were listening through a phone.
- Record both signals simultaneously to maintain their natural timing relationship
- Use your DAW's sample-accurate delay compensation on the DI track
- Zoom in to the waveform level and align the attack transients visually
- Fine-tune by ear, flipping the polarity of one signal to check for the fullest sound
- Make micro-adjustments until the low end sounds tight and punchy
The distance from amp speaker to microphone determines your phase offset. A mic placed one foot from the speaker will be delayed by roughly one millisample at 44.1kHz. That might not sound like much, but it's enough to cause audible comb filtering when blended with the DI.
Frequency Allocation Strategy
Once your signals are phase-aligned, you need to decide how to split the frequency spectrum. This isn't about EQ'ing each signal in isolation - it's about creating complementary curves that work together.
My go-to approach starts with high-passing the amp signal around 100Hz and low-passing it around 8kHz. This removes the muddy low end that often plagues amp recordings and the harsh high frequencies that can sound brittle. Then I'll high-pass the DI around 200Hz but let it extend all the way up to 12kHz or beyond.
"The amp gives you the body, the DI gives you the edges. When you blend them right, you get a guitar sound that's both warm and present - something neither signal could achieve alone."
The overlap zone between 200Hz and 8kHz is where the blending happens. Here, you're not trying to eliminate overlap entirely - you want some shared frequency content to create a cohesive sound. But you are emphasizing different aspects of that range on each signal.
For the DI, I often boost slightly around 2-3kHz for note definition and add a gentle high-frequency shelf for air and presence. For the amp signal, I might emphasize the 400-800Hz range for warmth and add a subtle boost around 1.5kHz for midrange punch.
Compression and Dynamics
Blending becomes more complex when you add compression to the equation. Each signal responds differently to dynamic processing, and getting them to play nicely together requires some finesse.
The DI signal typically benefits from gentle compression with a slow attack to preserve pick transients. Think 3:1 ratio, 10ms attack, 100ms release - enough to even things out without squashing the natural dynamics. The amp signal might need less compression since the tubes and speaker are already providing natural compression.
A better approach is to compress lightly on each individual signal, then use a final compressor on the blended bus. This glues the two signals together while maintaining their individual character. I'll often use a slow, gentle compressor like an LA-2A style optical unit for this final stage.
Creative Applications
Once you've mastered basic blending, you can start getting creative with the concept. Try running the DI through different amp simulators while keeping the real amp signal. Or use the DI for the left channel and amp for the right in a wide stereo guitar part.
During a recent indie rock session, we recorded the guitarist's clean DI but also captured his small practice amp cranked to the point of natural distortion. In the verse, we used mostly DI with just a hint of the distorted amp for texture. But in the chorus, we flipped the ratio - mostly amp with DI added for clarity. The result was a guitar part that seemed to evolve dynamically with the song's energy.
- Record both signals on every take, even if you think you'll only use one
- Use a high-quality DI box to minimize noise and maximize headroom
- Experiment with different mic positions while keeping the DI constant
- Save blend settings as templates for different guitar tones
- Always check your blend on multiple playback systems
Mix Context Considerations
The beauty of blending DI and amp signals is that it gives you options during mixing. In a dense arrangement, you might emphasize the DI for clarity. In a sparse verse, you could favor the amp for warmth and space. This flexibility is invaluable when you're trying to make every element of a mix work together.
I remember a session where we had a beautiful fingerpicked acoustic guitar part that sounded perfect in isolation. But when the full band came in, it completely disappeared. Rather than re-recording, we used the DI signal to add back the attack and note definition while keeping the amp signal for the harmonic content. The guitar stayed present throughout the dynamic changes of the song.
The key is thinking about your blend as a dynamic tool, not just a static setting. Automating the balance between DI and amp throughout a song can create subtle but powerful changes in energy and focus. A little more amp in the emotional peak of a bridge, a little more DI when the bass gets busy - these micro-adjustments are what separate professional-sounding mixes from amateur ones.
When Chelsea and I finished that session, her guitar track had a character that neither the DI nor the amp could have achieved alone. It was clean enough to cut through the mix but warm enough to serve the song's emotional core. More importantly, we had captured something that sounded like her - not just her guitar rig, but her actual musical intention. That's what good blending should do: reveal the player's vision with maximum clarity and impact.
Hear what these choices do to your own song.
Upload stems or a finished track, choose a reference direction, and compare a private Moozix mix before you export anything.