From Idea to Impact: A Practical Playbook for Music Videos
A hands-on, seven-step guide that takes you from a song’s spark to a finished video, with real-world examples and doable exercises.
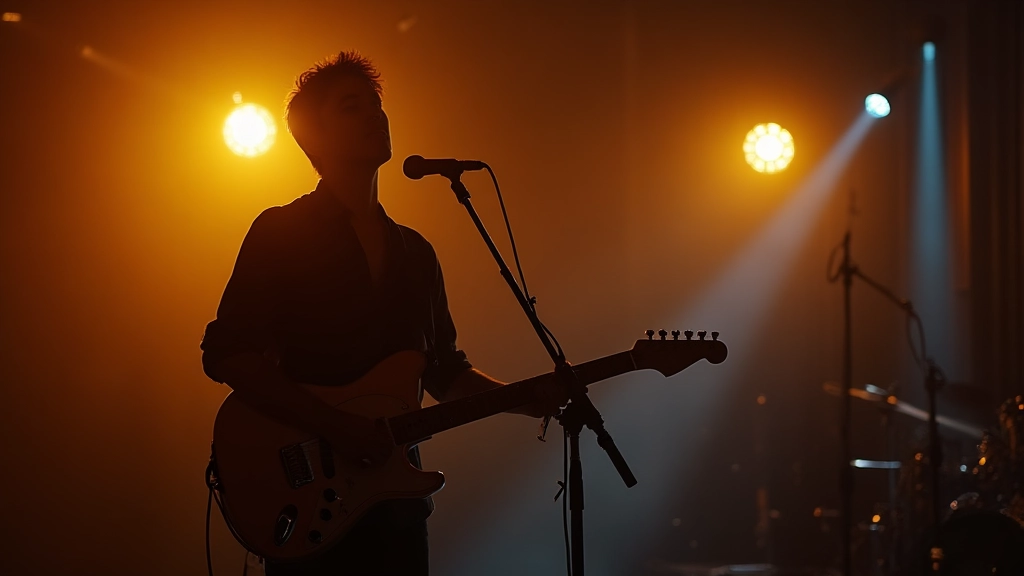
The Opening Moment: Let the Room Tell Your Story
You walk into a small rehearsal space as the last light of day slides through blinds. The guitarist tunes, the metronome clicks softly, and a single microphone catches the breath before that first note. This isn’t just setup; it is the first cut of your music video, a visual heartbeat that invites the viewer to lean in. The idea is not to show everything at once, but to reveal enough texture to make the listener feel the room. In this seven-step playbook, you will build that texture deliberately—so every shot earns its place, and the song carries the rhythm of your storytelling. You’ll learn to map a narrative spark to concrete visuals, then translate that spark into a shot list, lighting plan, performance direction, and a clean edit that lands with impact.
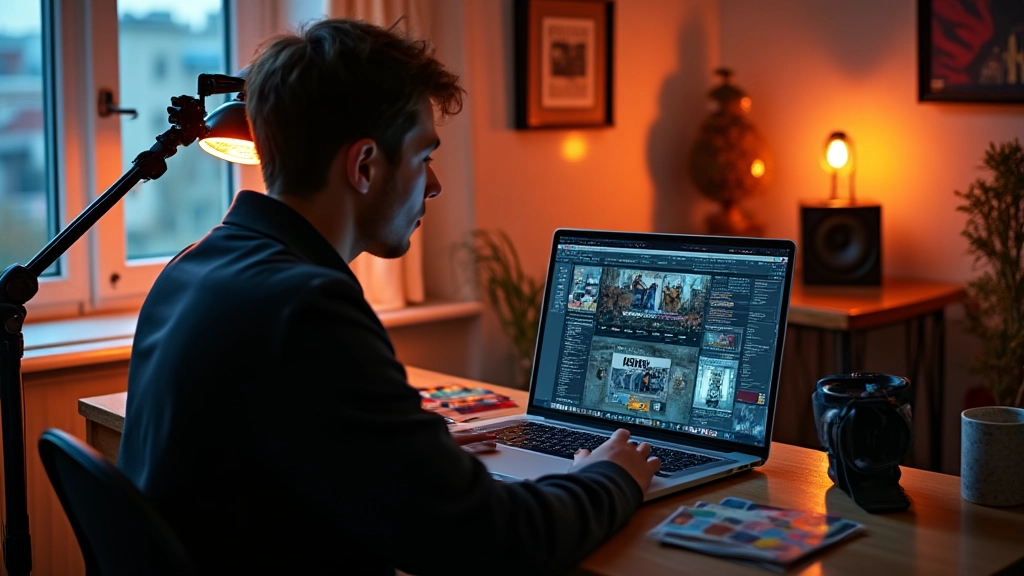
Consider a recent rehearsal space scene from a tour-ready piece: a guitarist slides a finger along the fretboard as a soft amber light glows from a practical lamp. A phone perched on a music stand records a rough scratch, while a second camera catches the performer from a low angle, creating a subtle sense of ascent. The moment feels immediate because it is built from tiny decisions: a close-up of calloused fingertips, a quiet breath before a chorus, a tiny reflection in a mirror that doubles the instrument’s silhouette. You can reproduce that sense by treating the opening moment as a micro-story: what do you want the audience to feel in the first five seconds, and which one or two visual motifs will carry you through the rest of the song? Here’s a mini-case: a bedroom producer shoots a buddy’s indie track in a shared living room. They lean into a single practical lamp, a lens with a soft 50mm look, and four lines of chalk on the floor marking positions for the performers. The result feels intimate, immediate, and undeniably musical—proof that you don’t need a big budget to start strong.
Rhythm is the heartbeat of the edit; if the cut doesn’t move, the viewer will drift away.
Step 1 — Frame your music video story in one sentence
The first deliverable is a logline that fits on one screen and lives in your head during every frame you shoot. This sentence becomes your north star: it tells you what to show, when to show it, and how to pace the rough cut. The exercise is simple: write three one-sentence summaries of your song as if you were pitching it to a friend. Then pick the strongest version and challenge yourself to expand it into a short treatment that describes not just the plot, but the mood, the main character(s), and the visual motif you want to recur (a color, a gesture, a camera move). For bedroom producers and touring artists alike, this exercise ensures you’re not chasing vibes in the dark; you’re chasing a concrete idea that can be performed, shot, and edited.
- Write three loglines that fit within 15 words each.
- Choose the strongest line and annotate the song’s sections (verse, chorus, bridge) that align with visual beats.
- Draft a one-minute treatment that pairs each beat with a specific shot idea.
Mini-story from the field: a touring duo reworks a pop ballad into a live-room memory by framing the logline around a single prop—the battered necklace the singer wears. Every chorus visual peaks on that necklace catching the light, tying the narrative together across locations. The result feels cohesive even as the performance shifts from a bus to a stage, because the logline kept the visuals anchored to a personal symbol rather than a flashy concept.
Step 2 — Build your shot skeleton: a 12-shot music video blueprint
With the logline in hand, translate it into a shot skeleton—12 distinct frames that can be arranged to tell the story without words. This skeleton should cover performance, environment, and a few dynamic inserts that carry emotion from verse to chorus. The 12 shots below are a practical template you can adapt to any genre:
| Shot | What you see | Purpose |
|---|---|---|
| 1 | Establishing wide of room and performer | Context and mood |
| 2 | Close-up on fretwork and fingers | Craft and tempo |
| 3 | Over-the-shoulder from guitarist’s perspective | Teacher-like viewpoint |
| 4 | Medium close on face with emotion | Connection |
| 5 | Cutaway to audience or surroundings | Scale and environment |
| 6 | Wide shot of chorus performance | Power and energy |
| 7 | Macro of instrument body resonating | Dissonance and texture |
| 8 | Glimpse of hands back to strings | Continuity |
| 9 | Reaction shot from another musician | Connection |
| 10 | Environment detail (light, dust, wear) | Texture |
| 11 | Intimate close on eyes or breath | Vulnerability |
| 12 | Silhouette closing the frame | Finale and memory |
How to use the skeleton: map verse shots 1–4 to the verse, shots 5–7 to the chorus, 8–10 to bridge or breakdown, and 11–12 to the outro. This keeps pace tight while preserving room for a moment of stillness. Mini-story: in a diner-set shoot, a solo singer uses shots 1–4 to establish being watched by strangers, then jumps to shots 5–7 as the chorus erupts with the crowd’s claps, and winds down with shots 11–12 as the lights fade to the song’s last breath.
Let the shot skeleton guide your editing, not the other way around.
Step 3 — Lighting for mood: three practical setups you can steal today
Lighting is the quickest way to tell your audience what the story feels like before the first line of dialogue. Start with three go-to setups and keep a simple mood board on the side of the camera. Setup A focuses on warmth and vulnerability; Setup B creates high drama with hard edges; Setup C uses color to push the emotional tone of the chorus. Each setup is designed to be room-ready and portable, with advice you can apply in a hotel room, a basement studio, or a cramped tour bus bunk. And yes, you can use a Moozix portable LED kit for all three with a battery pack for silent shoots between venues. Mini-story: a bedroom producer travels with a compact kit and wins a sunrise vibe by placing a single warm key on the player’s face, while a second blue rim outlines the guitar’s silhouette, turning a small room into a cinematic stage.
Setup A: intimate warm glow
One key light at 45 degrees, a practical lamp on the desk, and a bounce card to lift the eyes. Keep shadows soft, and let skin tones sing.
Setup B: high-contrast drama
Two hard lights at 45 degrees opposite each other, a strong backlight to sculpt the silhouette, and a minimal practical for texture.
Setup C: color-forward chorus
Add colored gels (magenta and teal) or LED strips to shift the mood for the chorus; balance with a neutral fill to keep faces readable.
Note: these setups are intentionally modular; adapt to space and tempo, not the other way around.
Quick reference table:
| Setup | Key lights | Mood | When to use |
|---|---|---|---|
| A | Warm key + bounce | Intimate | Verses, storytelling moments |
| B | Two hard lights + backlight | Dramatic | Chorus drop or beat reveal |
| C | Colored accents | Vibrant | Bridge or outro, when energy peaks |
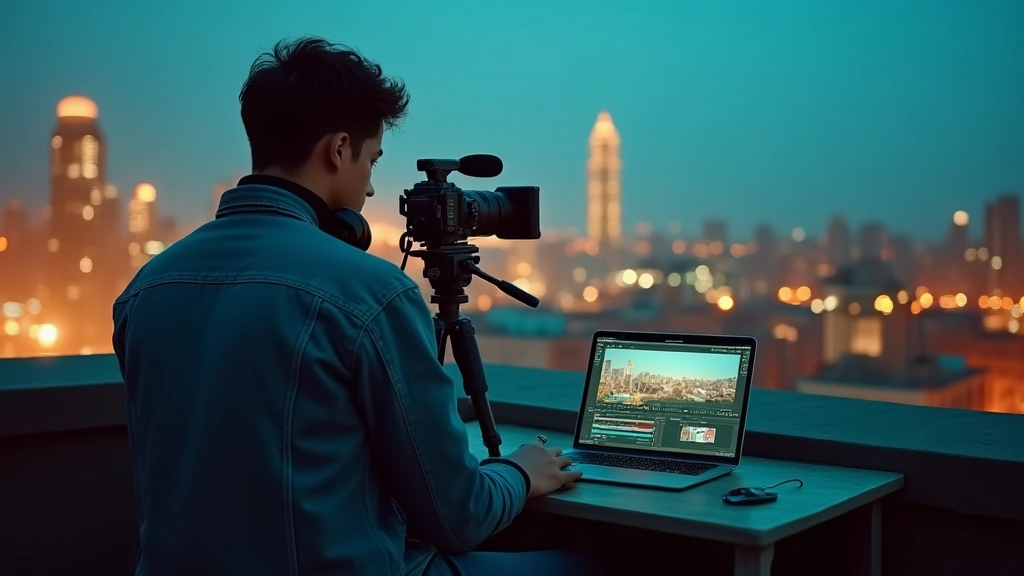
Mini-story: on a tour bus interior shoot, the photographer uses Setup C to create a neon-night vibe while the songwriter leans into the window with a guitar, the city lights streaking past as the chorus hits. The lighting shift becomes the visual chorus, not just the audio one.
Good lighting is a narrative shortcut; it tells the audience how to feel without a single line.
Step 4 — Directing performance: how to get honest, camera-ready takes
Direction is where you translate the logline into actual performance. Start with a warm pre-shoot chat so the performer isn’t surprised by the camera. Give three concrete prompts per section of the song: (1) breathe with the beat, (2) exaggerate a small gesture at the downbeat, (3) make a beeline to a facial moment at the chorus. On camera, remind yourself to mix close-ups with wider frames to preserve the singer’s relationship to space. Use simple blocking that lets you reuse shots across hooks and verses. If you’re working solo, place the camera at eye level, then shoot a few takes with the camera low and high to capture different power dynamics. Micro-rituals—like a practiced nod or a specific tail-off on a phrase—build a vocabulary you can splice into the edit. Mini-story: a solo artist learns to cue a camera move by tapping their foot to the tempo; the crew’s assistant uses a hand signal to nudge the camera into a slow push-in during a lingering vocal line, creating a moment of intimacy without dialogue.
Two quick on-set habits: (1) block the lyric, then block the look; (2) run a 30-second rehearsal with a single take and review, then lock the performance for the next run. The discipline saves time in post and prevents fussy re-shoots. For touring acts and bedroom producers alike, the trick is to keep direction practical: avoid over-scoping every gesture; instead, identify 3-4 micro-moments per verse where emotion shifts and let the rest be performance-as-texture.
Step 5 — Shoot with the edit in mind: workflow, proxies, and backups
Every decision you make on set should have an edit implication. Shoot wide and tight in complementary pairs; shoot a third of your takes as B-roll: environmental details, musician interactions, gear, lyrics on a whiteboard, or even a quick “sound check” moment. Keep a simple proxy workflow so editors can assemble rough cuts quickly. If you’re shooting in 4K, collect a 1080p proxy for early editing; label it by scene, not by camera, so the edit room can easily swap between sources. File management is a discipline: copy to two drives before you leave the location, and back up to the cloud only after the handoff to editors or collaborators. A small story from the road: a duo records in a cramped diner, using a single microphone and a phone as a scratch track. They keep every take, including the chair squeaks and the coffee cup clinks, to stitch a rhythm that feels authentic and unpolished—in other words, human—when cut together later.
- Confirm shot list and call sheet with the crew
- Pack backups: extra batteries, memory cards, cables
- Capture two audio takes for essential performance
- Create proxies and label by scene
Step 6 — Editing rhythms, pacing, and cut styles
Editing is where the music video’s heartbeat becomes visible. Align cuts to the song’s tempo; if the track breathes, let the edit breathe. Start with a rough cut that matches the 12-shot skeleton, then layer in rhythm-driven transitions: match cuts between similar shapes, L- and J-cuts to keep speech and music flowing, and quick rhythmic cuts during the chorus to accelerate energy. A practical rule of thumb: for verse you can average 2.5–3 seconds per shot; for chorus, 1.5–2 seconds; for a bridge, feel the music’s acceleration and let the pacing invert, slowing or accelerating to reflect mood. The three common variants you can mix are: (a) performance-cut driven, (b) montage-driven with environmental repeats, (c) lyric- or gesture-led inserts that punctuate the tempo. Pull-quote: Rhythm is the groove the eye follows; edit to the beat and the audience follows the story.
Mini-stories appear in the rhythm: (1) a guitarist’s hands dance across frets as the snare hits, (2) a lyric montage of scribbled phrases on a whiteboard that appear in time with the chorus, (3) a long-take outro that slowly rack-focuses from guitar to singer as the final words land with the last drum hit. These moments prove you don’t need 47 different transitions to create a compelling edit; you need choices that reflect the song’s pulse and emotional arc.
Step 7 — Finish and distribute: color, sound, and the release plan
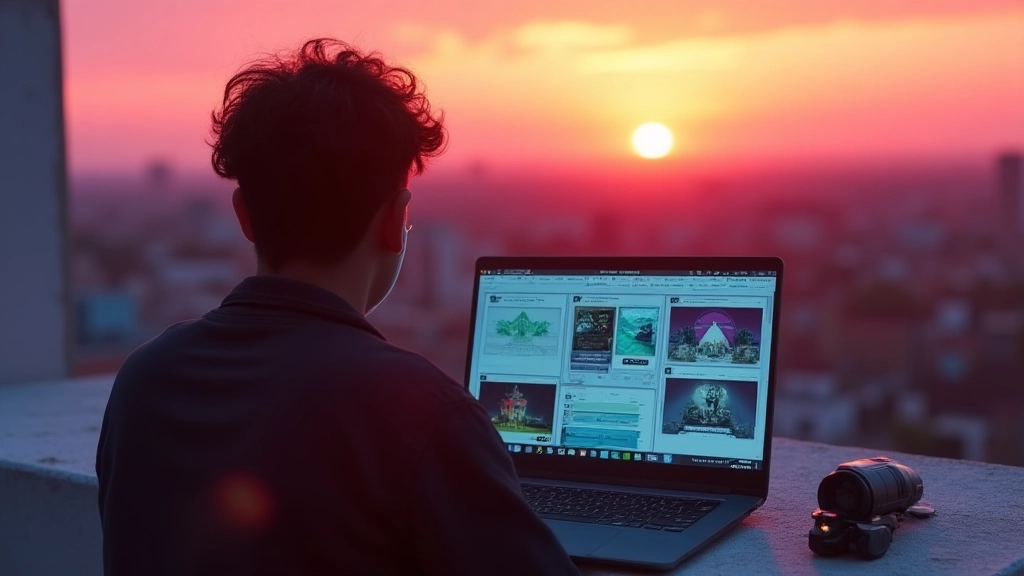
Color grading is not decorative; it’s narrative for the eye. Start with a quick color pass to correct skin tones and contrast, then apply a look that matches the mood you’ve defined in steps 3 and 6. Remember to equalize the audio with the video: crisp up the vocal when the beat drops, balance the room tone with the instrument’s resonance, and export in multiple resolutions for different platforms. For release strategy, design a thumbnail that reflects the logline, write metadata that includes the exact phrase music video and related keywords, and prepare short teasers for social channels. Think about distribution as a conversation with your audience: post a teaser clip 24–48 hours before the full video, then follow with a behind-the-scenes post that reveals a single, memorable moment from the shoot. Mini-story: a bedroom producer posts a 15-second teaser on TikTok—intentionally cropped to hint at the opening room moment. The clip gains traction before the full video drops, driving fans to the full release on YouTube with a well-crafted description and chapter markers.
In this chapter you’ll also learn to use a simple, reusable template for post-production deliverables that saves time on every project. And if you’re traveling or working with a small team, consider a minimal kit: a handful of lights, a compact camera body, a reliable audio rig, and a rugged SSD drive—enough to create a professional-looking music video without overwhelming the budget. A final note on branding: keep visual identity consistent with your artistic goals, but let the video’s narrative and craft stand on its own; the aim is to serve the song, not to showcase a brand’s identity in lieu of real storytelling.
Three quick distribution tips: (1) upload to YouTube with chapters and an engaging description, (2) cut 15–30 second teaser clips for Instagram Reels and TikTok, (3) pin a behind-the-scenes clip in the comments to extend the conversation.
Hear what these choices do to your own song.
Upload stems or a finished track, choose a reference direction, and compare a private Moozix mix before you export anything.