From Static to Kinetic: Editing Rhythms that Make Your Music Video Pulse
A practical, narrative-driven guide to planning, shooting, and editing a music video where every cut mirrors the song’s tempo and emotional arc
The heartbeat behind the cut: rhythm anatomy for music video
Rhythm in a music video is a living thing; it lives between the tempo you hear in the track and the tempo you see on screen. When you map tempo to emotion you create a map of choices: where to cut, what to reveal, how long to linger on a performer’s gesture, and when to let silence breathe. Start by defining five rhythm molecules: tempo (beats per minute as the spine of the piece), phrasing (how musical phrases align with shot lengths), accents (the on-beat highlights that land with a punch), reactions (the micro-gestures that signal change), and silence (intentional pauses that emphasize a beat or a lyric). In practice, this means turning a 3:30 track into a storyboard that uses shot lengths from 1.5 seconds to 6 seconds, with crescendos coinciding with key lyric moments. A concrete image: a guitarist hits a verse, the cut lands on a close-up of a finger tapping, then a wide shot breathes as the chorus arrives, and the camera slows to let the vocal line carry the emotional lift. Exercise 1: Tempo Anchor Map. Step 1, listen to the track and mark five anchor beats that represent major emotional turns. Step 2, write a one-sentence cue for each anchor describing the feeling you want on screen. Step 3, pair each cue with a suggested shot length and a suggested camera movement. Step 4, draft a rough timeline that shows where each anchor begins and ends, including the transitions you will use between anchors. Step 5, review with the performer or band so they understand the rhythm story you plan to tell.
The rhythm you choose is a character; it decides where the audience looks and how long they linger.
Preproduction tempo map: turning song into storyboard for music video
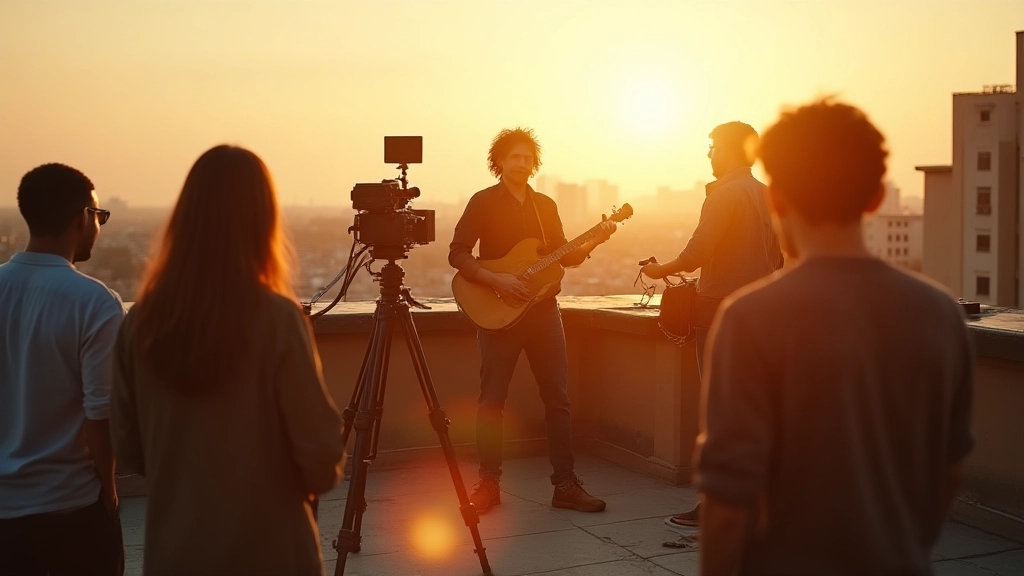
Before you touch cameras, you must translate the song into a visual tempo blueprint. This means creating a tempo map that assigns a motion vocabulary to each section: intro, verse, chorus, bridge, and outro. A good tempo map is simple enough to be useful yet precise enough to become your on-set guide. In a typical indie set you might have a three-tier plan: the beat-level plan (shots tied to the main downbeats), the phrase plan (shots aligned to musical phrases with slight offsets for lyric emphasis), and the moment plan (emotional pivots synced with the voice or instrumental breaks). This is also the moment to decide whether you will deploy a layered approach to rhythm—one track for performance energy and another for narrative clarity. Mini-story: during a rooftop shoot at dusk, a vocalist and guitarist calibrate their movement to a metronome app while the camera team rehearses a slow push-in that lands exactly on the first chorus hit, then a later cut slips to a wider angle as the band thunders into the bridge. Exercise 2: Beat-to-Frame Grid. Create a grid that shows beats and bars across the track, then sketch three shot ideas for each grid cell. Include at least two alternate transitions for each beat: a whip pan, a cut on action, or a subtle zoom. Place these in a shared doc for the whole crew to study before day one.
Tempo is a storyboard that lives in motion.
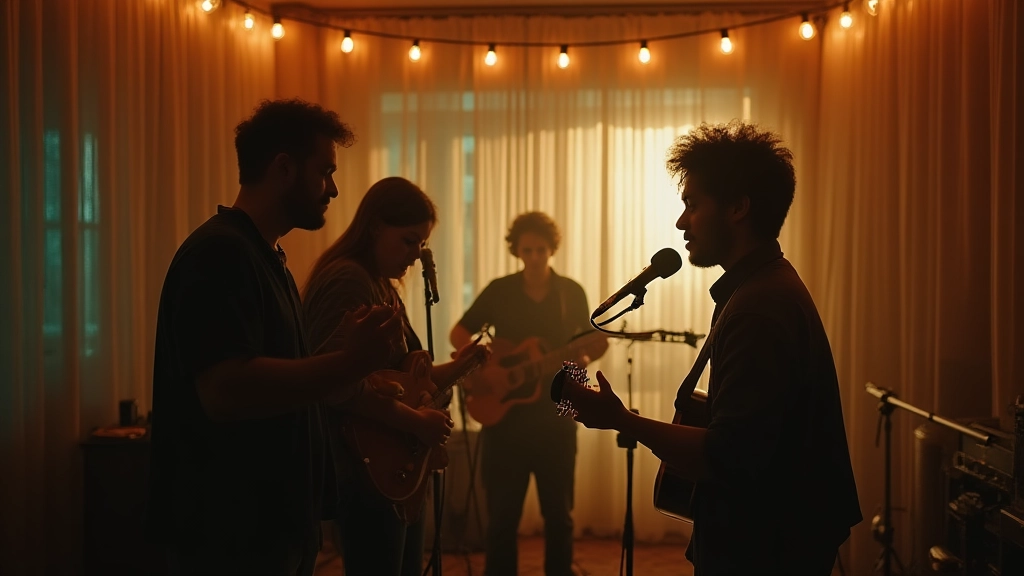
On-set rhythm in the frame: practical shooting for pace
On set you must bring the tempo map to life with concrete choices: how a performer breathes, how a camera moves, and how light references the beat. Your lens choices should reflect the tempo; fast cutting benefits from shorter lenses and more dynamic camera motion, while slower moments gain presence from longer lenses and deliberate stabilization. A practical checklist:
- Match your shot lengths to the anchor beats you defined in your tempo map.
- Use rhythm-friendly camera moves: a whip pan on a percussive hit, a push-in on a vocal cue, a gentle tilt during a held note.
- Plan lighting blocks that shift with the tempo; dim lights for a breakdown, brighten on the chorus.
- Give performers a quick rhythm rehearsal so their timing feels natural to the edit.
- Capture micro-gestures that sell emotion: a smile at a lyric, a finger tap on a guitar body, a head-nod that aligns with a bass hit.
Case in point: a bedroom producer filming a kinetic groove used a tiny handheld rig, a single Moozix panel as key light, and a second side light to carve the jawline during the chorus, creating a visual pulse that synced to the track. The result was not a flashy production but a truthful sense of momentum that carried the song from intro to outro.
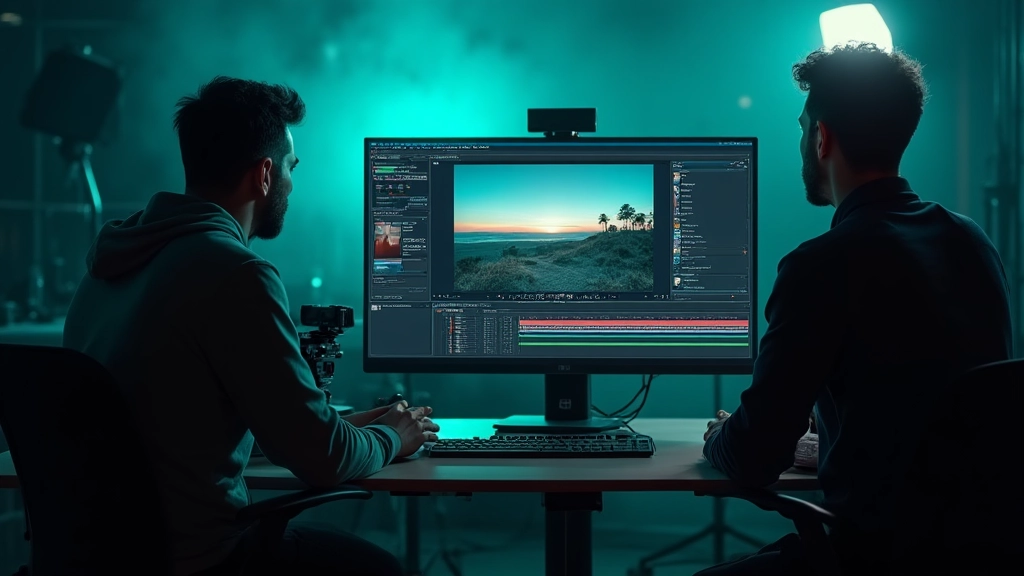
Editing for pace: cutting styles that honor the music video rhythm
Editing is where rhythm becomes insistence; it is the moment you decide when to reveal or conceal information and how long a listener will stay with a moment. The most important tools are not fancy effects but concrete choices: the type of cut (straight cut, L-cut, J-cut), the length of each shot, and the rhythm of the transitions between shots. A practical palette to start with includes five proven styles:
- Match cuts that align a motion or shape to a lyric cue; for example, cut from a drummer's hand hitting a cymbal to a cymbal’s ring on screen.
- L-cuts and J-cuts to let dialogue or singing continue over the next image, smoothing rhythm across a phrasing boundary.
- Speed ramps that subtly accelerate during a build, then ease back to normal pace as the chorus arrives.
- Rhythmic jump cuts during high-energy sections to create a jagged, kinetic feel that mirrors a groove.
- Cross-cutting between performers on different microbeats to create a conversation that feels pushed by the music.
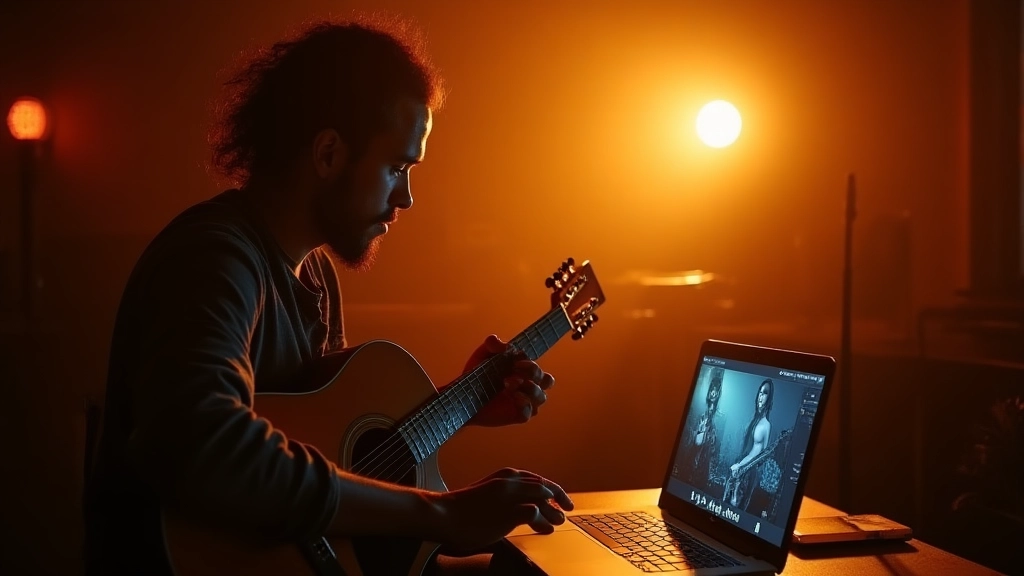
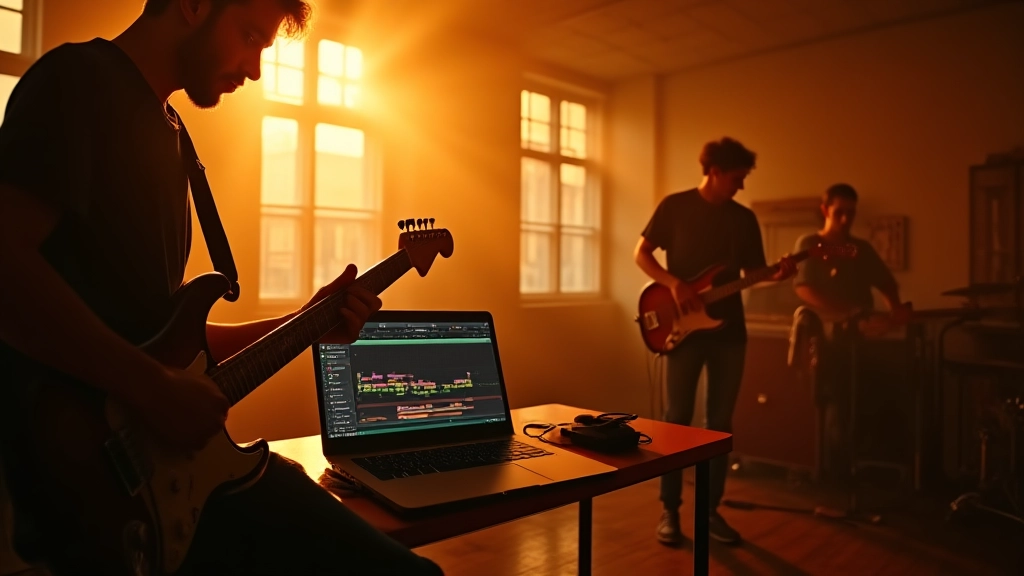
Three mini-stories illustrate these ideas. Story A takes place in a tiny apartment studio where a guitarist sits on a stool, fingers dancing over strings; the editor choreographs a rhythm-first cut where the camera lingers on each finger movement and then snaps to the mouth as the vocal begins, switching tempos with the bridge using a clean cross-cut. Story B unfolds on a city rooftop at night, where a dancer and singer perform in a tight frame; the editor uses match cuts to echo the dancer’s spins with the horn section’s stabs, and during the final chorus the tempo ramps up with a whip transition that feels like a heartbeat accelerating. Story C occurs on a tour bus interior; a take from the back shows the band hammering a groove while the editor intercuts a close-up of a metronome app and a cockpit-like dash of the bus’s lighting through a long lens, so the rhythm exists both in performance and in the viewer’s perception of space. In each case the pacing was not arbitrary but a careful audition of how long to stay on a gesture and how fast to move the eye from one performer to another. Exercise 3: Cutting Toolkit. Create a menu of five cut types you can apply to each section of your track, and write a one-sentence rationale for why that cut makes sense at that moment. Include timing cues so the editor can align the cut to the beat without guessing.
Rhythm is the editor’s most honest collaborator.
AI in rhythm editing: tools that feel like cues, not crutches
Artificial intelligence can be a powerful ally for rhythm work if you treat it as a co-pilot rather than a shortcut. In practice, you can use AI for beat detection, tempo alignment across layered tracks, and even rough cut suggestions that preserve your voice. The point is not to let a machine decide your pacing but to surface options you would have to work hours to discover. Start with these guardrails:
- Beat and tempo syncing: run the audio analysis to tag downbeats, then re-arrange clips while preserving emotional beats rather than relying on auto-cut only.
- Narrative coherence: use AI to ensure that a reaction shot lands after a lyric cue rather than on a random beat, preserving storytelling readability.
- Color and light rhythm: feed a simple base grade and let AI suggest minor adjustments to maintain consistent mood across tempo shifts.
- AI-assisted rough cut: generate 2–3 variant sequences that you then refine with your own rhythm sense, not the other way around.
- Field test: on a small, controlled shoot, try a 60-minute edit pass that uses AI to stitch a baseline cut and then punch up the moments where emotion peaks.
In a rooftop scenario described earlier, a compact lighting kit including portable Moozix panels helped maintain color continuity as the tempo shifted; this is a practical example of how AI-friendly workflows and real-world gear can work together to deliver a seamless rhythm on screen. The key is to keep your own rhythm as the final authority, using AI to surface options rather than replace your voice. Exercise 4: Rhythm Check for AI-Assisted Edits. Create a baseline cut with AI assistance, then deliberately push two decisions back to human timing: where to linger on a gesture and where to compress a beat for intensity. Compare and choose the version that preserves the performance’s life.
Post, release cadence, and distribution: finishing the rhythmic loop for music video
The last mile of a music video is not just post production; it is how you weave the rhythmic decisions into the release strategy so the audience experiences a coherent journey. Think of post as the stage where you polish the tempo you set on set and confirm it carries through to the final mix, the color grade, and the mastering of the audio. A practical workflow includes: aligning final sound design with the video’s tempo, ensuring the final cut remains faithful to the tempo anchors, exporting deliverables for different platforms with frame-rate and aspect-ratio choices that support the rhythm, and planning a rollout that paces teasers and the full video to keep momentum. A micro-case study: a 24-year-old singer-songwriter released a 3:12 track with a music video cut that mirrors the song’s phrasing; the team staged a staggered release with a 48-hour window between a lyric video tease and the full release, so the audience experiences a rising rhythm across touchpoints. Exercise 5: Release Rhythm Plan. Draft a two-week schedule for teaser clips and the main video drop, making sure each piece of content aligns with the rhythm of the track and the emotional arc you built in the edit.
Rhythm is the invisible hand guiding when to reveal what the audience should feel.
Final checklist: your next music video cut
Use this compact on-set to post-production checklist to keep rhythm at the center of your decision making.
- Define five rhythm anchors per section and annotate your timeline with beat cues.
- Storyboard at beat level for both performance and narrative moments.
- Time your edits to the track and check pacing against a test audience of one performer and one editor.
- Test transitions for rhythm feel, not just visual appeal.
- Make sure the audio mix honors the tempo and the emotional cues in the picture.
With these steps, you can go from a rough cut to a confident final cut in days, not weeks. The goal is not to chase flash; it's to chase coherence—the moment when the viewer says yes, that is exactly what the song asked for. Remember, a music video is a collaboration between artist, editor, and crew, and rhythm is the common language you all speak without words.
Closing thought: the rhythm you choose should feel inevitable. If you can watch your edit and forget the timeline, you know you have succeeded.
Hear what these choices do to your own song.
Upload stems or a finished track, choose a reference direction, and compare a private Moozix mix before you export anything.