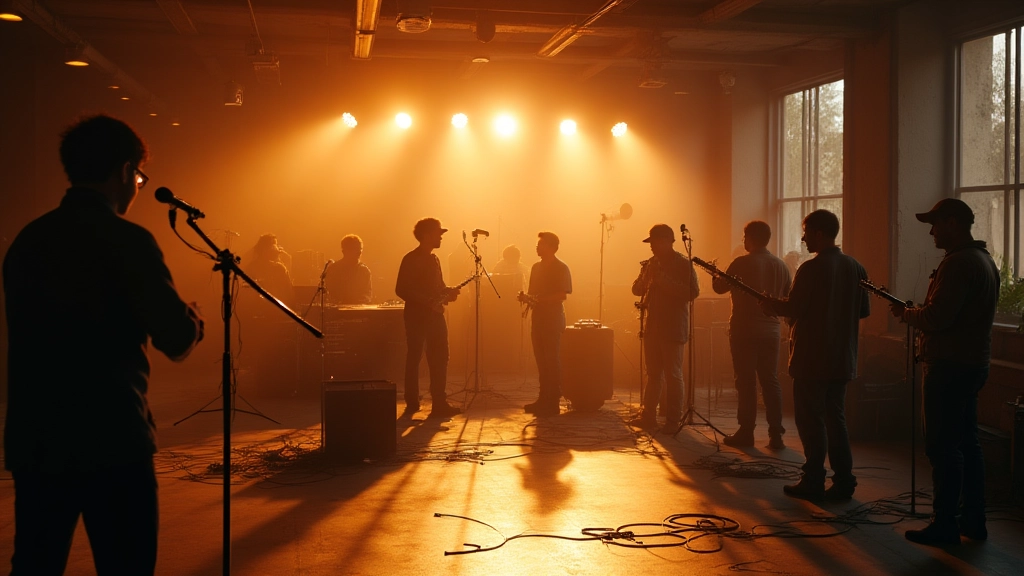
You stand in a small rehearsal room after a late show, guitar in hand, laptop humming, a rough cut on screen. The tempo of the room shifts with the song; your instincts say this is where the edit should breathe. This is your practical eight-step checklist for turning idea into a music video that feels inevitable, not incidental. It blends the discipline of pacing with the artistry of storytelling, and it speaks to touring setups, bedroom studios, and everything in between.
The rhythm of the edit is the heartbeat of the song; cut it like you cut a riff.
Step 1 — Define the edit rhythm before you shoot
Rhythm in a music video isn’t just how long a shot lasts; it’s the cadence that carries the audience from one idea to the next. Start before you pick up a camera or press record. Create a one-paragraph beat map that ties each section of the track to a rough editing tempo. For example, hook in the intro with longer, deliberate cuts that set mood, then move to brisk, punchy cuts for the chorus, and reserve a few quiet, held frames for the bridge. This map becomes your editing compass when you assemble footage from disparate sources — a tour van, a bedroom studio, or a stage. Exercise: draft a 180–220 word beat map that names the mood, the visual language, and the intended cut length for each section. Then translate that into a shot list with moment types (character closer, instrument detail, movement through space, audience reaction, etc.).
Mini-story: Mara tours with a compact kit and a phone tripod. Her beat map assigns a 6-second intro to a slow dolly push across her guitar, a 0.8 to 1.2 second cadence for each verse cut, and a chorus tea‑cup of rapid jump cuts tied to each drum hit. The song’s energy dictates the edit, not the other way around. When she sticks to the beat map, the footage from a dozen different days begins to feel like a single, coherent performance.
Step 2 — Nail the hook in the first few seconds
First impressions in a music video live in those initial frames. The opening moment should pose a question that the song answers. A strong hook can come from a surprising composition choice, a stark silhouette, or a sound that lands just as the image appears. Actionable approach: pick three visual hooks that could appear in the first 5 seconds and test them against your beat map. Create quick 5–7 second edits for each, then choose the one that best signals the emotional throughline of the track. Case study: a bedroom producer uses a single, tipped-over guitar amp in a dark corner, lit by a single Moozix compact LED panel. The hook is not a flashy effect; it’s the promise that the viewer is in for a ride, built with light, shadow, and the song’s bass pulse aligning to the cut.
Exercise: shoot three tiny hooks on a limited budget — a dynamic close-up of a pick slipping, a drummer’s hat shadow moving across the snare, and a breath that syncs with a kick drum — and time them to the first 10 seconds of your track. Compare the perceived energy and pick the hook that feels the most inevitable as the opening frame.
Step 3 — Align verse pacing with chorus energy
Verses are the breath; choruses are the lift. The rhythm of cuts during verses should feel deliberate, almost thoughtful, giving the viewer space to listen. When the chorus hits, your cuts should snap into a higher energy: shorter durations, quicker transitions, more camera axes. Practical method: map verse segments to cut lengths in whole or fractional seconds (for example, 2–3 seconds per cut in verses, 0.6–1.0 seconds for chorus punches). Use a tempo map in your editing software to lock those durations to the beat grid. Real-world example: for a mid-tempo indie track, a touring artist stitched a verse with 3–3.5 second cuts, then collapsed to 0.8–1.0 second cuts during the chorus. The viewer feels the song accelerate without a single artificial effect.
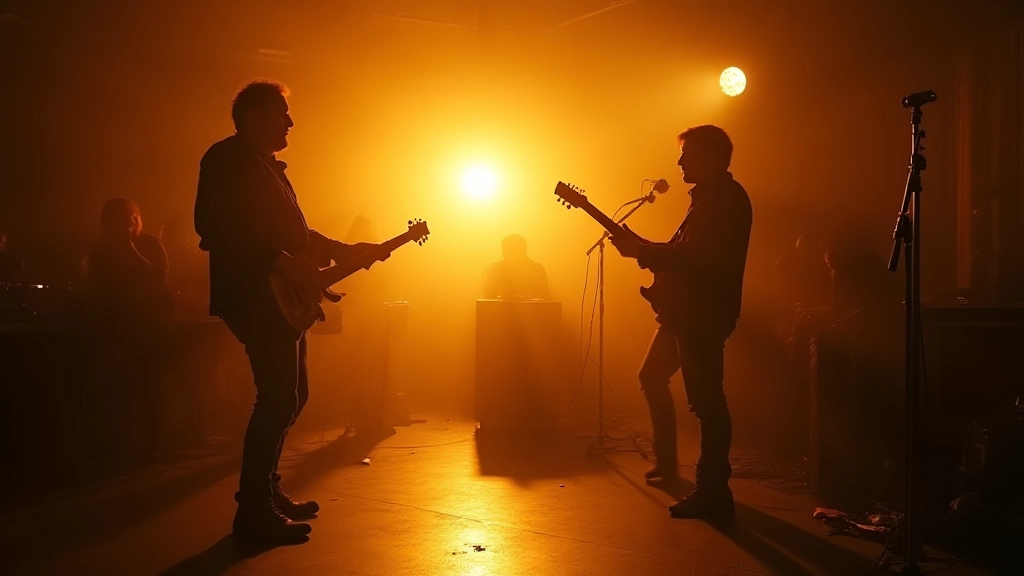
Mini-story: A duo with a portable rig uses a two-camera setup: a gimbal-stabilized wide shot and a handheld closer. They keep the verse edits long to honor the lyric, then shift to rapid close-ups for the chorus, letting the instruments’ gestures drive the tempo. The shift sells both performance and dynamics in a lean package.
Step 4 — Build texture with sound design and editing tricks
Audio and image move together. If you cut to music only, you miss the odds of the audience leaning in; cut to the sound as well. Practical tactic: employ J-cuts and L-cuts so dialogue or breath remains audible over a new visual, or introduce a percussive cue that lands just as a cut happens. Consider a live-room reverb tail from a snare that overlaps into the next shot, or a vocal phrase that lingers over a transitioning frame. This is where the edit breathes and the story remains legible even as the visuals accelerate. AI-assisted tools can help align syllables to the exact frame, but do not rely on them exclusively; let human timing guide the tempo first.
Story snippet: On a small tour bus, Mara uses a single microphone in the cabin to record ambient room tone. She cuts the sound into the edit so that the singer’s breath syncs with a camera move, creating a tactile cohesion that feels both intimate and live. This small technique yields a big payoff in perceived tempo without increasing production costs.
Step 5 — Shoot with rhythm in mind, even on a tight budget
Budget shoots thrive when every frame earns its keep. Plan shots that double as both storytelling and pacing devices. If you can’t afford a wide array of locations, use a single space with evolving lighting to simulate a journey; a field, a rehearsal space, a hotel room, and a bus interior can share a common visual language if you stage them with consistent blocking and lighting cues. In this step, the visual language should mirror your beat map. Pro-tip: use two simple lighting setups and a few practical additions to imply different places. This is where Moozix gear can be a quiet ally; a small set of portable LEDs can create dramatic shifts in mood without breaking your budget. Real-world example: a solo artist carves a bus-ride feel by pairing a moving camera with a static close-up and a handful of light shifts that echo the chorus’s energy, achieved with one Moozix panel and a compact battery pack. Exercise: design a three‑space shoot with a single performer, and write the blocking and lighting cues to align with a 6–8 second phrase in the song.
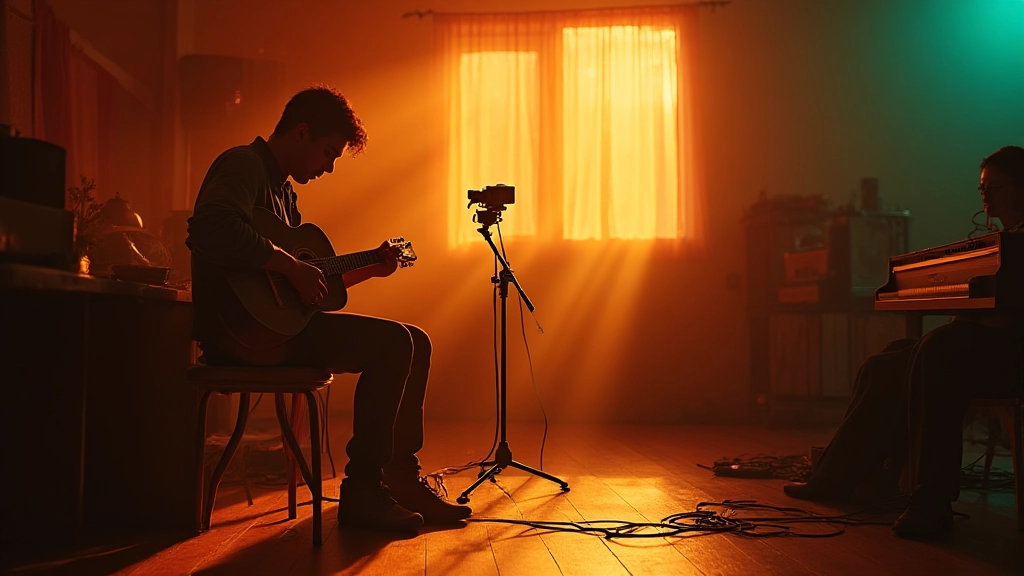
Story vignette: On a tour schedule, a guitarist rigs a hotel room with a single LED panel behind a translucent curtain and a second panel to illuminate the performer’s face from a low angle. The two-camera setup captures a sense of a changing day without leaving the room. The result looks expansive, despite the constraints.
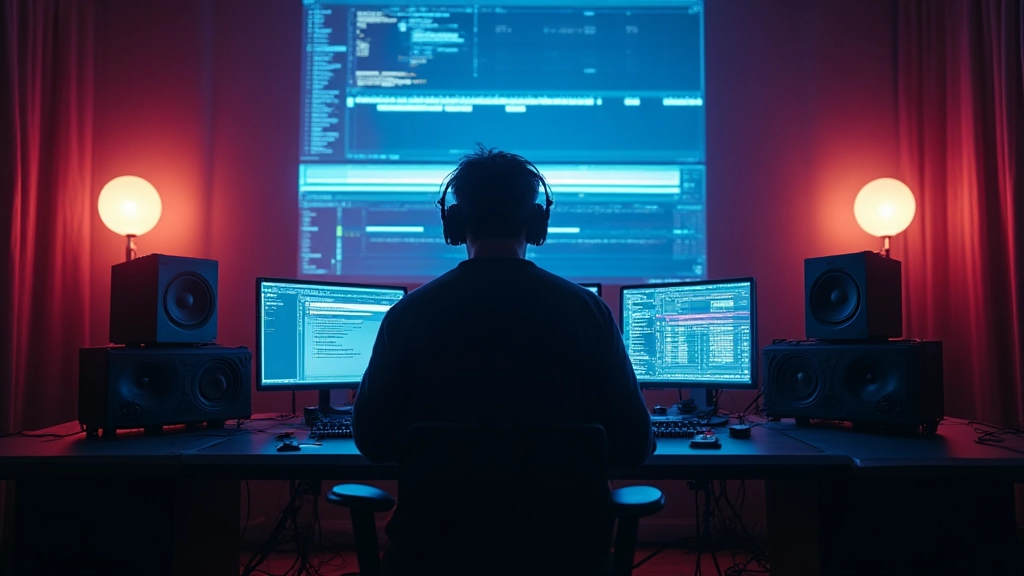
Step 6 — The edit passes: rough cut, fine cut, and the rhythm check
Editing is iterative choreography. Start with a rough cut that organizes shots into the beat map’s structure, then tighten. A solid rhythm check is essential: watch the rough cut at half-speed to feel the pulse; then rewatch at normal speed to confirm that emotional peaks land where they should. Don’t be afraid to swap shots that don’t contribute to the cadence, even if they look cool. A practical exercise: pick a 60–90 second segment and run three alternate cut versions with distinct pacing profiles—one slow, one medium, one fast—and choose the version that preserves narrative clarity at the tempo you defined in Step 1. Narrative note: this is where a small intentional hairstyle of a performer or a prop’s movement can become a recurring motif that anchors the viewer’s memory of the edit.
Pull-quote moment: Good editing keeps the story intact while the song drives the momentum; great editing makes you feel the music.
Step 7 — Color, continuity, and look that support rhythm
Color is not decoration; it’s a timing device. A consistent look across the video helps the audience follow the story, even when cuts are rapid. Build a short color ladder before you grade: a warm start that cools into a punchier midsection, then returns to warmth for resolution. If you’re juggling footage from multiple shoots, use a look transfer or a controlled palette to unify disparate frames. A practical tip: apply a mild lift to highlight a performer’s eyes during chorus hits and keep skin tones stable across all shots. For AI enthusiasts, consider using look‑transfer tools to pre-empt heavy-grade sessions, but always compare against your own grading goals. Real-world note: one touring artist used a single LUT with subtle grade rectangles to simulate color shifts between spaces, preserving a cohesive mood through the transitions while staying within a modest color pipeline. Exercise: create a two-step grade plan: a base grade for continuity, plus a punch-pass for chorus moments where energy peaks.
Brand-light moment: Moozix panels, used as practical lighting in Step 5, paired with a subtle blue backlight to separate the performer from the background and to emphasize rhythm in the chorus. This simple decision allowed the editor to maintain clarity even as the cut tempo increased.
Step 8 — Final pass, export, and the release plan
Last passes are about reliability and distribution rather than experimental choices. Confirm that the final edit plays well on small screens and headphones alike. Export with a conservative bitrate for broad compatibility, then prepare versions for social platforms with appropriate framing and captions. Build a release plan that aligns with your audience’s viewing habits: a curated premiere on a video channel, followed by staggered drops across social feeds. Actionable outcome: create two deliverables in parallel — a 60‑second teaser cut and a 3‑minute full edit — both vetted against the beat map and the tracked vocal timing. Finally, gather feedback from trusted peers who represent your target audience; incorporate small, feasible changes if they really improve the rhythm or comprehension of the story.
Mini-distribution note: if you’re working with budget constraints, consider releasing the video on your own platform first, then repurposing the cut for reels and shorts with optimized thumbnails and captions. The aim is not just to release something; it is to maximize the video’s discoverability, engagement, and long‑tail views.
Closing thought: rhythm and story are inseparable allies. When you honor the beat in your edits, you honor the song’s intent and invite listeners to participate in the moment you captured on screen.
Final practical exercise: build a one-page post‑production checklist that mirrors Step 8 — export settings, caption timing, deliverables, and a social distribution plan — so you can walk away with a publishable package in hand.
As you close the laptop and walk away from the room, you’ll notice the video feels less like a collection of footage and more like a performance that traveled with the song. The eight steps are not a one-off ritual; they’re a repeatable workflow you can apply to future projects, from a bedroom demo to a fully produced live session. Remember, your music video’s rhythm starts long before the first frame and ends only when the last credit rolls — and every beat in between is your invitation to tell a stronger story.
Practical takeaway card: Keep a small, portable kit ready for on‑the‑road shoots — one Moozix panel, a compact tripod, a fast SD card, and a basic field monitor. With a little preparation, you can capture footage that scales from solo acts to small ensembles without sacrificing editing tempo.
Hear what these choices do to your own song.
Upload stems or a finished track, choose a reference direction, and compare a private Moozix mix before you export anything.