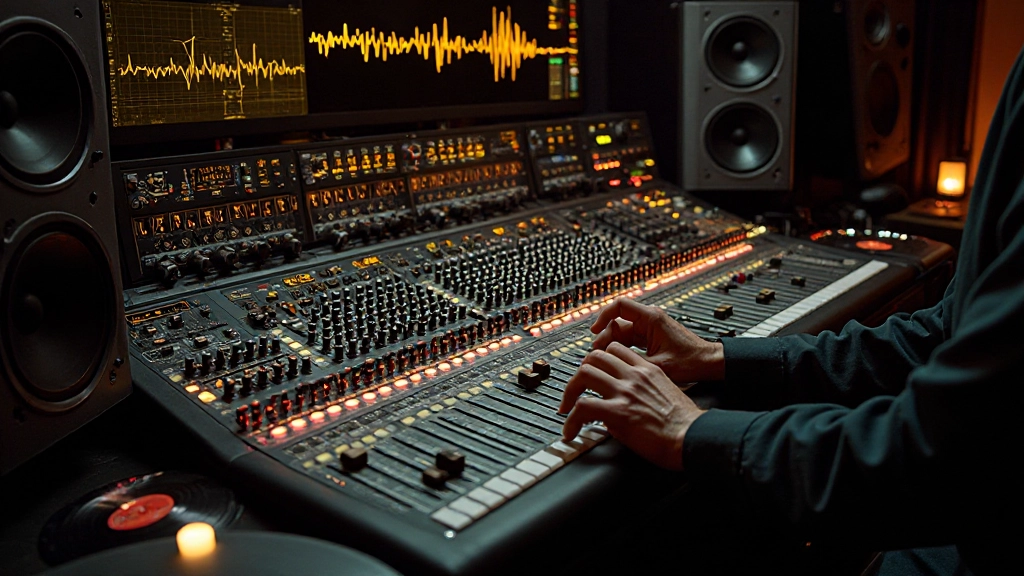
When Trevor handed me the stems for his indie rock track, everything sounded right in isolation. The drums punched, the bass growled, the guitars sparkled. But the moment I brought up all the faders together, the mix turned into sonic mud. Sound familiar? This is the story of how I developed my frequency surgery checklists that now guide every mixing session.
The Day Everything Clicked About Frequency Collision
Three years ago, I was mixing a track that should have been straightforward. Clean recordings, good performances, solid arrangement. Yet no matter how I adjusted levels or panning, instruments kept disappearing or fighting each other. The kick drum vanished whenever the bass guitar entered. The lead vocal got buried under rhythm guitars that sounded fine on their own.
That's when I realized I was approaching EQ backwards. Instead of randomly cutting and boosting frequencies, I needed a systematic diagnostic process. Like a doctor examining symptoms before prescribing treatment, I had to identify exactly where frequencies were colliding before reaching for the EQ knobs.
The Birth of My Frequency Analysis System
I started developing what I now call my "mix surgery checklists" – a step-by-step diagnostic approach that reveals frequency problems before they derail the entire mix. This isn't about fancy gear or expensive plugins. It's about training your ears to identify specific frequency issues and knowing exactly how to address them.
Checklist One: The Fundamental Frequency Map
Before I touch a single EQ band, I create what I call a fundamental frequency map. This process has saved me countless hours of aimless EQing and dramatically improved my mix clarity.
- Identify the key center: Know what note the song is in and where that fundamental sits in the frequency spectrum
- Map bass fundamentals: Find where your kick, bass guitar, and any sub-bass synths have their core energy
- Chart vocal formants: Identify where the singer's chest voice and head voice resonate most strongly
- Locate guitar sweet spots: Find where rhythm and lead guitars want to live in the frequency spectrum
- Mark cymbal energy: Note where hi-hats, crashes, and rides contribute brightness vs harshness
The revelation came when I realized that most frequency conflicts happen in predictable zones. Male vocals typically compete with rhythm guitars in the 200-800Hz range. Kick drums and bass guitars battle for supremacy around 60-120Hz. Once I started mapping these conflicts systematically, solutions became obvious.
The 60-Second Frequency Scan
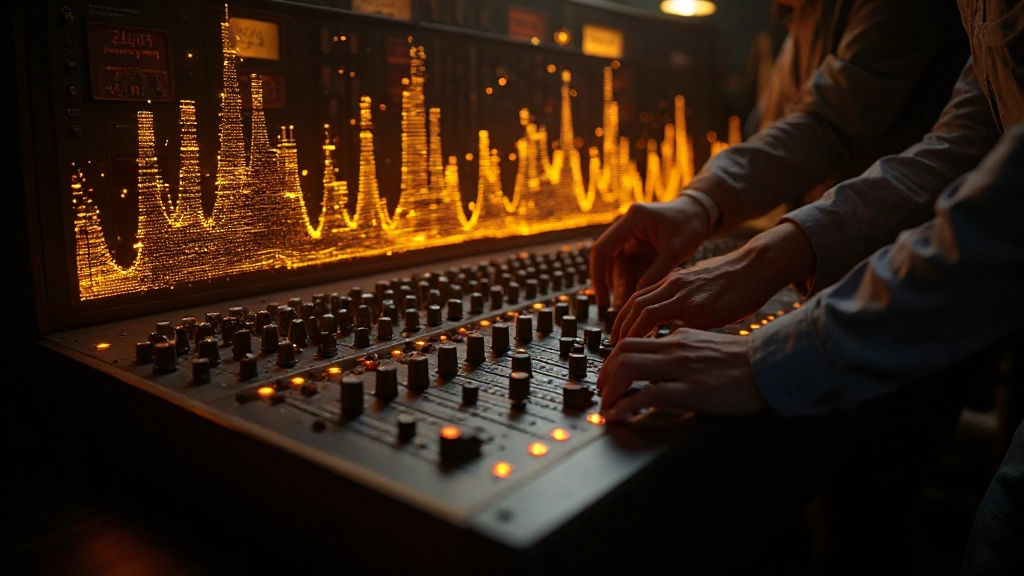
I developed a quick scanning technique that reveals frequency hotspots in under a minute. Here's how it works: I solo each instrument while sweeping a narrow-band EQ boost across the full frequency range. When I find a frequency that makes the instrument sound more "like itself," I mark it. When I find frequencies that sound harsh, boxy, or unpleasant, I mark those too.
This isn't about memorizing frequency charts or following generic rules. It's about understanding the specific frequency signature of each element in your particular mix. A Fender Telecaster through a Marshall amp will have completely different frequency characteristics than a Les Paul through a Fender Twin Reverb.
Checklist Two: The Masking Detection Protocol
Frequency masking is the silent killer of mix clarity. It happens when multiple instruments occupy similar frequency ranges, causing some elements to disappear entirely. My masking detection protocol helps identify these conflicts before they become problematic.
- The A/B Solo Test: Solo two instruments that seem to conflict. If one completely disappears when you bring in the other, you've found a masking issue.
- The Frequency Subtraction Method: Cut a narrow band of frequencies from one instrument. If another instrument suddenly becomes more audible, those frequencies were being masked.
- The Pan Isolation Check: Hard-pan conflicting instruments to opposite sides. If separation improves dramatically, frequency overlap is the culprit, not spatial arrangement.
- The Level Independence Test: If you have to constantly adjust the level of an instrument to make it audible, it's likely being masked rather than simply mixed too quietly.
"The goal isn't to eliminate all frequency overlap – that would sound unnatural. The goal is to manage overlap so each instrument can fulfill its role in the arrangement while contributing to a cohesive whole."
During Trevor's session, I discovered his bass guitar was completely masking the kick drum's fundamental frequency around 70Hz. But instead of cutting the bass, I found that a slight boost to the kick around 100Hz gave it enough presence to cut through. Meanwhile, a gentle cut to the bass guitar's upper harmonics around 300Hz made room for the vocal's chest voice.
Advanced Masking Scenarios
Not all masking is obvious. Sometimes instruments mask each other only during specific musical passages. I learned this the hard way when mixing a folk track where the acoustic guitar and vocal seemed perfectly balanced during verses but fought each other during the chorus when the singing got more energetic.
The solution required dynamic EQ that only activated when masking occurred. A subtle high-frequency roll-off on the acoustic guitar that only engaged when the vocal hit certain intensity levels. This preserved the natural guitar tone during quiet sections while automatically creating space during powerful vocal moments.
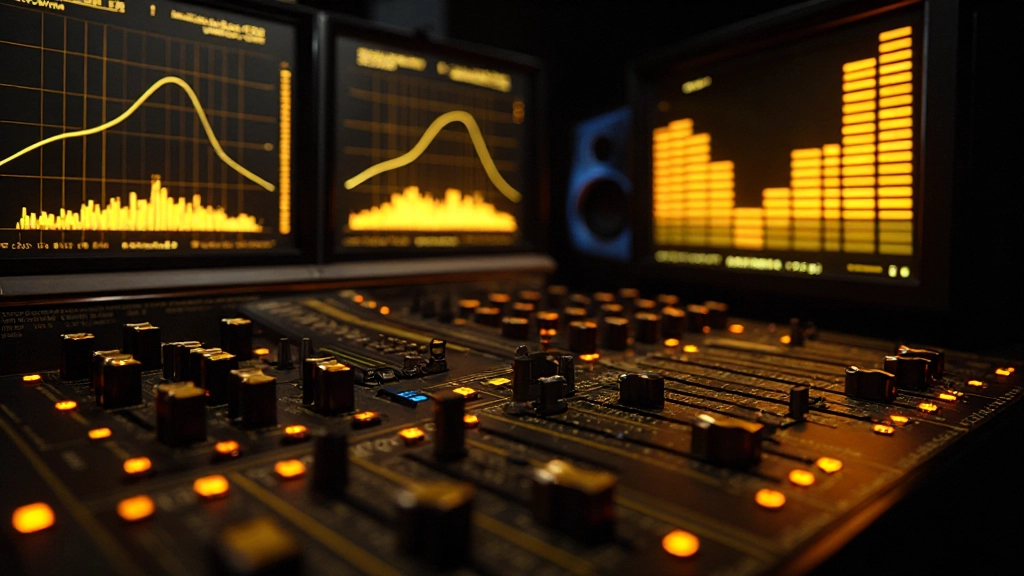
Checklist Three: The Harmonic Content Audit
Understanding harmonic content revolutionized how I approach EQ decisions. Every instrument produces not just a fundamental frequency, but a series of harmonics that give it character and help it cut through a mix. My harmonic audit process identifies which harmonics to enhance and which to control.
| Frequency Range | Harmonic Content | Common Issues | Typical Solutions |
|---|---|---|---|
| 60-120Hz | Fundamental bass energy | Muddiness, low-end conflicts | Careful high-pass filtering, side-chain compression |
| 200-500Hz | Lower midrange body | Boxiness, vocal masking | Gentle cuts, complementary boosts on competing elements |
| 1-4kHz | Presence and clarity | Harshness, ear fatigue | Precise notch filters, de-essing |
| 8kHz+ | Air and sparkle | Digital harshness, cymbal wash | Smooth high-frequency roll-offs |
The harmonic audit revealed why some instruments sounded great in isolation but terrible in context. A distorted guitar might have beautiful harmonic richness when soloed, but those same harmonics could create harsh interactions with cymbal overtones or vocal consonants in the full mix.
The Harmonic Interaction Test
I developed a simple test for harmonic interactions. While playing the full mix, I'll solo just the harmonics of an instrument using a high-pass filter set around 200Hz. This lets me hear only the upper harmonic content without the fundamental frequency. If these harmonics sound harsh or compete badly with other elements, I know where to focus my EQ attention.
This technique helped me understand why certain vocal EQ moves that worked perfectly on one singer created problems with another. Each voice has a unique harmonic signature based on the singer's physiology, technique, and emotional expression. Cookie-cutter EQ approaches ignore these individual characteristics.
Checklist Four: The Context-Dependent EQ Strategy
The biggest breakthrough in my EQ approach came from understanding that frequency needs change depending on musical context. An electric guitar that needs brightness during a verse might need warmth during a chorus. A vocal that cuts perfectly through a sparse arrangement might get buried when the full band enters.
- Section-by-section analysis: Check how EQ decisions affect different song sections
- Dynamic response testing: Ensure EQ choices work during both quiet and loud musical moments
- Arrangement density consideration: Adjust EQ based on how busy or sparse the arrangement becomes
- Emotional arc support: Use EQ to support the song's emotional journey, not fight against it
I learned this lesson while mixing a ballad that built from intimate verses to explosive choruses. My initial EQ settings made the verses sound perfect, but when the full arrangement kicked in during the chorus, everything fell apart. The vocal disappeared, the guitars turned to mush, and the drums lost all impact.
The solution required thinking about EQ as a dynamic, evolving process rather than a set-and-forget adjustment. Automation became crucial – not just for levels, but for frequency content that needed to shift as the musical energy changed.
Building EQ Automation Strategies
Context-dependent EQing often requires automation, but not the obvious kind. Instead of automating dramatic frequency sweeps, I focus on subtle shifts that support musical transitions. A gentle high-frequency boost that only appears during choruses to help vocals cut through. A slight low-mid cut on rhythm guitars that activates when the bass guitar plays complex patterns.
These automated EQ moves should be invisible to the listener while dramatically improving mix clarity and impact. The goal is to make every section of the song sound like it was mixed specifically for that moment, rather than trying to find one EQ setting that works everywhere.
Checklist Five: The Mix Translation Validation
The final step in my frequency surgery process involves testing EQ decisions across multiple playback systems. This isn't just about checking mixes on different speakers – it's about understanding how frequency balance translates to real-world listening situations.
- Near-field monitor check: Verify that EQ decisions work on your primary mixing speakers
- Headphone validation: Ensure frequency balance translates to headphone listening
- Car stereo test: Check how your EQ choices affect the mix in a typical consumer environment
- Phone speaker reality check: Verify that important elements remain audible on small, limited-range speakers
- Streaming service preview: Test how your frequency decisions interact with loudness normalization algorithms
The translation validation process revealed frequency issues that weren't apparent on my studio monitors. A vocal EQ that sounded perfect in my treated room created harsh sibilance in a car environment. Bass EQ that provided perfect low-end extension in headphones completely disappeared on phone speakers.
This led me to develop what I call "translation-aware EQ" – making frequency decisions that work well across multiple playback scenarios rather than optimizing for just one listening environment.
The Phone Speaker Reality Check
One of my most valuable translation tests involves checking mixes on phone speakers. This might seem like mixing for the lowest common denominator, but it actually reveals frequency balance issues that affect all playback systems. If vocals disappear on a phone speaker, they're probably sitting in a frequency range that's getting masked by other instruments, even on full-range systems.
The phone speaker test taught me to pay special attention to the 800Hz-3kHz range, where vocal intelligibility lives. Small speakers with limited frequency response act like a microscope for this crucial frequency band. EQ moves that improve vocal clarity on phone speakers almost always improve the mix everywhere else.
Putting the Checklists Together: A Real Mix Example
Let me walk you through how these checklists worked together on a recent mixing project. The artist, Elena, brought me a indie-pop track with layered vocals, multiple guitar parts, synthesizers, and a driving rhythm section. Beautiful individual sounds that turned into frequency chaos when combined.
Using my fundamental frequency map, I immediately identified three major collision points: the bass guitar and kick drum were fighting around 80Hz, the lead vocal was getting buried by rhythm guitars in the 400Hz range, and synthesizer pads were creating harshness when they overlapped with guitar harmonics around 2kHz.
The masking detection protocol revealed that the vocal wasn't actually too quiet – it was being completely masked by guitars during chorus sections. Rather than boost the vocal, I created space by gently cutting the guitars around 600Hz, which opened up room for the vocal's natural resonance.
For the low-end conflict, my harmonic content audit showed that both the kick and bass had strong fundamental energy at the same frequency. Instead of cutting one or the other, I used the kick's second harmonic around 160Hz to give it punch while keeping the bass guitar's fundamental intact around 80Hz.
Context-dependent EQing addressed the synthesizer harshness issue. The pads sounded beautiful during verses but became aggressive during choruses when layered with distorted guitars. Automation that rolled off some high-frequency content from the synths only during busy sections solved the problem while preserving their character during sparse arrangements.
Finally, mix translation validation revealed that my initial EQ choices made the track sound great on my monitors but thin on consumer speakers. Small adjustments to add some lower-midrange warmth and presence made the mix translate beautifully across all playback systems.
Beyond the Checklists: Developing Your Frequency Intuition
These checklists provide structure for developing what I call frequency intuition – the ability to hear frequency problems and know instinctively how to address them. But like any skill, this requires consistent practice and careful listening.
I recommend spending time each week doing focused frequency training. Solo different instruments in your mixes and really listen to their frequency signatures. Practice identifying frequency ranges by ear before looking at spectrum analyzers. Train yourself to hear the difference between fundamental frequencies and harmonics.
Most importantly, remember that EQ is a tool for supporting the music, not fixing it. If you find yourself making extreme EQ moves to solve frequency conflicts, the real problem might be in the arrangement or recording stage. Sometimes the best frequency surgery is recognizing when less is more.
The goal isn't to eliminate all frequency overlap – that would sound unnatural and sterile. The goal is to manage frequency content so every element can fulfill its musical role while contributing to a cohesive, impactful mix. These checklists provide a systematic approach to achieving that balance, but your ears and musical judgment should always guide the final decisions.
Hear what these choices do to your own song.
Upload stems or a finished track, choose a reference direction, and compare a private Moozix mix before you export anything.