Reverse-Engineering AI Color Transfer for Music Video Look
A practical, cinematic guide to planning, shooting, and executing AI color transfer workflows that keep your story front and center while elevating the visuals.
Why AI color transfer matters in a music video
Color is storytelling in pixels. A look that travels across an entire music video can unify disparate takes, performances, and locations, turning a set of scenes into a single emotional journey. AI color transfer tools promise speed and consistency, but they can also introduce drift if you don’t guide the process with a clear narrative brief. This piece walks through a practical, end-to-end approach that keeps your concept intact while leveraging AI for look matching, tonality, and atmosphere.
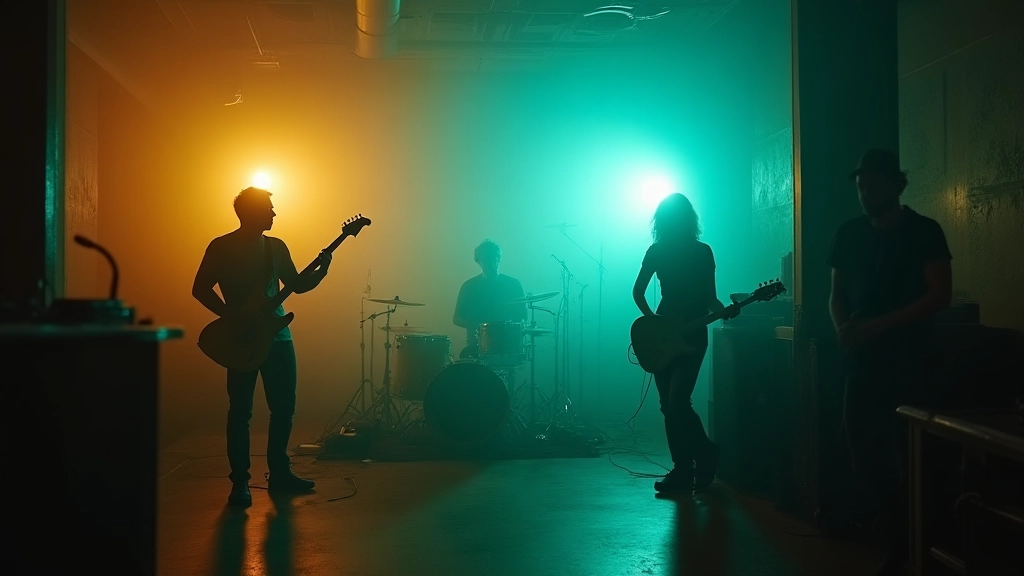
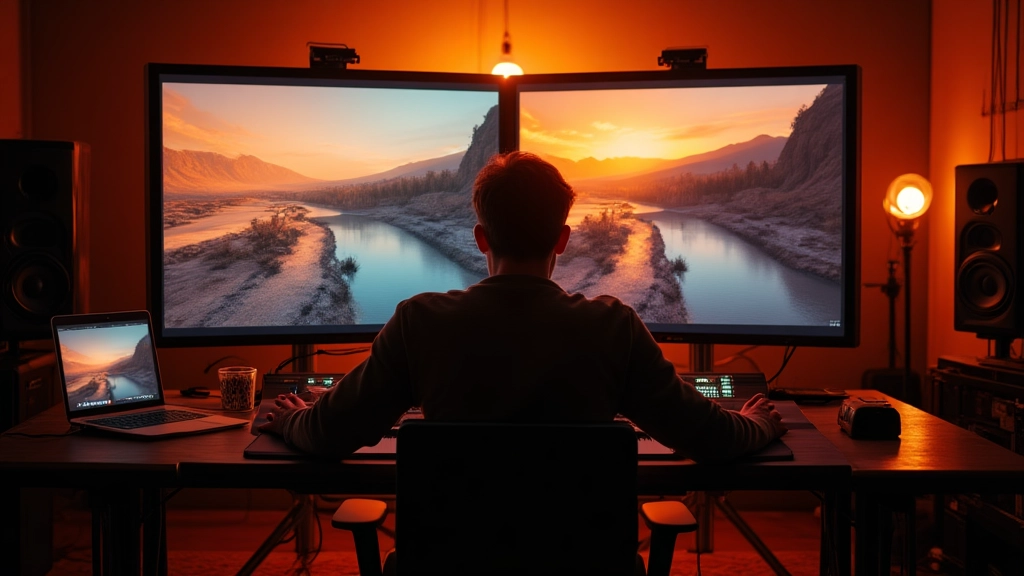
Open scene vignette: inside a van at dusk
On a small tour van parked under city lights, Mara—a rising indie artist—screens two take sets on a weathered laptop. One shot is handheld, the other is a staged performance from a small club. The two clips feel emotionally close but are color-shifted in a way that betrays their different cameras. In this moment, the director envisions a single look that can bind the footage into a cohesive music video narrative. This tiny scene becomes the north star for the entire workflow: define the look first, then let AI align the frames without sacrificing humanity.
Section I: Define the look with a narrative brief
Before touching a color wheel or an AI model, write a one-page brief that captures the emotional spine of the song. What era or mood should the viewer feel when the chorus hits? Is the tempo driving a neon-saturated palette, or does a muted, filmic grade better serve the lyric? Your brief should answer five concrete questions: (1) What is the central color mood (warm, cool, desaturated, vibrant)? (2) Which two or three reference films or videos mirror the desired tone? (3) What is the dominant light source in each scene (sunset, practical lamps, street neon)? (4) How will color support performance as opposed to hiding it? (5) What is the minimum contrast ratio you require across scenes to preserve readability of lyrics or captions?
Exercise: Build a color mood board
Create a mood board with five stills: three references you feel capture the tone, and two clips from your own footage showing divergent colors. Note what each image communicates emotionally and technically (exposed skin tones, shadow detail, energy of light).
Section II: Plan the AI workflow with a preproduction checklist
To keep AI from dictating your visuals, embed color planning into preproduction. Your aim is a reproducible path from shot list to final grade. The following checklist helps you frame the workflow.
- Define color space targets for each camera used on set (Rec.709, P3, etc.) and document them in the shot sheet.
- Choose a reference LUT or AI look target that embodies the mood, then map it to your footage with a test frame.
- Create two to three performance plates that you can reference for timing and emotion in the final cut.
- Prepare a small set of high-quality AI prompts or parameters for color matching, keeping them consistent across takes.
- Plan for on-set or on-location lighting that supports the look, including practicals, gels, and controlled tungsten where possible.
Section III: Shoot with color transfer in mind
Shot planning matters. If you want AI to help unify looks across scenes, you need to capture with standard metadata, color targets, and calibration in every frame. Here are practical steps you can implement today.
- Establish a two-scene rule: capture one scene with a consistent white balance and another with intentional variation to test how your AI tooling handles drift.
- Lock exposure and contrast to preserve skin tones; rely on practical lighting for consistency rather than relying entirely on post adjustments.
- Include a dedicated color reference plate in frame 1 of every location: a gray card and a color checker to anchor AI color matching.
- Use two takes per setup: one with natural color, one with a stylized look that serves as a fallback if you need to push the look later in editing.
- Record your audio and video separately when possible; a clean audio reference can help you time color transitions to the emotional rhythm of the performance.
Section IV: Post and build the AI color transfer into a cohesive look
From here the magic is in refinement. The goal is a look that travels smoothly from frame to frame, not a patchwork of disparate styles. The workflow outlined below blends manual grading, reference checks, and AI-assisted matching to deliver a reliable, story-first finish.
Stage A: Core grade with manual oversight
Start with a base grade that preserves natural skin tones and shadow detail. This is your anchor. Adjust white balance, lift gamma for midtones, and keep highlights controlled to avoid clipping. Use a calibrated monitor and reference the mood board to ensure consistent tonality across scenes.
Stage B: AI-assisted look matching
Apply a chosen AI color transfer tool to align frames toward the target mood. Start with one or two key frames per sequence, then propagate the adjustment with iterative passes. Always compare against the manual base grade to prevent drift.
Section V: Quality control and iteration
Even with AI, the final decision rests with the storyteller. Schedule at least two review cycles with fresh eyes. Bring in a guest colorist or trusted collaborator if possible to avoid groupthink. Use a simple feedback rubric: skin tone accuracy, scene-to-scene continuity, emotional impact, and readability of lyrics or captions.
Color is a narrative instrument; AI is a brush, not the painter. Keep the human story in focus.
— Maya, director and editor
Section VI: Practical examples and mini-stories
Three quick case studies illustrate how the theory translates into real-world practice.
Case 1: Mara on a tour van
Mara performs in tight spaces across multiple cities. The team uses AI to transfer a sunset-warm look from a rear-sun shot to a dim club interior, preserving skin tones and making the neon signage feel cohesive across venues.
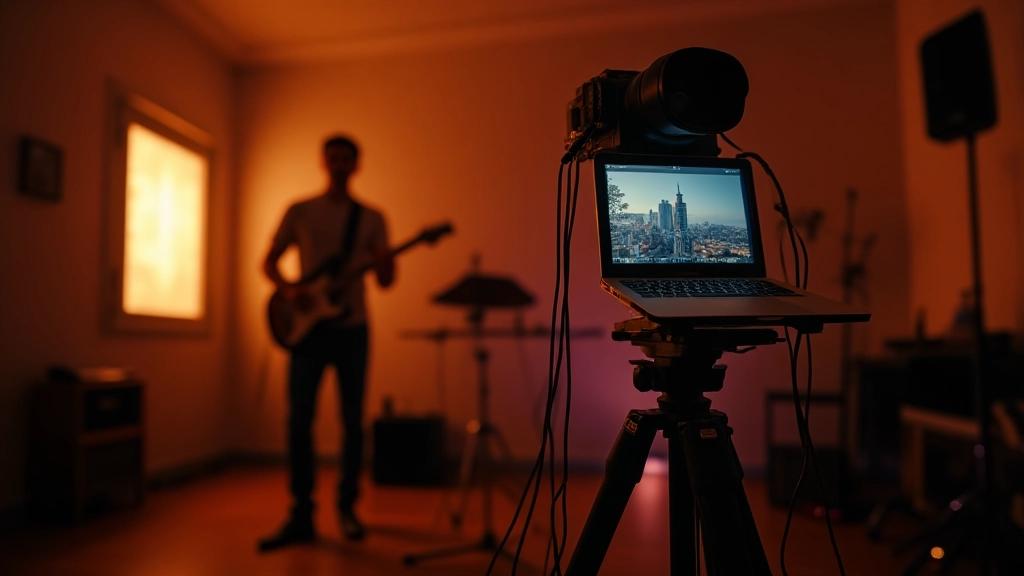
Case 2: Alex in a bedroom studio
A bedroom producer relies on smartphone footage and a borrowing of a vintage lens look. AI color transfer unifies the clip with a soft teal lean, while maintaining the performer’s emotional expression.
Case 3: The Hollow Pines rehearsals
A rehearsal space yields a mix of tungsten, daylight, and practicals. The team uses a two-foot color target and a stable LUT to keep the lighting believable while AI handles frame-to-frame matching for tempo changes.
Distribution and beyond: getting the look out there
Once the music video is complete, consider how you’ll share the look with your audience. A release that includes a short behind-the-scenes breakdown, a color workflow write-up, or a case-study video can reinforce the storytelling value of your color decisions. When possible, publish a minimal, captioned post that explains your approach to color matching and AI-assisted editing, along with a few stills that demonstrate the before and after of key frames.
Closing vignette: the first cut lands
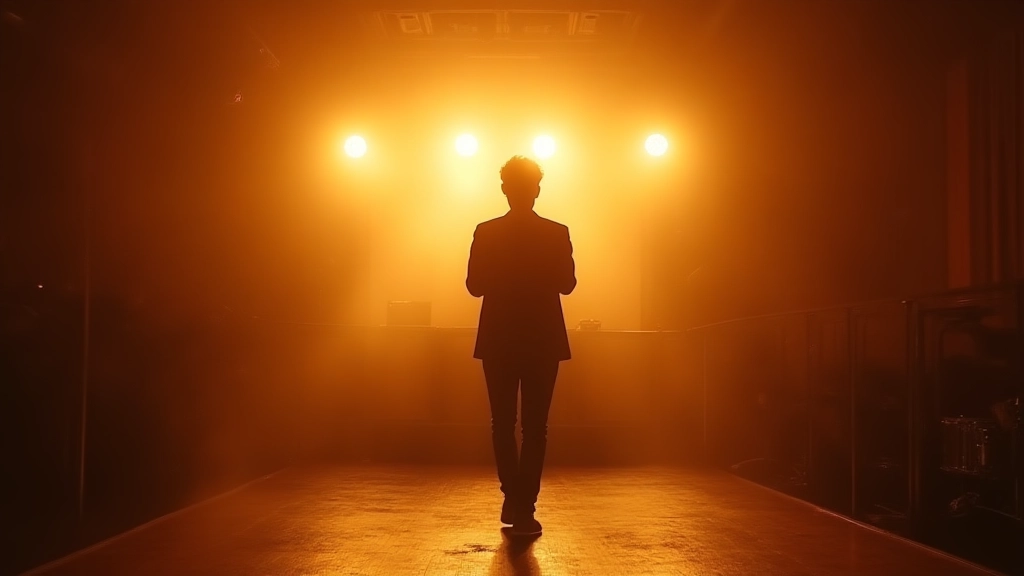
The first public cut lands at a small, dark venue where Mara plays to a room full of friends and fans. The audience feels the song rather than the process. The color has a quiet intensity, guiding attention to the performer’s face during the chorus and letting the ambient lights breathe across the room. The director watches the room, notes the timing of a lyric, and knows this is a music video that people will remember not for tricks but for honesty.
In the end, AI color transfer is a bridge to stronger storytelling. Plan meticulously, shoot with intent, and grade with care. The camera loves a narrative in harmony with the color you choose, and so do your viewers.
Key terms you should recall: color space, white balance, LUT, Look-Up Table, AI color matching, tone mapping, and frame interpolation. If you carry these ideas into your next shoot, you will not only save time but also elevate the emotional impact of your music video.
Hear what these choices do to your own song.
Upload stems or a finished track, choose a reference direction, and compare a private Moozix mix before you export anything.