The red light blinked on Derek's audio interface like a warning beacon. Three hours into tracking what should have been the perfect vocal take, and every single pass was clipping. His singer, Whitney, had nailed the performance, but the technical execution was failing them both.
This scenario plays out in home studios everywhere. You've got the song, the performance, and the passion, but your input gain staging turns golden moments into digital disasters. The difference between a recording that breathes with life and one that cracks under pressure often comes down to decisions made before you even hit record.
Reading the Warning Signs Before They Destroy Your Take
Derek's mistake wasn't uncommon. He'd cranked the preamp gain to get a "hot" signal, thinking louder meant better. But modern digital systems work differently than the tape machines that established those old habits.
When Whitney belted out the chorus, her voice jumped 6-8dB above her verse levels. Derek's "conservative" -3dB peaks suddenly became +3dB digital distortion. The performance was there, but the technical foundation crumbled.
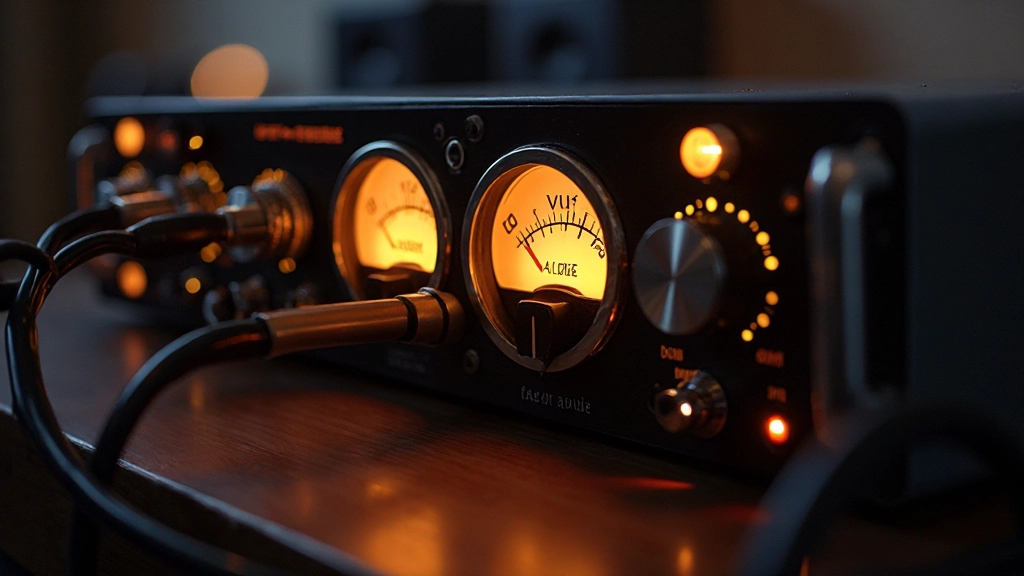
The Preamp Sweet Spot Discovery
Every preamp has a character zone where it sounds most musical. For solid-state designs, this often happens when the gain knob sits between 10 o'clock and 2 o'clock. Tube preamps might sing differently, sometimes wanting more or less drive depending on the circuit.
Find your preamp's personality by recording the same source at different gain settings, keeping your interface input levels consistent. You'll hear where the magic happens, and crucially, where it starts to fall apart.
The Three-Step Gain Staging Protocol
Professional engineers follow a systematic approach to setting levels that home recordists often skip. This protocol prevents the panic Derek felt when every take was unusable.
- Set the source level first: Position your microphone and have the performer deliver their loudest expected moment. Don't optimize for average levels; plan for peaks.
- Adjust preamp gain for character: Find the gain setting that gives you the tone you want while keeping your interface meters in the safe zone.
- Verify with a full run-through: Record 30 seconds of the actual performance, including any dynamic surprises. Check your meters throughout.
The Interface Input Pad: Your Secret Weapon
Many audio interfaces include input pads (usually -10dB or -20dB) that home studio owners ignore. Whitney's voice was simply too powerful for Derek's standard input configuration. Engaging the -10dB pad let him push the preamp gain higher for character while keeping the digital input safe.
Think of the pad as expanding your gain staging range rather than reducing your signal quality. It's especially valuable with ribbon microphones, which often need significant preamp gain to reach optimal levels.
Microphone Choice Affects Your Gain Strategy
Different microphones place different demands on your preamp. A dynamic mic like the SM7B might need 50-60dB of clean gain for soft vocals, while a condenser could clip your preamp with the same source.
| Microphone Type | Typical Gain Needs | Clipping Risk | Strategy |
|---|---|---|---|
| Dynamic (SM58, SM7B) | 40-60dB | Low | Push preamp gain confidently |
| Ribbon (R121, R84) | 50-70dB | Very Low | Use all available clean gain |
| Condenser (TLM 103, C414) | 15-35dB | High | Start conservative, use pads |
| Active Ribbon | 25-45dB | Medium | Balance preamp character vs headroom |
When Derek switched Whitney from a condenser to a dynamic microphone, he gained headroom and found a tone that suited her voice better. Sometimes the solution isn't just technical; it's choosing the right tool for the situation.
Digital vs Analog Clipping: Know Your Enemy
Analog preamp distortion can add musicality, especially with tube circuits. Digital clipping is always harsh and unusable. Your strategy should be preventing digital disasters while potentially embracing analog character.
If your preamp starts to saturate but your digital levels stay clean, you might be discovering something magical. If your digital input clips, you're creating problems no amount of post-processing can truly fix.
Real-Time Monitoring That Prevents Disasters
Derek's session could have been saved with better monitoring habits. Watching meters isn't enough; you need to develop an ear for the warning signs that clipping is approaching.
"I learned to listen for the moment when a vocal starts to lose its softness around the edges. That's usually your early warning that you're pushing too hard, even if the meters haven't gone red yet."
Sound engineer Maya Rodriguez
The Headphone Check Protocol
Before committing to any take, listen through closed-back headphones at a moderate volume. Clipping artifacts that hide in studio monitors become obvious through quality headphones. Make this your final safety check before moving to the next song section.
Recovery Strategies When You've Already Clipped
Sometimes you discover clipping after the perfect take is already recorded. While prevention is always better, you have options for damage control.
- Surgical EQ: High-frequency distortion can sometimes be masked with careful cuts above 8kHz
- Multiband compression: Isolate and tame the frequency ranges where clipping occurs
- Selective replacement: Punch in just the clipped words or phrases if the performance allows
- AI restoration: Modern tools can sometimes reconstruct clipped audio, though results vary
Derek ended up punching in the clipped chorus sections, and Whitney was able to match her original energy. The final vocal sounded seamless, but prevention would have saved hours of additional work.
Building Gain Staging Instincts
Over time, experienced engineers develop intuitive gain staging skills. They can hear when a preamp is working too hard or when there's not enough signal to work with during mixing.
Practice recording the same source at different gain levels. Train your ears to recognize the difference between clean headroom, musical saturation, and problematic clipping. This skill transfers across all your recording situations.
The Mix Implications of Poor Input Gain
Gain staging mistakes don't just affect the recording; they follow your tracks into the mix. Clipped vocals fight every processor you apply. Weak signals disappear when you add the compression and EQ they need to sit properly.
Proper input gain gives your mix engineer (even if that's you) the dynamic range and headroom to shape sounds without fighting technical limitations. It's the foundation that makes everything else possible.
Genre-Specific Considerations
Different musical styles place different demands on your gain staging approach. Heavy rock vocals might want some preamp saturation for attitude, while acoustic folk recordings need pristine clarity and maximum dynamic range.
Hip-hop vocals often get heavily processed, so capturing a strong, clean signal gives you more creative options during production. Jazz recordings might embrace the subtle warmth of preamps working in their sweet spots.
Your Gain Staging Action Plan
Start your next session with a systematic approach to gain staging. Set up your signal chain methodically, test your levels with real performance energy, and trust your meters until your ears are fully trained.
Remember Derek's lesson: technical excellence serves the music, not the other way around. When your gain staging becomes instinctive, you can focus entirely on capturing the magic of the performance. Your recordings will have the headroom to breathe, the clarity to cut through a mix, and the dynamic range to move listeners.
Every professional recording starts with this foundation. Master these input gain strategies, and you'll never again lose a perfect take to preventable clipping disasters.
Hear what these choices do to your own song.
Upload stems or a finished track, choose a reference direction, and compare a private Moozix mix before you export anything.