The red light was already on when Beverly realized her guitar tone had gone completely sideways. Three hours into tracking the lead parts for her band's debut EP, every take sounded like it was wrapped in a thick blanket—warm, sure, but so muddy that the melodies disappeared entirely into the mix.
Guitar recording sits at the intersection of two competing forces: the warmth that makes listeners lean in, and the clarity that cuts through a dense mix without turning harsh. Get the balance wrong, and you'll spend weeks trying to fix it in post-production. Get it right, and your guitar becomes the song's emotional anchor.
This balance isn't just about expensive gear or perfect rooms. It's about understanding how signal path decisions, microphone choices, and recording techniques work together to capture the full spectrum of your guitar's voice.
Reading the Room Before You Hit Record
Before Beverly touched a single fader, she learned to listen to her recording space as critically as she listened to her amp. Room acoustics shape guitar tone more than most home studio owners realize, especially in smaller spaces where reflections can either enhance warmth or create problematic buildup in the low-mids.
Walk around your room while playing your guitar through the amp at recording volume. Notice where the tone sounds fullest versus where it sounds thinnest. These differences reveal how your room's natural acoustics interact with your guitar's frequency response.
Small rooms often emphasize frequencies between 200-500Hz, which can make guitars sound boxy or muddy. Larger rooms might have more balanced natural reverb but can make close-mic techniques sound disconnected from the space. Understanding your room's personality helps you choose microphone positions and processing that work with, rather than against, your acoustic environment.
Furniture as Acoustic Treatment
Beverly discovered that moving a bookshelf behind her amp created natural diffusion that warmed her tone without muddying it. Bookshelves, couches, and even clothing racks can break up problematic reflections and add beneficial acoustic complexity to guitar recordings.
Experiment with repositioning furniture before investing in expensive acoustic treatment. Sometimes a simple rearrangement can transform a harsh corner into a sweet spot for recording.
Microphone Placement: The Art of Sonic Perspective
Jerome, a session guitarist who'd tracked on dozens of records, taught Beverly that microphone placement tells the listener where to stand in relation to the performance. Close placement creates intimacy but can emphasize harshness. Distant placement adds space and warmth but might lose definition in a busy mix.
Start with your microphone 6-12 inches from the speaker cone, positioned halfway between the center and edge of the speaker. This position typically captures both the fundamental warmth and the harmonic clarity you need for a balanced recording.
| Mic Position | Tonal Character | Best For | Potential Issues |
|---|---|---|---|
| On-axis (center of cone) | Bright, articulate, direct | Lead lines, solos | Can sound harsh, lacks body |
| Off-axis (edge of cone) | Warmer, fuller, more midrange | Rhythm parts, chords | May lack cut and definition |
| Angled placement | Balanced warmth and clarity | Most situations | Requires careful positioning |
| Distance (2+ feet) | Spacious, natural room sound | Ambient texture | May sound distant in mix |
The magic often happens in the subtle angles. Try positioning your microphone at a 30-45 degree angle to the speaker, which can capture both the cone's directional characteristics and some of the speaker baffle's influence on the sound.
The Two-Mic Solution
Jerome's secret weapon was blending two microphones—one close for clarity and definition, another positioned 3-4 feet away for warmth and space. This dual perspective allows you to balance warmth and clarity during mixing rather than committing to one extreme during tracking.
When using two microphones, check their phase relationship by flipping the polarity on one channel. Choose the setting that sounds fuller and more powerful, as phase cancellation can hollow out your guitar tone in problematic ways.
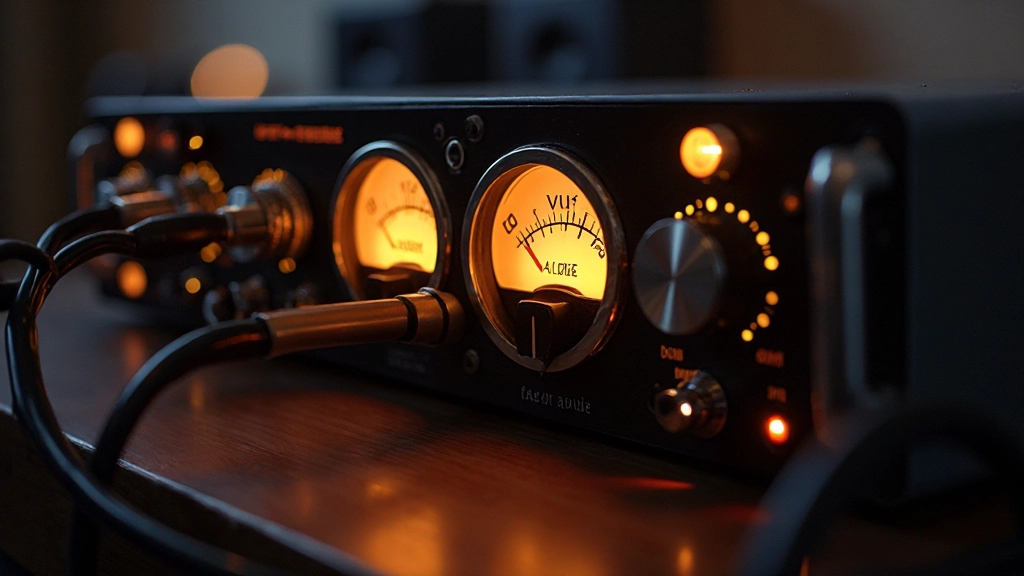
Gain Staging for Tonal Balance
The level at which you drive your preamp affects the harmonic content of your recording in ways that EQ can't fix later. Too little gain, and you capture a thin, lifeless representation of your amp. Too much gain, and you compress the dynamic range that gives guitar parts their natural breathing room.
"Most home studio guitarists record too hot, thinking louder means better. But guitars need dynamic range to feel alive in a mix. That means recording with peaks around -12dB to -8dB, not slammed against 0dB."
Set your recording levels so that the loudest strums peak around -10dB. This leaves headroom for the natural dynamics of your performance while ensuring your preamp doesn't add unwanted harmonic distortion that can make guitars sound harsh or brittle.
If your recordings sound thin at these conservative levels, the problem likely lies in your amp settings or microphone placement rather than your recording level. Resist the urge to compensate by driving the preamp harder.
Monitoring the Input Signal
Beverly learned to watch her DAW's input meters while playing, adjusting her guitar's volume knob or amp settings to maintain consistent signal levels. Guitar dynamics can vary dramatically between gentle fingerpicking and aggressive strumming, so monitor your levels throughout the performance rather than just during sound check.
EQ Decisions That Preserve Character
The EQ moves you make during recording are much more powerful than the fixes you apply during mixing. Understanding which frequencies to enhance or attenuate at the source can save hours of corrective processing later.
Most guitar recording EQ focuses on three frequency regions: the low-mids where mud accumulates (200-400Hz), the presence range where cut and clarity live (2-5kHz), and the air frequencies that add sparkle (8-12kHz).
- High-pass filtering during recording: Roll off frequencies below 80-100Hz unless you specifically need sub-bass content. Guitars rarely contribute useful information in this range, and removing it prevents low-end buildup that can muddy your mix.
- Gentle presence boost: A subtle boost around 3-4kHz can enhance clarity without creating harshness, especially for rhythm guitar parts that need to cut through without dominating.
- Air frequency considerations: Frequencies above 8kHz add sparkle but can quickly become fatiguing. Use sparingly and only when the source material supports it.
Jerome's approach was to make broad, gentle EQ moves during recording—nothing more dramatic than 2-3dB of boost or cut. Aggressive EQ moves during tracking often sound unnatural and limit your mixing options later.
The Frequency Masking Test
Before committing to EQ settings, play your guitar part along with a rough mix of the other instruments. Frequency masking becomes obvious when you hear your guitar in context—you might discover that a frequency range that sounds perfect in isolation disappears entirely when the bass and drums enter.
This context check helps you make recording EQ decisions that serve the song rather than just the isolated guitar sound.
Amp Settings for Recording vs Live Performance
Beverly's breakthrough came when she realized that amp settings optimized for live performance rarely translate directly to recording. Stage volumes, room acoustics, and the absence of close microphones create completely different sonic environments.
For recording, try reducing your amp's bass and treble settings by 10-15% compared to your live settings. The close microphone placement and controlled room acoustics of recording capture more low-end and high-frequency detail than you hear standing in front of your amp in a live setting.
- Start with your live settings, then dial back bass and treble
- Increase midrange slightly to compensate for microphone proximity effect
- Test settings at recording volume, not practice volume
- Record short test clips to check tone in context with other instruments
Volume also affects tube amp saturation characteristics. If you normally play loud enough to drive your power tubes into compression, you'll need to adjust your preamp gain settings when recording at lower volumes to maintain similar harmonic content.
The Reference Recording Method
Jerome keeps reference recordings of guitar tones he admires, not just for inspiration but as calibration tools. Before starting a session, he'll play these references through his monitors to remind his ears what balanced guitar tones sound like in his room.
This practice helps counteract the ear fatigue and acoustic adaptation that can skew your judgment during long recording sessions.
Real-Time Monitoring for Better Tracking Decisions
The monitoring chain affects your performance as much as your recording quality. If your headphone mix makes your guitar sound harsh, you'll unconsciously compensate by playing more gently, which can result in lifeless recordings even if the technical quality is perfect.
Create a monitoring mix that represents how your guitar will sit in the final production. This means adding some reverb, compression, and EQ to your monitoring chain even if you're recording the dry signal.
Beverly discovered that monitoring her guitar with a touch of analog-style saturation made her play with more confidence, which improved her timing and phrasing even though the actual recorded signal remained clean.
The Cue Mix Philosophy
Your monitoring should inspire performance, not just provide technical feedback. If adding some harmonic excitement or spatial effects to your headphone mix makes you play better, the improvement in musical performance far outweighs any theoretical advantages of monitoring the "pure" signal.
When Warmth Becomes Muddiness
The line between warm and muddy often comes down to frequency buildup in the 200-500Hz range. This buildup can happen at any stage—room acoustics, microphone proximity effect, amp settings, or preamp saturation.
Learn to identify muddiness by its effect on note definition. Warm recordings still allow you to hear individual notes clearly in chord progressions. Muddy recordings turn chord progressions into indistinct harmonic mush.
If your recordings consistently sound muddy despite careful microphone placement and amp settings, try high-pass filtering more aggressively during tracking. It's easier to add back low-mids during mixing than to remove buildup that's baked into the source recording.
The Solo Button Test
Regularly solo your guitar tracks during recording to check for frequency problems that might be masked by other instruments. Problems that sound minor in the full mix often become major issues when you try to create separation and clarity during mixing.
Jerome makes this check after every few takes, adjusting microphone position or amp settings if he hears problematic buildup developing.
Building Your Guitar Recording Workflow
Consistent results come from consistent processes. Develop a guitar recording workflow that addresses each element of the warmth-clarity balance systematically rather than hoping for happy accidents.
Start each session by testing your room position, microphone placement, and amp settings with short recording clips. Compare these clips on different playback systems—headphones, monitors, and cheap speakers—to ensure your tonal balance translates across listening environments.
Document settings that work well for specific guitars, amps, and song styles. Guitar recording involves too many variables to rely on memory, and successful combinations are worth preserving for future sessions.
"The best guitar recordings don't sound like microphones capturing amplifiers. They sound like the emotional center of the song happening in the listener's space."
Beverly's EP eventually captured exactly what she'd been chasing—guitar parts that felt intimate and present without sacrificing the clarity needed to serve the songs. The breakthrough came not from finding perfect settings, but from understanding how each decision in her signal chain affected the warmth-clarity balance.
Great guitar recordings happen when technical precision serves musical expression. Master the technical elements—room acoustics, microphone placement, gain staging, and EQ—so you can focus on capturing performances that move listeners. The signal and the noise in guitar recording balance isn't about eliminating one in favor of the other, but finding the sweet spot where both warmth and clarity serve the song's emotional purpose.
Hear what these choices do to your own song.
Upload stems or a finished track, choose a reference direction, and compare a private Moozix mix before you export anything.