Grace Martinez stared at the frequency analyzer in horror. Three hours into what should have been a simple vocal overdub session, every take sounded muddy and cluttered, despite using a pristine Neumann microphone in a professionally treated room. The problem wasn't the performance or the gear—it was everything below 80Hz that nobody could hear but everyone could feel, slowly choking the life out of her client's indie folk track.
That moment changed how Grace approached every recording session. Instead of hoping to fix problems later in the mix, she learned to prevent them during tracking. The secret weapon? Strategic use of high-pass and low-pass filtering right at the source, during recording itself.
Why Filter While Tracking Instead of Mixing?
Most home studio engineers think of EQ as a mixing tool, something you apply after the fact to shape recorded material. But professional engineers know that some of the most important frequency decisions happen before you even press record.
When you filter during tracking, you're making surgical decisions about what frequencies serve the song and what frequencies create problems. A high-pass filter removes unwanted low-end rumble, air conditioning hum, and proximity effect buildup. A low-pass filter can tame harsh room reflections or electrical interference in the upper frequencies.
The difference is night and day. Instead of spending mixing time trying to carve space between competing instruments, you create that space from the beginning. Your tracks arrive in the mix already sitting in their proper frequency neighborhoods.
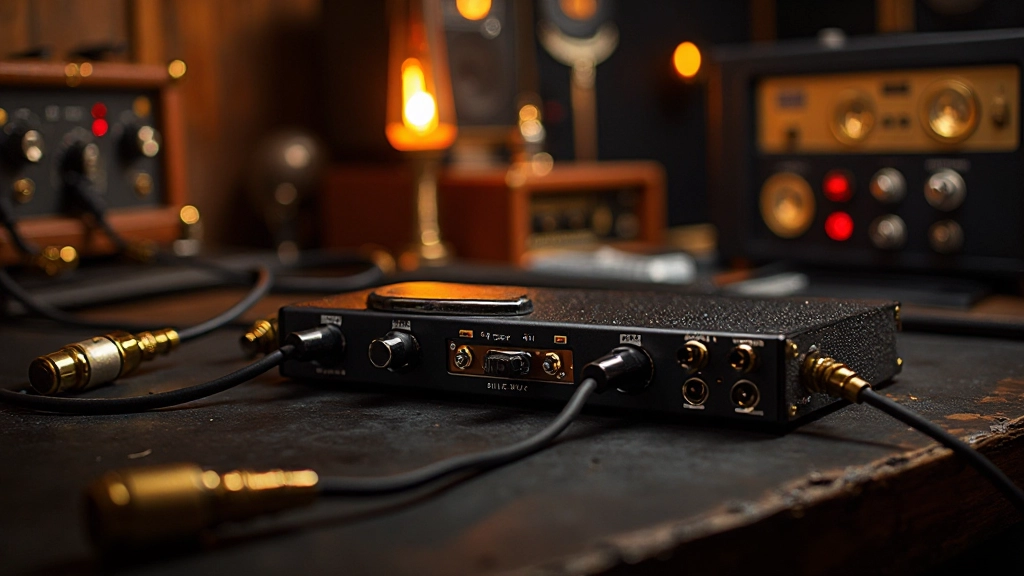
High-Pass Filtering: Your First Line of Defense
High-pass filters remove everything below a chosen frequency, letting higher frequencies "pass" through untouched. Think of them as digital bouncers, keeping unwanted low-end energy out of your recordings.
For vocals, Grace learned to start with a gentle high-pass around 80-100Hz. Most human voices don't contain musical information below this range—just proximity effect from being too close to the microphone, room rumble, and handling noise. By filtering it out during tracking, she ensured her vocal recordings sat cleanly above the bass and kick drum without any muddy overlap.
Acoustic guitars benefit from high-pass filtering around 60-80Hz, depending on the playing style and room. Electric guitars can often handle more aggressive filtering, sometimes up to 120Hz, especially for rhythm parts that need to stay out of the bass guitar's territory.
Practical High-Pass Starting Points
| Instrument | Starting Frequency | Notes |
|---|---|---|
| Lead Vocals | 80-100Hz | Adjust based on singer's natural range |
| Acoustic Guitar | 60-80Hz | Lower for fingerpicked, higher for strummed |
| Electric Guitar | 80-120Hz | More aggressive for rhythm parts |
| Piano | 20-40Hz | Very gentle, preserve low note fundamentals |
| Drums (overheads) | 100-200Hz | Removes kick bleed, preserves cymbal clarity |
The key word here is "starting." These frequencies aren't rules—they're launching points for your ears to evaluate. Grace always starts conservative and gradually increases the filter frequency while monitoring through good speakers or headphones, stopping just before she hears the instrument losing its natural body and warmth.
Low-Pass Filtering: Taming the Top End
Low-pass filters work in reverse, removing frequencies above a chosen cutoff point while letting lower frequencies pass through. They're less commonly used during tracking but incredibly valuable for specific situations.
During a session with singer-songwriter Austin Reed, Grace encountered a vocalist whose natural brightness turned harsh in her room's acoustic environment. Instead of fighting the harshness later with subtractive EQ, she applied a gentle low-pass filter around 12kHz during tracking. The result was a warmer, more intimate vocal sound that required minimal processing in the mix.
Low-pass filtering also works wonders for vintage-style recordings. If you're going for a classic analog sound, rolling off everything above 15kHz can instantly add that warm, tape-like character without relying on plugins later.
The Art of Real-Time Decision Making
The most challenging part of filtering during tracking isn't the technical execution—it's the confidence to make permanent decisions in real-time. Unlike mixing, where you can always undo an EQ move, tracking filters are baked into your recorded files.
Grace developed a systematic approach to build this confidence. Before each session, she spends 10-15 minutes listening to her room's acoustic signature with the planned microphone placement. She plays reference tracks through her monitors while listening through the recording chain, noting where problems typically occur.
During tracking, she uses a simple A/B comparison method. She'll record a few bars with filtering, then bypass the filter and record the same section. This creates immediate reference points she can compare through her control room monitors.
- Set up your signal chain with recording levels optimized but no filtering applied
- Record 30 seconds of the planned performance without any filtering
- Apply your best-guess filter settings based on the instrument and room combination
- Record another 30 seconds with filtering active
- A/B compare both versions through your monitoring setup, not just headphones
- Adjust filter frequency based on what you hear, always erring on the conservative side
Common Filtering Mistakes That Sabotage Your Tracks
Even experienced engineers fall into predictable traps when filtering during recording. Grace learned most of these lessons the hard way, through sessions where overly aggressive filtering left her with thin, lifeless recordings.
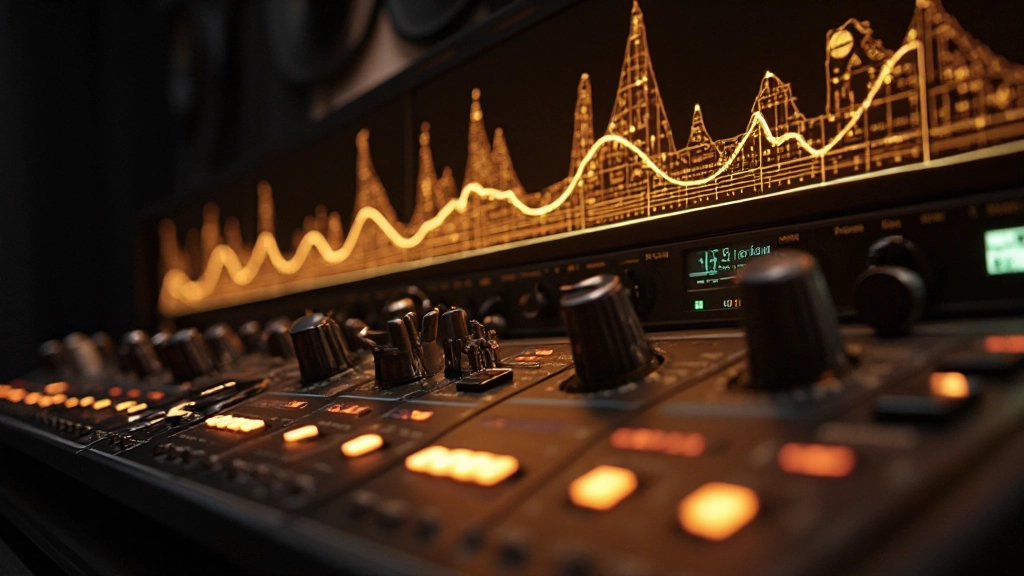
The biggest mistake is filtering too aggressively based on what you see on a frequency analyzer rather than what you hear through speakers. Visual representations of frequency content can be misleading—frequencies that look problematic on screen might actually contribute to the instrument's natural character and body.
Another common error is applying the same filter settings across different takes or even different verses within the same song. A vocalist's distance from the microphone changes throughout a performance, and their proximity effect varies accordingly. What works for an intimate, close-mic verse might remove too much body from a powerful chorus sung from further away.
"The biggest shift in my tracking approach came when I stopped treating filters as set-and-forget tools. Every take is different, every room is different, every performance has different energy. Your filtering needs to respond to those differences."
Grace Martinez, after five years of refining her tracking techniques
Advanced Techniques: Dynamic and Contextual Filtering
Once you're comfortable with basic filtering during tracking, more sophisticated approaches become possible. Grace started experimenting with what she calls "contextual filtering"—adjusting her filter settings based on the instrumentation density of different song sections.
During sparse verses with just vocals and acoustic guitar, she might use minimal high-pass filtering to preserve warmth and intimacy. But for dense choruses with full band arrangement, she increases the high-pass frequency to create more separation between instruments.
Some modern audio interfaces and preamps offer dynamic filtering options, where the filter frequency responds to input level or frequency content. These tools can automatically adjust proximity effect compensation as a vocalist moves closer or further from the microphone, maintaining consistent tonality throughout the performance.
- Practice filter adjustments during soundcheck, not during takes
- Create separate recording chains for different song sections if needed
- Document your filter settings for each instrument and room combination
- Always record a few seconds of unfiltered signal for reference
- Trust your ears over visual frequency displays
Building Your Filtering Intuition Through Practice
Developing reliable instincts for tracking filters requires deliberate practice outside of client sessions. Grace recommends dedicating one session per month to filtering experiments, where you record the same source through multiple filter configurations and analyze the results in different mix contexts.
Start by recording a simple acoustic guitar and vocal arrangement—something sparse enough that you can clearly hear the effect of different filtering choices. Record the same song section with five different high-pass filter settings, ranging from no filtering to moderately aggressive.
Then import all versions into your DAW and create a simple mix with bass and drums. This context reveals how filtering decisions during tracking affect the final mix balance. You'll quickly hear how conservative filtering preserves warmth but requires more mix work, while aggressive filtering creates instant separation at the cost of natural body.
The goal isn't to find the "right" settings—it's to build a mental library of how different filtering choices translate to final mix results. After a few months of these practice sessions, you'll develop intuitive confidence in making real-time filtering decisions during actual recording sessions.
Integration with Modern Recording Workflows
Contemporary recording often involves overdubbing individual parts over existing tracks, which changes the filtering equation significantly. When Grace records a guitar overdub for an already-dense arrangement, she can afford much more aggressive filtering because the instrument only needs to serve its specific role, not carry the entire frequency spectrum.
This is where intelligent use of filtering during tracking becomes a creative tool, not just a technical cleanup step. By filtering out frequency ranges that other instruments already occupy, you can record parts that automatically sit in the mix without frequency masking or competition.
For home studio producers working in-the-box, many DAWs now offer real-time processing during recording. You can set up filter plugins in your recording chain and print the processed signal, while still maintaining a dry version for safety. This hybrid approach gives you the benefits of tracking with filters while preserving flexibility for later mix decisions.
When Grace reflects on that frustrating vocal session from years ago, she realizes the solution was always simpler than she thought. Instead of trying to fix muddy recordings with complex mixing techniques, she learned to prevent the muddiness from being recorded in the first place. Strategic filtering during tracking isn't about limiting creative options—it's about capturing cleaner, more focused performances that serve the song from the very first take.
Hear what these choices do to your own song.
Upload stems or a finished track, choose a reference direction, and compare a private Moozix mix before you export anything.