Visual Branding in AI-Enhanced Music Videos: A Practical Playbook
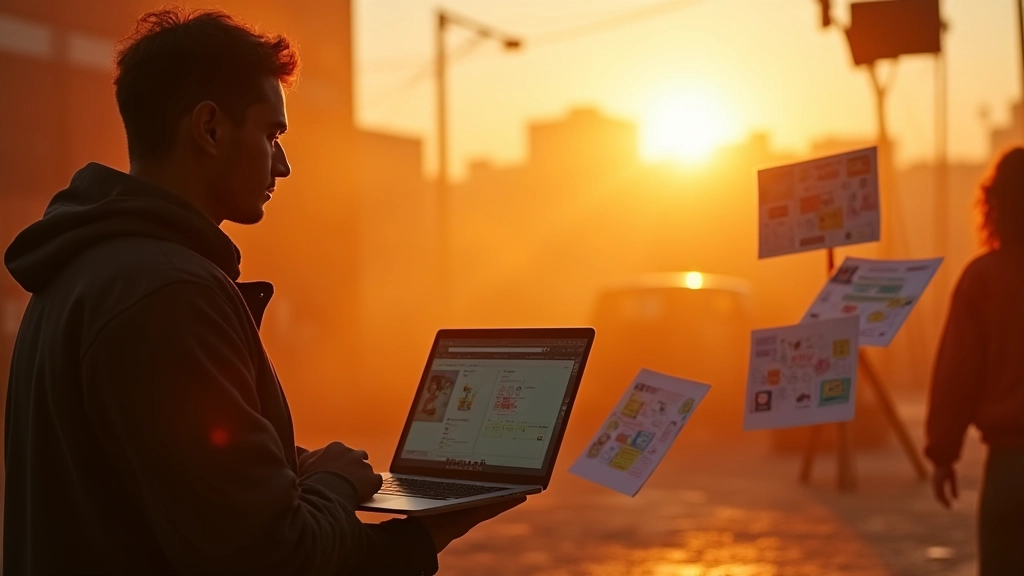
On a rooftop at sunset, a musician watches as a shot list morphs into a color study on screen. That moment is branding in action—where music, visuals, and AI tools converge to tell a clear story across every frame.
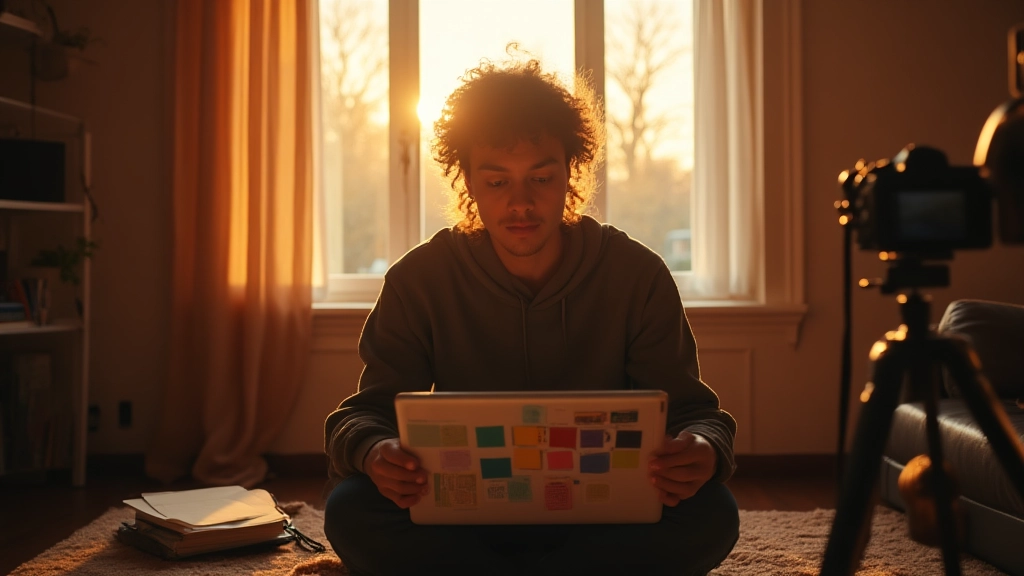
In this guide, you will find a seven-step playbook designed for everyone from a touring artist to a bedroom producer. It blends concrete production tactics with narrative craft, and it shows how AI can amplify your visual voice without diluting your humanity.
Branding in music videos is more than a logo splash between chorus hits. It is a language your audience recognizes in seconds, a mood they feel before a single lyric lands. This is true whether you direct with a crew of five in a rented studio or you shoot a single-camera vlog in your living room. The goal is consistency: a look, a cadence, and a set of motifs that travel with your music from one video to the next, building trust and anticipation. The seven steps that follow are practical, adaptable, and inclusive—built for creators who work with gear they already own and with AI tools that can accelerate the process rather than complicate it.
Why visual branding matters in music videos
When fans press play, they are not just listening—they are reading the frame. A consistent palette, a recurring symbol, and a specific lighting language create a emotional map that fans can navigate even before they hear the first note. This is how you transform a one-off clip into a body of work that feels cohesive, recognizable, and worth sharing. AI expands the toolbox without replacing your choices. It can generate color grades inspired by your DNA, propose visual motifs, and help you test ideas quickly before you commit to a shot or location. The result is a faster pre-production flow and a stronger, more repeatable brand that travels from video to video, across formats and platforms.
Step 1: Define Your Visual Identity DNA
Start by describing the look and feel you want fans to remember. Identify three core elements that will appear in almost every frame: color palette, motifs, and typography or graphic language. Strategy here is about constraints: fewer choices mean a stronger brand. If your music leans toward late-night synths and intimate vocals, you might pick a muted palette with a single accent color and a recurring symbol (a circle, a feather, a waveform). If your work is punchy hip hop with street energy, you might lean into high-contrast lighting, saturated primaries, and bold typography.
Action steps:
- Write a one-page visual brief. Include at least three mood images, a palette spec, and a short paragraph that explains why these choices fit your music.
- Create a mood board using free tools or a simple shared board. Link any visual reference to a timestamp in your latest song so the visuals feel connected to the music.
- Add one symbolic motif that will recur across videos. This gives fans something to recognize and quote back to you.
Step 2: Map Your Narrative to Visuals
Story is your roadmap. Even if your video is non-narrative, there is a throughline—the emotional journey your viewer experiences from intro to finale. Start with a core thought, then translate it into scenes, motifs, and camera moves. If your track riffs on uncertainty, plan tactile visuals that mirror that mood: a slow push-in on a character, a drifting object, a color shift that follows the music.
Action steps:
- Draft a simple storyboard: 6 to 8 panels that show the key beats of the song with one visual idea per beat.
- Storyboarding does not have to be high art; simple line drawings or still-frame sketches work. The goal is alignment among director, DP, and performer.
- Link each beat to a visual cue from your identity DNA. If the color accent appears in the first verse, ensure it appears again in the chorus through lighting or wardrobe.
Step 3: Build a Production Kit for All Budgets
Gear is a language, not a requirement. You can achieve a lot with a basic camera, practical lighting, and AI-assisted post tools. The aim is to keep things portable, repeatable, and adaptable to AI workflows. Create a kit that scales from a one-person shoot to a small crew. Think modular: small LED panels, a portable gobo set for creating texture, and a couple of universal color gels or their digital equivalents. For audio, a decent mic and a simple route to sync audio to video. For AI-integrated workflows, prepare prompts for mood boards, lighting looks, and composite visuals before you start shooting.
Action items:
- Record at least two versions of a verse: one with natural light, one with artificial or stylized lighting. Compare mood and decide which aligns with your identity DNA.
- Create a basic shot list with 12 to 15 frames that you would actually shoot. This keeps the shoot focused on what matters most to branding.
- Prepare a simple AI prompts pack for color grading, background plates, and lower thirds that you can adapt quickly in post.
Step 4: Pre-production with AI: Mood boards and Prompts
AI tools can speed up pre-production without removing your decision-making. Use AI to generate mood-board images that reflect your DNA, then curate and tag the results. Create prompts that specify lighting, composition, and texture so the generated images are usable as references. For example, you might generate a set of three background plates with a particular color wash that evokes your chorus's emotional peak. Use these references to brief your crew and align your actors with the brand language.
- Prepare a single-source prompt guide: one prompt template with options you can reuse in different scenes.
- Curate a reference library of 20 images that span the palette, tone, and texture you want to achieve.
- Create a simple shot-reel of your beat timeline that compares the actual footage to the generated mood boards.
Step 5: Directing Performance for Camera
Performance is the emotional heart of your video. Your job is to translate the song’s energy into movement, expression, and timing. Work with performers on blocking that suits the song structure, then rehearse in a space that mirrors the final set. If you are solo, choreograph a micro-dance or gesture language to communicate mood between lines. If you have a band, create a signal system so each member knows when to shift intensity or relax the performance for the cut. During takes, describe visual goals in simple terms and use the cue to help performers stay in the moment.
Tip: Build a shot list with a tempo-based cue: how many frames per beat, or how long a shot should last to sync with the music. This aligns performance with editing rhythm.
Step 6: Lighting, Color, and AI LUTs
Lighting defines mood, color defines identity, and LUTs (look-up tables) turn a raw clip into a branded moment. Use a three-point lighting setup for most scenes: key light, fill light, backlight. The AI angle is in how you color grade and apply LUTs. Start with a base grade that matches your DNA, then experiment with stylized variations for specific sections. Keep a log of LUT settings you like so you can reuse or adjust later. Pro tips: choose a single LUT family for consistency, and avoid drifting into random color looks that detach from the identity DNA. For on-the-road shoots, mobile lighting and battery-powered rigs can deliver a surprising range without breaking a budget.
Step 7: Post-production and Delivery
Editing is the final pass where sound, rhythm, and visuals merge. Use AI-assisted tools to stabilize, color-match, and clean audio, but keep human oversight to preserve your brand voice. Create a consistent title treatment and lower thirds that reflect your identity DNA. Export variants for social platforms with appropriate aspect ratios, from square for feeds to vertical for stories and shorts. Build a simple distribution plan so your visuals have momentum beyond the release.
Finally, test your video with friends or collaborators who share your genre and see if the branding feels immediate and clear. If not, go back to the DNA and refine, not overreact to the first impression.
Case vignettes: real-world illustrations
Three compact stories illustrate how a clear visual language can steer decisions in production and post. They show the same seven-step logic applied to different scales and genres.
Case A: Mara Hill, indie pop artist
When Mara released a new single, she built a family of visuals around a single circle motif and a lavender-blue palette. Mood boards anchored the color plan, and AI-generated background textures provided depth without overpowering the performance. Across a three-video arc, Mara reused the motif in lighting cues, wardrobe accents, and lower thirds. The result was a cohesive set that fans could recognize within seconds, turning short clips into a recognizable world.
Case B: Eli Torres, live-electronic producer
Eli tours with a small kit and treats the stage like a moving visual canvas. He defined a bold color ladder—three primary hues—and used AI-assisted LUTs to keep the look steady across venue lighting. In the studio video, he layered a subtle motion graphic that echoed the song's synth line. In the live cut, a camera-on-battery rig captured movement with a natural grain, while a second pass applied a consistent glow to maintain branding even when the set changed with the tour.
Case C: Jun Park, bedroom musician turned creator
Jun fans his visuals through generative AI prompts that describe mood, texture, and background elements. The prompts fed into simple scripts created for behind-the-scenes videos, giving fans a peek at the brand language while keeping production lean. The result was an organic, AI-assisted approach that stayed within a human voice, avoiding generic templates and delivering a distinct, personal look.
These vignettes show how the seven-step framework adapts to different budgets and contexts. The common thread is intent: define the DNA, translate it into scenes, and use AI as a partner not a crutch. The moment you commit to a clear visual promise, you begin to invite fans into a world they can trust, follow, and share.
Templates and quick wins
Use these quick wins to accelerate your next shoot, even when you are between gigs or on the road.
- Lock your three color anchors and reuse them on wardrobe and lighting.
- Prepare a 12-frame shot-reel that you can adapt to new songs in under an hour.
- Create a branding LUT pack for your most common lighting scenarios, then adjust for each location.
Common pitfalls and how to avoid them
Brand dilution is easy when you chase trends instead of consistency. Here are a few traps to watch for and how to avoid them.
| Pitfall | Avoidance |
|---|---|
| Too many looks across one video | Pick a single mood per scene and ensure any deviations align with your DNA |
| Inconsistent color across devices | Test in multiple displays during pre-production and lock a base look |
| Overusing AI assets that overshadow the artist | Limit AI-generated elements to support the performance, not replace it |
The future of AI in music video branding
AI will continue to accelerate the pre-production funnel, offer new ways to source texture and motion, and enable writers and directors to test more ideas in less time. The human element remains essential: your musical voice, your storytelling instincts, and your willingness to experiment with purpose. The best AI workflows are those that keep your brand language at the center while expanding the palette you can draw from on set and in post.
Bringing it together: your continuous branding loop
Brand building is not a one-off task but a cycle. Create, test, refine, and release again. Each video is a data point in your visual language. The moment fans recognize your color wash or your recurring motif on screen, you have earned a small, repeatable edge. Use AI to explore variations quickly, but always return to your DNA to anchor decisions. When you do, you will find that your audience grows not just in numbers but in a sense of belonging to a world they want to visit again and again.
Ready to put this playbook to work? Start with Step 1 tonight, assemble your mood board, and write a one-page visual brief. In a week, shoot a compact two-camera version of your next track and test the branding with a small group of listeners. The more you practice your visual language, the more confident your videos will feel, and the more likely fans are to press play and stay for the whole journey.
Hear what these choices do to your own song.
Upload stems or a finished track, choose a reference direction, and compare a private Moozix mix before you export anything.