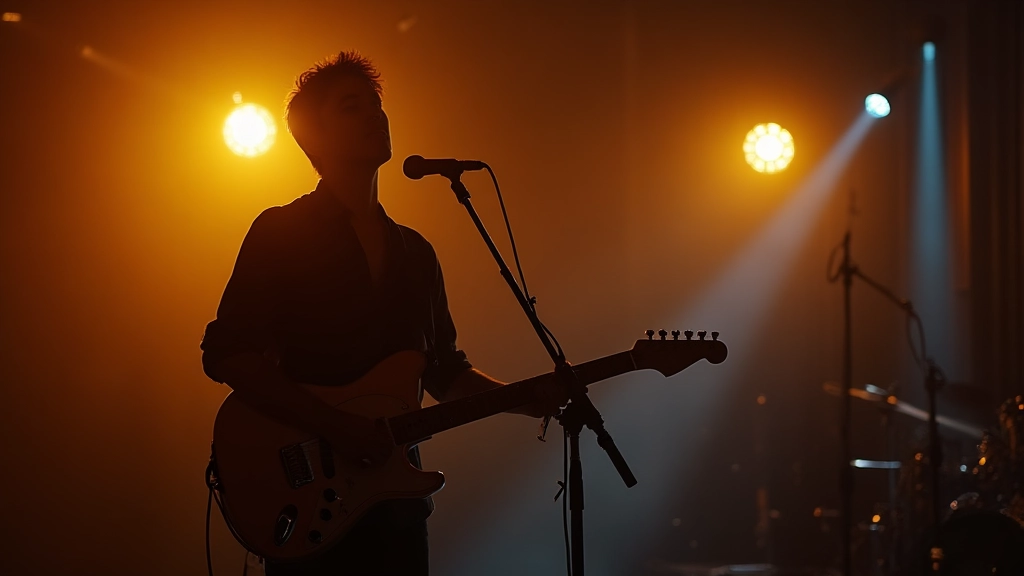
In a dim rehearsal room, a guitarist checks a clipboard while a drummer taps the beat on the edge of a folding table. A wall of sticky notes holds rough panels, color swatches, and a rough shot list sketched in biro. The director leans in, and the room holds its breath as the first verse lands. This is where a music video begins: with a plan that makes the risk of chaos feel almost solvable.
- Start with a story that fits your budget and schedule.
- Translate the narrative into a shot-by-shot plan you can execute on any location.
- Use a pragmatic editing rhythm to match the music without overcomplicating the cut.
Music Video Storyboard Mastery: A Nine-Step Guide for Creators
A practical, field-tested approach to turning a song into a visually compelling story you can plan, shoot, and release with confidence.
"The storyboard is not a work of art; it is a communication tool. It speaks between you, your crew, and your budget."
Story to Song: translating lyric into visual beats
Before you touch a camera, map the emotional arc of the track. Break the song into three core beats: setup, crest, resolution. For each beat, assign a visual mood, then translate that mood into concrete shot types. A chorus moment might demand a macro close-up that locks eyes with the singer; a bridge could live as a tracking shot that folds through space with the performers. This is the backbone of a music video that feels intentional rather than improvised.
- Define the core narrative. Write one sentence that captures what the video is about beyond the performance. Example: a musician rediscovers purpose while touring, and the video follows a day in the life as the song builds.
- Pair lyrics with visuals. For every verse/chorus, note a visual motif that echoes the lyric meaning or energy.
- Draft a shot list first, then sketch. Start with camera placements, movements, and sizes; rough sketches come later to communicate intent.
- Budget-aware planning. Name gear, locations, and crew limits; design the shot list to fit your budget rather than expanding it to fit your imagination.
- Prepare a shot-sheet for the crew. For each shot, note lens, focal length, camera movement, actor blocking, and audio cues.
- Build transitions into the plan. Identify how you’ll move from one beat to the next—cuts, pans, whip pans, or match cuts—to preserve rhythm.
- Test with a quick mock rehearsal. Run a 60–90 second rehearse to feel the tempo and see early flaws in staging or pacing.
- Lock the plan with a director’s treatment. Turn the storyboard into a short treatment that your crew can follow on set.
- Review and prune. Cut any shot that doesn’t serve the story or tempo; fewer, sharper images beat filler every time.
Lights, camera, and mood: visual design for a music video
Lighting is the most portable storytelling tool you have on a budget. For each beat, choose a lighting mood that reinforces emotion and keeps viewers engaged. You can mix practicals (lamps, neon signs) with controlled sources to sculpt depth and mood without breaking the bank. A common strategy is three-mood lighting: natural/soft for intimate moments, high-contrast for tension, and silhouette/edge lighting for choruses or solo performances.
- Key lighting choices: one primary source (key) plus a fill to soften shadows; consider a backlight to create separation.
- Practical integration: bring in a lamp or neon sign within frame to add color and realism.
- Camera choices: match lens to mood; wide for space, tight for emotion; experiment with focal length to influence tempo perception.
- Color cues: assign a dominant color per beat that appears in wardrobe, set decoration, and lighting to unify the look.
Practical exercise: plan a three-mood rig for a single space. Sketch the setup on a whiteboard with rough measurements, then translate it into a lighting checklist you can execute in under an hour of prep time.
On set: workflow, safety, and continuity
On set, a steady rhythm is as essential as a steady BPM. Create a simple call sheet that outlines who is responsible for each task, from lighting to grip to audio. Maintain continuity by tracking wardrobe, props, and positions across takes. One trick: assign a dedicated “continuity scout” or simply rotate the role among team members if you’re lean on crew. Small details—like a missing bracelet or a cigarette pack in a frame—can derail the cut later if not tracked on set.
- Create a 2-page call sheet with location, times, and shot assignments; keep it handy for quick references.
- Assign a continuity check before each take; note any prop changes, wardrobe quirks, or actor micro-movements.
- Log takes with a timecode and a one-liner about why a take works or doesn’t.
- Keep a small lighting kit and spare bulbs ready; small fixes save the day on tour or in a home studio.
The edit as rhythm: cutting for impact
Editing is where the story takes flight. The goal is to mirror the song’s tempo and emotional arc with pacing that feels like a conversation between image and sound. Start with a rough cut that follows the shot list, then refine with a rhythm track of the music: beats, drops, and accents become the spine of your cuts. A good rule of thumb is to let the music cue the cut, but never let it dictate the message. The audience should feel the story, not chase a fast cut just for the sake of speed.
- Match the tempo to the beat. Time cuts to drum hits, bass pulses, or vocal accents to create a satisfying musical cadence.
- Preserve the core performance. Keep the strongest performance shots near the chorus or peak moments.
- Use rhythm-based transitions. Employ whip pans, match cuts, or tempo-locked crossfades to bridge sections without jolts.
- Layer in B-roll and cutaways. Use B-roll sparingly to add texture when the main performance lags behind the beat.
- Color consistency as a storytelling tool. Transfer color between cuts to maintain mood rather than chase a new look per shot.
- Sound design to support visuals. Add room tone and subtle FX to smooth transitions and sell realism.
- Review with a fresh eye. Sleep on the rough cut and rewatch with new perspective to catch pacing gaps.
- Deliver a precise cut list. Document which takes become the final, with notes for color and sound tweaks.
- Prepare for color grading. Build a baseline LUT or look up a few reference frames to guide your grade.
From edit to release: distribution strategies that work
Distribution is not an afterthought; it is the final act of your storytelling. Think of your release as a mini-campaign with a clear plan for drop dates, formats, and platforms. An artist working on the road can drop a teaser trailer from a tour bus, while a bedroom producer might release a complete video alongside a single on streaming platforms. Bundled distribution services have evolved to help independent artists reach major platforms without friction. For example, bundled video distribution services were introduced to deliver music videos to Apple Music, Amazon Music, Tidal, and Vevo, making it easier for indie artists to place their work widely. This kind of service is a model you may see more of in the coming years.
Tip: craft a 2–3 week release plan that aligns with your video’s narrative arc. Lead with a teaser, then immerse the audience with the full video, and finish with a behind-the-scenes look or an interview clip to sustain engagement.
- Create a release calendar with a teaser week, premiere week, and follow-up clips.
- Coordinate with platforms that support music videos, including Vevo and major DSPs, to maximize reach.
- Prepare captioned videos for accessibility and wider sharing; add a short description with relevant keywords.
- Track performance: save analytics from each platform and adapt future videos based on what works.
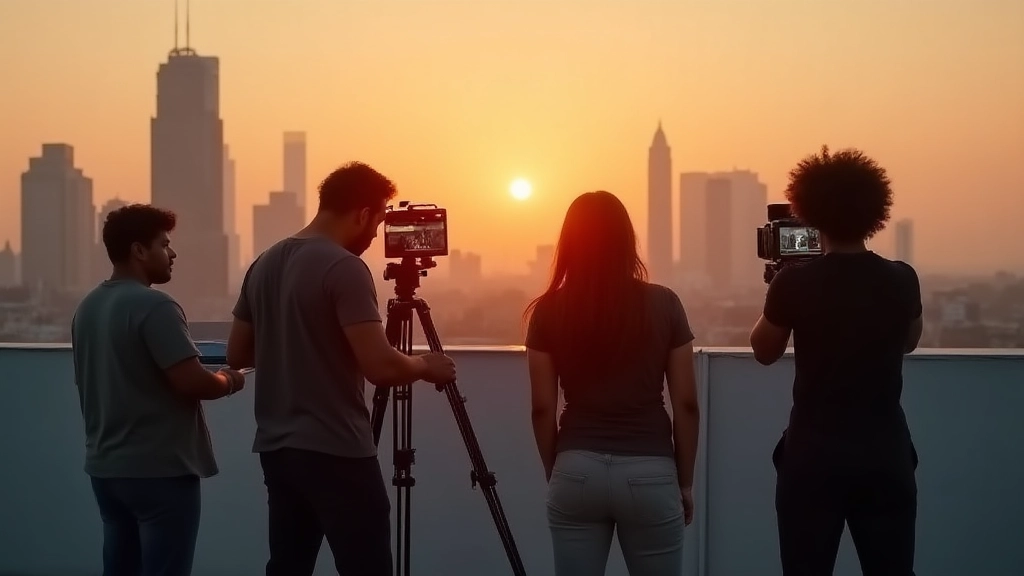
Three quick case studies: real-world, real-budget music videos
The following mini-portraits show how different creators solve the same problem—making a strong music video—across varied environments.
Touring duo on a bus loft studio
On a cramped tour bus, a duo used a single mirrorless body and a compact lens kit. They storyboarded a nine-shot sequence to capture a performance plus intimate moments, then shot a few scenes in a parking lot on a sunny day to supply B-roll. The plan let them create a complete video in a single day, with a tight editing rhythm that matched the chorus and left room for improvisation during takes. Moozix supported their prep by organizing a lightweight shot list and a portable lighting kit that could be set up in minutes.
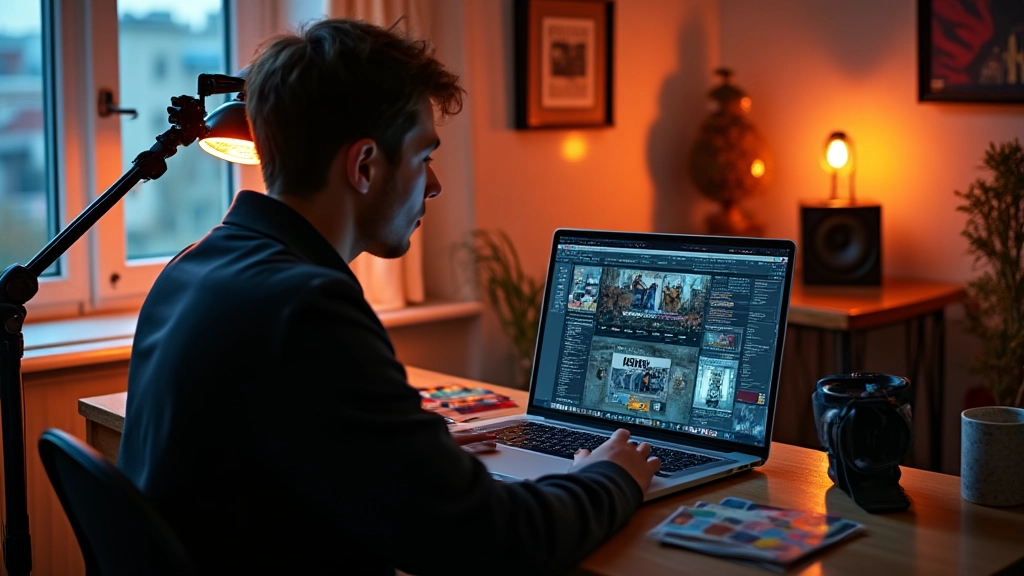
Bedroom producer with a streaming audience
A bedroom producer shot a lyric-forward video, leaning on a legible storyboard and on-screen text for the lyric cues. They used a neutral color grade with a few color pops to highlight key moments. The edit emphasized rhythm with tight cuts on every beat and a few long takes to showcase the performance. The project was distributed across YouTube and TikTok, with vertical edits designed for mobile performance and a square cut for IG Reels.
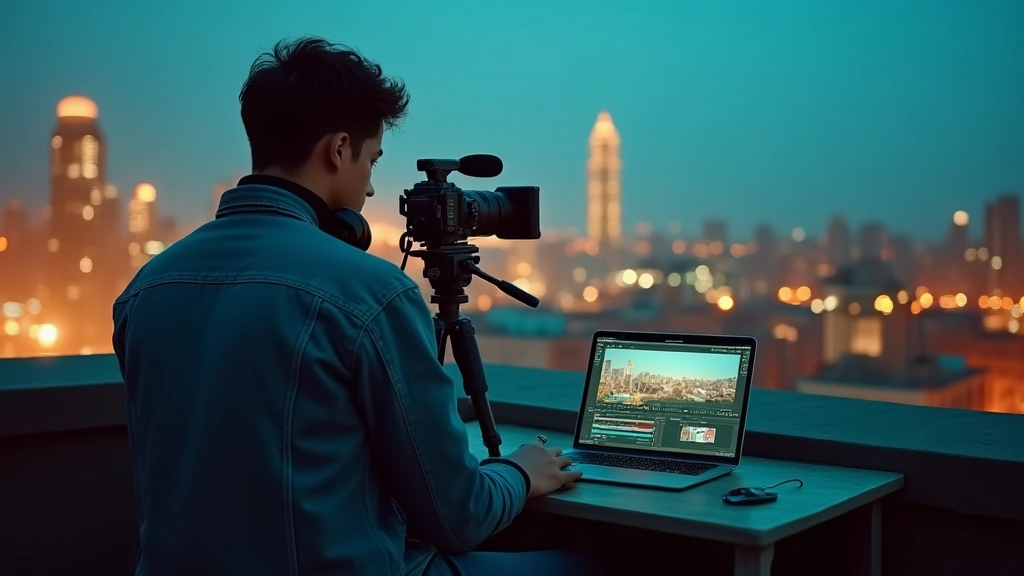
Small-crew narrative piece
In a single-room studio, a two-person crew built a small, story-driven piece that relied on a few props and practical lighting. They used a storyboard-driven shot list that mapped every frame, then shot a compact sequence with a slow, deliberate tempo. The result was a video that felt cinematic despite the budget, with thoughtful framing and a clear emotional arc that connected to the song.
AI as a partner: practical integration in pre-production and post
Artificial intelligence is reshaping how we plan, preview, and polish music videos, not replacing vision but amplifying it. In pre-production, AI-assisted storyboard tools can help you iterate concepts quickly, while during post you can lean on AI for color matching, quick fixes, and rough cuts. Industry watchers point to tools inside major suites that can generate frames from prompts or extend shots to fix tiny continuity issues without reshooting. The important thing is to keep artistic intent front-and-center while using AI to remove friction in the process.
For example, large software players have begun integrating AI video capabilities directly into editing platforms, enabling sequence-level previews and parameter-driven refinements. This can accelerate your pre-production and rough-cut stages, letting you test multiple looks or shot orders in the same day. As one industry observer notes, these tools are designed to empower creators, not replace human judgment. ([theverge.com](https://www.theverge.com/2024/10/14/24268695/adobe-ai-video-generation-firefly-model-premiere-pro))
Independent artists are already adopting AI-assisted workflows for concepting and quick-turn edits. A notable example is Runway Gen-3 Alpha, which demonstrated the ability to generate short video clips from text prompts and references, highlighting how AI can accelerate ideation and pre-visualization. Creators can use these capabilities to explore visuals for boards, test beats, and map cuts before pulling the first frame. ([time.com](https://time.com/7094939/runway-gen-3-alpha/))
Field-tested workflows you can start today
The following quick-start checklist is designed for busy musicians who want to move from idea to shot to final cut in a single sprint. Use it as a starting point for your next video project, whether you tour, stream, or create at home.
- Create a one-page treatment: who, what, why, where, when; keep it executable in a day or two.
- Build a nine-shot storyboard that covers intro, verse, chorus, bridge, and outro; assign mood per shot.
- Draft a tight shot list with lens choices and blocking; include 2–3 backup takes per scene.
- Plan light sources for the chosen space; stack practicals with a portable light kit for on-the-road shoots.
- Schedule a 60–90 minute rehearsal to lock blocking and tempo before shooting.
- Shoot a clean rough cut and a color-test clip on the same day to guide grading decisions.
- Deliver a final cut with captioning and a 16:9 version for streaming and a 9:16 version for social sharing.
- Publish with a simple, consistent metadata strategy to aid discovery across platforms.
Hear what these choices do to your own song.
Upload stems or a finished track, choose a reference direction, and compare a private Moozix mix before you export anything.