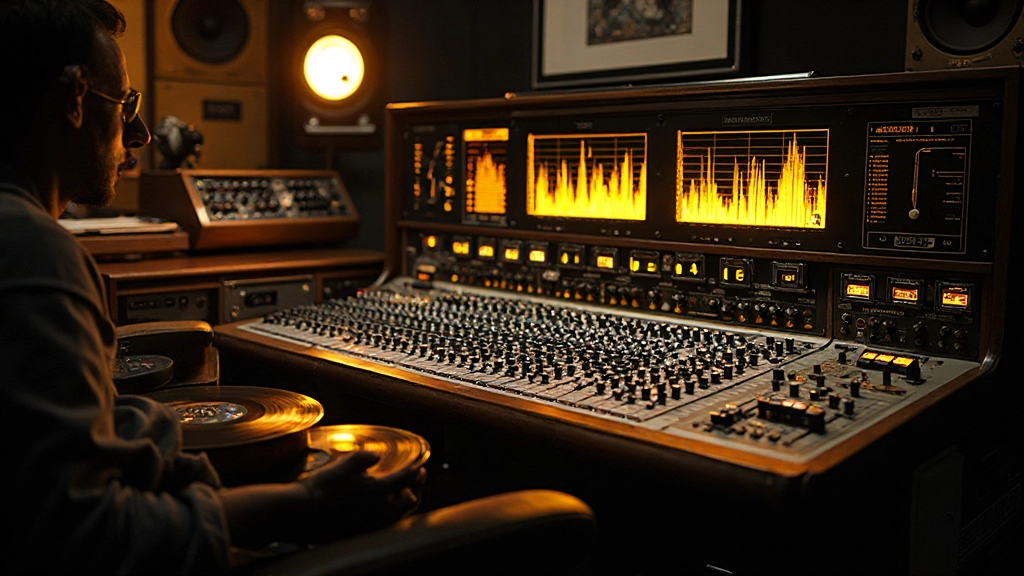
When Clarence hit record on his first home session, the bass sounded massive through his headphones. But when he played it back on his phone speaker the next morning, the low-end had vanished completely, leaving behind a muddy rumble that buried his entire mix. Sound familiar?
The untreated spare bedroom that serves as your home studio creates unique challenges for bass frequency management. Without proper acoustic treatment, low-end buildup and null zones can turn even the best-performed bass lines into mix-destroying mud. But here's the thing: you don't need a million-dollar control room to achieve professional bass clarity.
After fifteen years of mixing in everything from world-class facilities to bedroom setups, I've learned that strategic EQ work can overcome most home studio bass problems. The key isn't fighting your room's acoustics, but understanding how to work with them.
The Frequency Collision Nobody Talks About
Most home producers focus on the obvious bass frequencies, typically boosting around 60-80Hz to add weight. But the real mix-killing problems happen in the 100-250Hz range, where your bass guitar, kick drum, and room resonances create a perfect storm of mud.
Clarence's bedroom had a nasty resonance at 140Hz. Every time he recorded bass, this frequency would build up, creating a woolly thickness that made his mixes sound amateur. The solution wasn't adding more low-end, it was surgically removing the problematic frequencies that were masking the good ones.
The Three-Zone Bass EQ Strategy
Professional bass EQ isn't about dramatic curves or massive boosts. It's about creating three distinct frequency zones that each serve a specific purpose in your mix. This approach works whether you're tracking direct through an interface or miking a bass cab in your living room.
Zone One: The Foundation (50-80Hz)
This is where your bass lives and breathes. In most home studios, this range gets muddy fast because of room modes and boundary effects. Instead of boosting here by default, start by cleaning up the area just above it.
Try a gentle high-pass filter around 40-50Hz to remove subsonic rumble that eats headroom without adding musical content. Your home monitors probably can't reproduce these frequencies accurately anyway, so you're mixing blind in this range.
Zone Two: The Danger Zone (100-250Hz)
This is where bass tracks go to die in home studios. Room resonances, furniture vibrations, and poor monitoring combine to create frequency buildups that destroy mix clarity. A 2-4dB cut with a moderate Q around your room's problem frequencies can instantly clean up your low-end.
When I was mixing Rebecca's folk album in her apartment studio, we discovered that a 3dB cut at 180Hz transformed her upright bass from a muddy thump into a defined musical element. The cut was so narrow that it didn't affect the instrument's tone, but it eliminated the boxy resonance her hardwood floors were adding.
Zone Three: The Character Range (250-800Hz)
This often-overlooked zone contains the fundamental frequencies that give bass its musical character. Small boosts here can add presence and definition, while cuts can reduce honky or nasal tones.
For electric bass, a gentle boost around 400-500Hz can add punch and help the bass cut through dense mixes. For acoustic bass, this range often needs taming to prevent it from competing with guitars and vocals.
Listening Strategies for Untreated Rooms
Your bedroom studio's biggest limitation isn't your gear – it's your ability to hear what you're actually doing to the low-end. Here's how to make reliable EQ decisions when your room is working against you.
| Monitoring Technique | What It Reveals | When to Use |
|---|---|---|
| Headphone Reference | Bass presence and definition | Initial EQ cuts and surgical work |
| Phone Speaker Test | Mid-bass clarity and translation | Checking 200-500Hz balance |
| Car Stereo Check | Real-world bass balance | Final mix verification |
| Mono Button | Phase issues and fundamental clarity | Ensuring bass foundation is solid |
The mono check is particularly crucial for home studio bass work. Phase cancellation between DI and amp signals, or between different bass layers, can create holes in your frequency response that room acoustics make hard to detect.
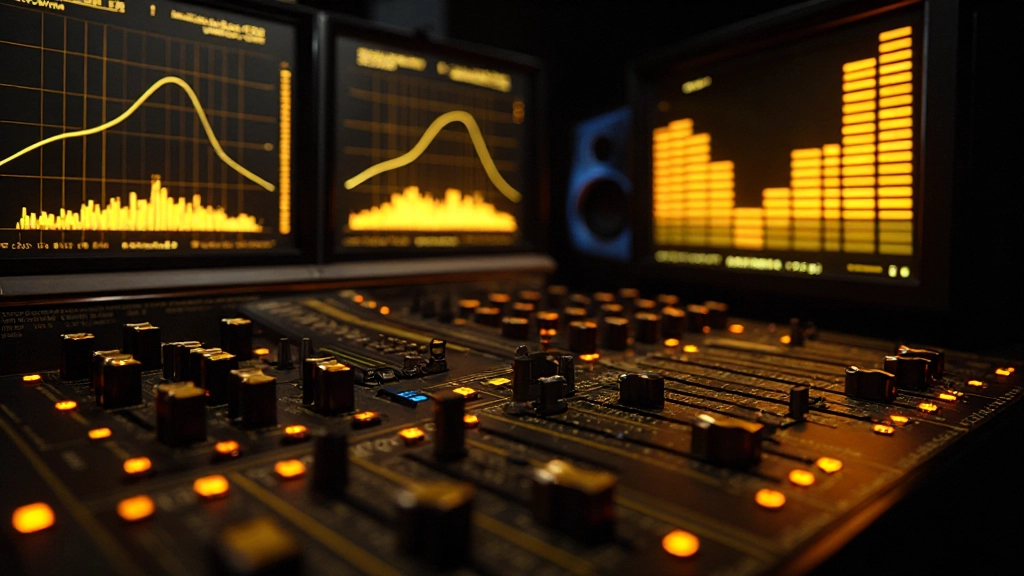
The AI-Assisted Frequency Detective
Modern AI-powered analysis tools have revolutionized how we can identify problem frequencies in untreated spaces. Instead of guessing where your room's resonances are causing problems, spectral analysis plugins can show you exactly what's happening.
I've started using AI-powered frequency analyzers that learn your room's characteristics over time. These tools can suggest EQ moves based on how your mixes translate, taking the guesswork out of frequency selection. They're particularly valuable when you're tracking bass, as they can identify problematic buildups before they become baked into your recordings.
"The best bass EQ is the one you don't hear working. It should make the bass fit the mix, not call attention to itself."
Recording Techniques That Prevent EQ Problems
The cleanest bass EQ is the one you don't need to do. Smart recording techniques in your home studio can eliminate many frequency problems before they reach your mix.
Microphone Placement for Natural EQ
If you're recording bass through an amplifier, microphone placement acts as a natural EQ curve. Close-miking (2-6 inches) emphasizes attack and presence but can sound thin. Backing the mic off to 12-18 inches captures more room tone and low-end but may pick up unwanted reflections in an untreated space.
The sweet spot for most home studios is about 8-10 inches from the speaker cone, slightly off-axis. This position captures the amp's natural tone while minimizing room reflections that cause phase issues.
DI Signal Management
Always record a clean DI signal alongside your amplified bass track. The DI gives you options during mixing, allowing you to blend in clean low-end if the amp track gets muddy, or add definition if the DI lacks character.
When blending DI and amp signals, be careful of phase relationships. Even small timing differences can cause comb filtering that creates strange EQ artifacts. Use your DAW's phase alignment tools, or simply nudge tracks by a few samples until they reinforce rather than cancel each other.
Target Frequencies for Common Bass Problems
Different bass instruments and playing styles create predictable frequency problems in home studio environments. Here's a troubleshooting guide for the most common issues:
- Electric Bass Fret Buzz: High-frequency cuts around 2-4kHz can tame string noise without losing attack
- Boomy Upright Bass: Narrow cuts between 100-150Hz address room resonance without losing warmth
- Synth Bass Muddiness: High-pass filtering up to 60-80Hz removes unnecessary sub-bass energy
- Bass Guitar Pick Attack: Gentle boost around 1-2kHz adds definition; cut here to soften aggressive picking
- Room Mode Boom: Identify and cut your room's resonant frequency (often 80-120Hz in small rooms)
Mix Context: When Bass EQ Stops Being About Bass
The most important bass EQ moves often happen in other instruments. Kevin learned this the hard way when he spent hours perfecting his bass tone in solo, only to have it disappear completely when he added guitars and vocals back into the mix.
The problem wasn't his bass EQ – it was frequency masking from his rhythm guitars. Their low-mid content was sitting right on top of his bass's fundamental frequencies. A 2dB cut at 250Hz in the guitars opened up space for the bass to breathe without touching the bass track itself.
This kind of complementary EQ is crucial in dense home studio mixes where every instrument is fighting for space in an acoustically challenging environment. Sometimes the best bass EQ is an EQ cut somewhere else entirely.
Testing Your Low-End Decisions
Home studio bass work requires systematic testing to ensure your EQ choices translate to different playback systems. Your bedroom's acoustic signature can fool you into making decisions that sound great in your room but terrible everywhere else.
- Headphone Verification: Check your bass EQ on at least two different sets of headphones. Consumer earbuds are particularly revealing of mid-bass problems.
- Level Matching: Test your EQ'd bass at different volumes. Cuts that sound perfect at high volumes might leave the bass too thin at moderate listening levels.
- Mono Compatibility: Bass frequencies can behave differently in mono. Check your mix with the mono button engaged to ensure your EQ choices don't create phase issues.
- Reference Track Comparison: A/B your bass against commercial tracks in a similar style. This reveals whether your EQ choices are moving you toward or away from professional standards.
Beyond EQ: Supporting Techniques
EQ is just one tool in your bass clarity arsenal. Compression can help even out frequency response, while saturation and harmonic enhancement can add presence in frequency ranges where your room's acoustics make EQ difficult.
Light compression with a slow attack preserves the bass's initial transient while controlling sustain that might otherwise build up in problematic frequency ranges. A ratio of 3:1 or 4:1 with 2-4dB of gain reduction usually provides transparent level control.
Subtle harmonic enhancement in the 1-3kHz range can add presence and definition that helps bass cut through dense mixes without requiring dramatic EQ boosts that might exacerbate room problems.
Building Your Bass EQ Workflow
Developing a consistent approach to bass EQ helps you make better decisions faster and prevents common mistakes that plague home studio productions. Start with problem-solving (cutting problematic frequencies) before enhancement (boosting desired ones).
Create templates that include your room's known problem frequencies. If your home studio consistently has issues around 140Hz, having an EQ preset with a gentle cut already in place can save time and prevent you from making the same mistakes repeatedly.
Document what works. Keep notes about which EQ settings translate well from your room to other systems. Over time, you'll develop an understanding of how your space affects bass frequencies and learn to compensate automatically.
Most importantly, trust your ears but verify with objective tools. Spectrum analyzers can reveal frequency buildups that your room's acoustics might hide, while correlation meters can identify phase issues that cause EQ problems.
The goal isn't to achieve perfect bass in your imperfect room – it's to make informed decisions that translate to the real world. With practice and the right techniques, your home studio bass tracks can compete with anything coming out of professional facilities.
Hear what these choices do to your own song.
Upload stems or a finished track, choose a reference direction, and compare a private Moozix mix before you export anything.