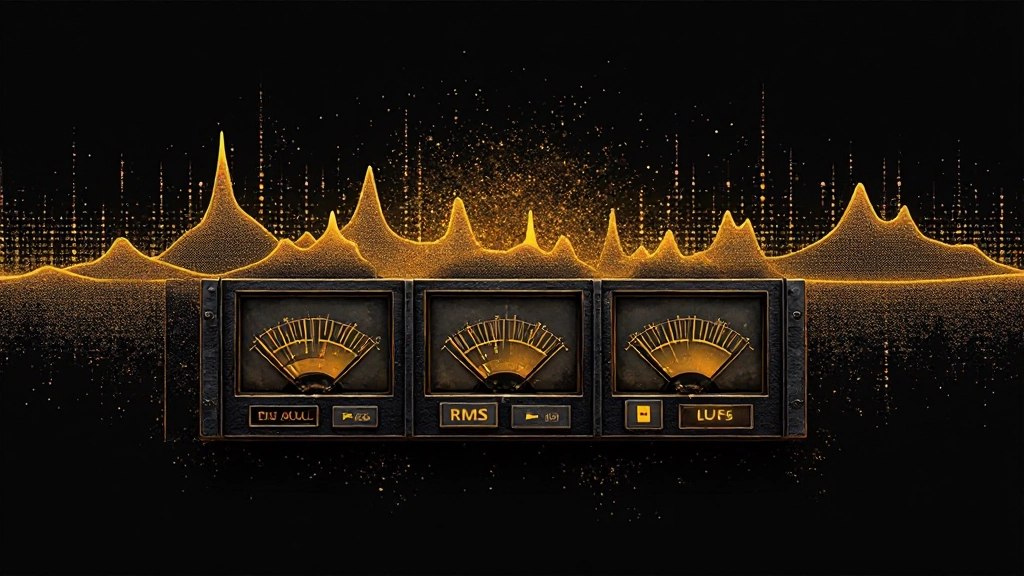
You're staring at a wall of meters in your DAW, watching numbers dance while your mix still doesn't sound right. Peak meters flash red warnings, RMS readings fluctuate wildly, and LUFS values seem disconnected from what you're hearing. Here's the reality: most producers rely on the wrong meters for mixing decisions, then wonder why their tracks fall apart on different playback systems.
Quick Takeaways
- Peak meters prevent digital clipping but don't reflect perceived loudness
- RMS meters show average energy levels and help balance mix elements
- LUFS meters measure perceived loudness across different streaming platforms
- Use peak meters during tracking, RMS for mixing, LUFS for mastering
- Your ears remain the final judge - meters provide guidance, not gospel
What Each Meter Actually Measures
Peak meters show the highest instantaneous sample values hitting your converters. Think of them as digital overload protection - they catch the brief spikes that cause harsh clipping distortion. When a peak meter hits 0dBFS, you've reached the digital ceiling and any louder signal gets chopped off brutally.
RMS (Root Mean Square) meters calculate the average signal level over a specific time window, usually 300-600 milliseconds. This measurement correlates better with perceived loudness than peak readings because your ears respond to sustained energy, not momentary spikes. A vocal that peaks at -6dB might have an RMS level around -18dB, showing the difference between brief consonants and sustained vowel energy.
LUFS (Loudness Units relative to Full Scale) meters integrate psychoacoustic modeling with time-weighted measurements. They account for how human hearing perceives different frequencies and temporal patterns. Streaming platforms use LUFS because it predicts how loud your track will sound compared to other songs in a playlist.
| Meter Type | Time Response | Best Use Case | Typical Range |
|---|---|---|---|
| Peak | Instantaneous | Preventing digital clipping | -12dB to 0dBFS |
| RMS | 300-600ms average | Balancing mix elements | -30dB to -6dB |
| LUFS | Integrated over time | Streaming loudness targets | -23 to -8 LUFS |
When Peak Meters Help Your Mix Process
Peak meters excel during recording and initial gain staging. When you're tracking a dynamic vocalist who goes from whisper to belt, peak meters prevent the loud passages from creating digital distortion. Set your input levels so the loudest peaks hit around -6dB to -3dB, leaving headroom for unexpected volume bursts.
During mixing, peak meters become less useful for creative decisions but remain essential for technical safety. Use them to ensure your mix bus doesn't clip before hitting your mastering chain. However, don't obsess over peak levels during creative mixing - a track peaking at -1dB might sound quieter than one peaking at -6dB if the RMS levels differ significantly.
Peak meters also help when setting up parallel compression or saturation. You can drive signals into analog-modeled plugins until you see controlled clipping, then back off slightly. This gives you the harmonic excitement without the harshness.
How RMS Readings Guide Better Mix Decisions
RMS meters become your primary mixing companion because they reflect the sustained energy that defines each instrument's presence in your mix. When balancing a kick drum against a bass line, RMS levels tell you which element carries more consistent low-end weight, while peak meters might mislead you with transient spikes.
Use RMS meters to match vocal levels across different song sections. A verse vocal might peak similarly to a chorus vocal, but if the RMS level drops significantly during the verse, it will feel buried in the mix. Compression and automation should target consistent RMS levels rather than peak consistency.
For drum programming, RMS meters help you balance the relationship between different kit pieces. A snare with strong attack transients might peak louder than your kick, but if the kick has more sustained low-end energy (higher RMS), it will dominate the rhythmic feel. Adjust levels based on RMS readings to achieve the groove you want.
- Compare RMS levels between similar instruments (multiple guitars, stacked vocals)
- Use RMS to set reverb send levels that maintain consistent spatial placement
- Match RMS levels when switching between verse and chorus arrangements
- Set compression thresholds based on RMS readings, not peak levels
Why LUFS Matters for Release Preparation
LUFS measurements become crucial during mastering and final preparation because they predict how your track will sound on streaming platforms. Spotify targets around -14 LUFS integrated, while YouTube aims for -13 LUFS, and Apple Music accepts louder masters around -10 LUFS.
Understanding LUFS helps you make smarter loudness decisions. A master hitting -8 LUFS might seem impressively loud in your studio, but Spotify will turn it down to match their target, potentially making it sound less punchy than a well-balanced -12 LUFS master that doesn't trigger as much level reduction.
LUFS readings also reveal frequency balance issues that affect perceived loudness. A mix heavy in the 1-4kHz range will register higher LUFS values because this frequency range strongly influences loudness perception. If your LUFS readings seem low despite aggressive limiting, check for excessive low-end or extreme high frequencies that add energy without contributing to perceived volume.
"LUFS meters show you how loud your track sounds to human ears, not just how much digital headroom you're using."
Common Metering Mistakes That Hurt Your Mix
Many producers make mixing decisions based on peak meters alone, leading to imbalanced tracks that sound amateur despite technically correct levels. A common example: setting all drum elements to peak at the same level, which creates a kit where the kick disappears because its RMS energy is much lower than the snare's sustained ring.
Another frequent error involves chasing LUFS numbers during mixing rather than mastering. LUFS measurements become meaningful only when your mix is complete and you're preparing the final master. Trying to hit LUFS targets while mixing often leads to premature limiting and compressed dynamics that can't be undone later.
Over-reliance on any single meter type also creates problems. Peak-only mixing often sounds weak and unbalanced. RMS-only mixing might create technically loud tracks that still clip unexpectedly. LUFS-only mastering can sacrifice musical dynamics for streaming compliance.
Setting Up Your Meter Chain for Better Results
Position different meter types strategically throughout your signal chain for maximum usefulness. Place peak meters on individual tracks during recording and initial mixing to prevent clipping. Add RMS metering to your mix bus to monitor overall energy balance as you build your arrangement.
For mastering preparation, use LUFS meters on your final output to check streaming readiness. Many mastering engineers run multiple meter types simultaneously: peaks for technical safety, RMS for energy balance, and LUFS for loudness standards compliance.
Consider the integration time settings on your meters. Momentary LUFS (400ms) helps with real-time mixing decisions, while integrated LUFS measures your entire track's cumulative loudness. Short-term LUFS (3 seconds) provides a middle ground useful for checking song sections.
Practical Meter Applications Across Different Genres
Electronic music production often benefits from tighter peak control because synthesized sounds can create unexpected digital harsh-ness. RMS meters help balance the sustained nature of electronic elements against percussive hits. LUFS becomes especially important because electronic genres often push loudness boundaries.
Acoustic recordings require different metering approaches. Natural instrument transients might peak heavily while maintaining lower RMS levels, requiring more headroom and gentler compression. LUFS targets might be lower to preserve the dynamic range that makes acoustic music engaging.
Hip-hop and pop productions typically use aggressive RMS levels to maintain consistent energy, with peak meters ensuring the heavily processed drums don't distort. LUFS readings help these genres compete on streaming platforms where consistent loudness is expected.
Training Your Ears Beyond the Numbers
Meters provide valuable guidance, but developing critical listening skills remains essential for professional results. Practice identifying what different meter readings actually sound like by monitoring levels while listening to reference tracks in your target genre.
Try mixing short sections without looking at meters, then check the readings afterward. This builds intuition about what balanced levels sound like before the numbers confirm your decisions. Over time, you'll develop an internal sense of appropriate level relationships that makes meter readings feel like confirmation rather than primary guidance.
Use meters to verify what you're hearing rather than substitute for critical listening. If something sounds wrong but the meters look correct, trust your ears. Conversely, if something sounds good but the meters show potential problems, investigate whether technical issues might cause playback problems on other systems.
Common Questions About Audio Meters
Should I mix to specific peak levels for each instrument?
No, mix to what sounds balanced rather than hitting specific peak targets. Different instruments have different transient characteristics, so peak levels alone don't indicate proper balance. Use your ears first, then check that peaks aren't clipping.
Can I use LUFS meters during mixing instead of just mastering?
LUFS readings during mixing can be misleading because they don't account for the final mastering processing. Focus on RMS balance during mixing, then address LUFS targets during mastering when your final dynamics are established.
Why do my RMS levels seem so much lower than peak levels?
This difference is normal and indicates healthy dynamics. Typical music has RMS levels 12-20dB lower than peak levels. If this gap is too small, your mix might be over-compressed. If too large, you might need more consistent energy.
Which meter type matters most for streaming platforms?
LUFS integrated measurements determine how streaming platforms will process your track. However, you still need peak control to prevent distortion and RMS awareness for musical balance. All three meter types serve different but important functions.
How often should I check meters while mixing?
Check meters periodically to verify technical safety and confirm what you're hearing, but don't mix by watching meters constantly. Focus on listening, then use meters to validate your decisions and catch potential problems.
Do I need expensive metering plugins for good results?
Basic peak and RMS metering built into most DAWs handles mixing needs adequately. Invest in dedicated LUFS metering for mastering work, but expensive meters won't improve your mixes if your listening skills and room treatment need attention first.
Hear what these choices do to your own song.
Upload stems or a finished track, choose a reference direction, and compare a private Moozix mix before you export anything.