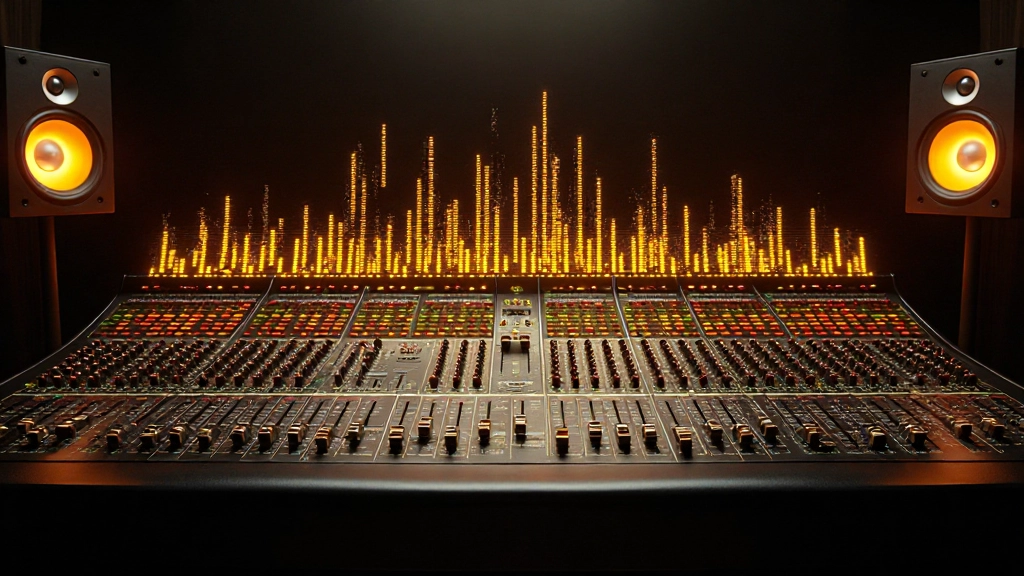
When producer Julian Wheeler first heard his five-layer synth arrangement collapse into a muddy mess during mixdown, he thought the problem was his plugins. Three frustrated hours later, he discovered the real culprit: every synth voice was fighting for the same frequency real estate, creating a sonic traffic jam that no amount of EQ could untangle.
This scenario plays out in home studios everywhere. We layer synths with good intentions, chasing that full, cinematic sound we hear on our favorite records. But without deliberate frequency design, those layers become frequency conflicts that make mixing exponentially harder.
The solution isn't fewer synths or better gear. It's building frequency architecture from the ground up, using targeted exercises that teach your ears how different synth voices interact across the spectrum. These six layering exercises will transform how you approach synth arrangement, giving you the skills to create powerful, mix-ready soundscapes that translate on any system.
Exercise One: The Foundation Frequency Map
Before adding any layers, you need to establish your frequency foundation. This exercise teaches you to hear and place synth elements in distinct frequency zones, preventing the overlap that causes mix problems later.
Start with a simple chord progression in your DAW. Choose three synth patches: a bass synth, a mid-range pad, and a lead sound. The key is selecting patches that naturally occupy different frequency ranges rather than trying to force them apart with EQ.
Play each synth solo and identify its primary frequency content. The bass synth should dominate below 200Hz, the pad should live in the 200Hz to 2kHz range, and the lead should shine above 1kHz with some harmonic content extending higher. If any two patches compete heavily in the same range, swap one for a different sound.
Now layer all three and listen for frequency masking. Does the bass still feel present? Can you clearly hear the pad's harmonic content? Does the lead cut through without being harsh? If any element disappears or becomes muddy, you've found a frequency conflict that needs addressing during the arrangement phase, not later in the mix.
Record this three-layer foundation and save it as your reference. You'll use this clarity benchmark for all subsequent exercises.
Building Harmonic Relationships That Enhance Rather Than Compete
Traditional music theory teaches us about chord relationships, but synth layering requires understanding harmonic relationships in the frequency domain. When you layer synths playing the same chord, their harmonics can either reinforce each other beautifully or create beating and phasing issues that make your mix sound amateur.
For the second exercise, load two synth patches that occupy similar frequency ranges. This might seem counterintuitive after exercise one, but this controlled conflict teaches you how to manage harmonic interaction deliberately.
Play a sustained major chord and listen for beating between the two synths. Beating occurs when slightly detuned harmonics create a warbling effect. Sometimes this adds character, but often it creates instability that makes mixing difficult.
- Detune one synth by 5-10 cents and listen to how the beating changes
- Try octave displacement, playing one synth an octave higher or lower
- Experiment with different chord inversions on each synth
- Test how different filter settings on each synth affect harmonic interaction
Producer Melody Chen discovered this technique while working on an ambient piece where two pad sounds kept creating an unpleasant warble. Instead of abandoning one of the patches, she moved one pad up an octave and adjusted the filter cutoff to emphasize different harmonic content. The result was a rich, stable layer that gave her track its signature sound.
| Harmonic Relationship | Effect on Mix | Best Use Cases |
|---|---|---|
| Perfect Unison | Reinforcement, potential phasing | Thickening single lines |
| Octave Displacement | Natural harmonic support | Adding depth without conflict |
| Fifth Relationship | Strong harmonic reinforcement | Power chord effects, bass support |
| Slight Detuning | Chorus-like thickening | Vintage synth emulation |
Exercise Three: Dynamic Layer Interaction
Static layering where all synths play continuously creates dense arrangements that are hard to mix effectively. Dynamic layering, where different elements appear and disappear throughout your arrangement, creates space for each element to shine while maintaining overall fullness.
Create a 16-bar loop with your three-synth foundation from exercise one. Now add movement by having different layers drop in and out at strategic points. This isn't just about muting tracks randomly; it's about creating conversation between the layers.
Start with just the bass synth for bars 1-4, establishing the harmonic foundation. Add the pad on bar 5, creating a fuller harmonic picture. Introduce the lead on bar 9 for the peak intensity, then strip back to just bass and lead for bars 13-16 to create contrast.
As you program these entrances and exits, pay attention to how each change affects the overall frequency balance. When the pad enters, does it make the bass feel smaller? When the lead comes in, does it mask important midrange content from the pad? These observations will inform your layering decisions in future productions.
The goal isn't to avoid all frequency interaction but to make those interactions musical and intentional. Sometimes a slight masking effect creates the exact vibe you're looking for.
Envelope Shaping for Frequency Coexistence
Two synths can occupy similar frequency ranges without conflict if their envelopes create temporal separation. This fourth exercise explores how attack, decay, sustain, and release settings can turn competing layers into complementary partners.
Load two bass synth patches that would normally compete for low-end space. Set one with a fast attack and short decay for a punchy, percussive character. Set the other with a slow attack and long sustain for a sustained, pad-like quality.
Program a simple bass line where both synths play the same notes but with different envelope timing. The punchy synth defines the note onset and provides rhythmic drive, while the slow-attack synth fills in the sustained portions, creating fullness without muddiness.
This technique works across all frequency ranges. Try it with lead synths where one provides the initial transient attack while another creates the sustained harmonic content. Or use it with pads where one layer provides quick harmonic hits while another creates sustained atmosphere.
"The space between notes is just as important as the notes themselves. When you shape that space with envelope timing, you're composing with silence as much as sound."
Exercise Five: Stereo Field Architecture
Frequency separation is only half the battle. Stereo placement can resolve frequency conflicts that EQ alone cannot fix, but it requires strategic thinking about how elements relate spatially.
Return to your three-synth foundation and experiment with panning positions. Start with all elements centered, then gradually spread them across the stereo field while monitoring how this affects frequency interaction.
Place the bass synth dead center to maintain low-end focus. Pan the pad slightly left or right, around 20-30% from center. This creates width without losing focus. Position the lead more dramatically off-center, around 60-70% to one side.
Now duplicate the lead and pan the copy to the opposite side, but delay it by 15-30 milliseconds and apply slight filtering to differentiate it from the original. This creates convincing stereo width while maintaining harmonic coherence.
- Bass elements stay centered for maximum impact
- Midrange elements use subtle panning (10-40% from center)
- High-frequency elements can use dramatic panning
- Stereo pairs should have timing or tonal differences
Listen to your spread layers in mono to ensure they still work without stereo enhancement. If elements disappear or become unbalanced in mono, adjust the stereo processing until mono compatibility is maintained.
Advanced Filter Movement and Frequency Dancing
The final exercise combines everything you've learned with dynamic filter movement that makes layers "dance" around each other in frequency space. This technique prevents static frequency conflicts while adding movement and interest to your arrangement.
Set up four synth layers covering bass, low-mid, high-mid, and treble ranges. Instead of static filter settings, use envelope followers, LFOs, or automation to create filter movement that opens and closes frequency windows dynamically.
Program the bass layer with a low-pass filter that occasionally opens to let through some midrange harmonics. Sync this to your track's rhythm so the filter opening coincides with important musical moments. Meanwhile, program the low-mid pad with a high-pass filter that sometimes moves lower, temporarily occupying the space the bass filter vacated.
Engineer Marcus Kim used this technique on a downtempo track where traditional EQ couldn't resolve conflicts between a warm bass synth and a lush string pad. By automating complementary filter sweeps, he created a breathing effect where each layer dynamically made space for the other. The result was a more organic, less static arrangement that maintained fullness while ensuring clarity.
As you work through this exercise, focus on creating filter movements that feel musical rather than technical. The goal is arrangement that supports good mixing, not filter movement for its own sake.
Making These Techniques Work in Your Productions
These exercises aren't just practice routines; they're building blocks for developing your own approach to synth layering. As you work through them, you'll start hearing frequency relationships more clearly and making arrangement decisions that support your mixing goals from the start.
The key insight is that good synth layering happens during composition, not during mixdown. When you understand how different synth voices interact harmonically, rhythmically, and spatially, you can create arrangements that practically mix themselves.
Start incorporating these concepts into your current projects gradually. Pick one exercise that addresses a specific challenge you're facing and work with it until the technique becomes intuitive. Then add the next layer of complexity.
Remember that every synth patch, every musical context, and every stylistic goal will require different approaches. These exercises give you the foundational skills to hear what's happening and adjust accordingly, but the musical decisions are always yours to make.
The next time you're building a synth arrangement, think beyond just "what sounds good" to "how will these elements work together across the entire frequency spectrum." That shift in perspective will transform not just your synth layering, but your entire approach to arrangement and production. Your future mixing self will thank you for the clarity and space you've built into the track from the very beginning.
Hear what these choices do to your own song.
Upload stems or a finished track, choose a reference direction, and compare a private Moozix mix before you export anything.