You've spent hours getting your mix levels perfect. Every meter shows clean headroom. You bounce the track, upload it for feedback or distribution, and suddenly get hit with true peak warnings. Your mix wasn't clipping in the DAW, so where did these digital peaks come from?
This happens because of intersample peaks—digital artifacts that emerge during the conversion process after your mix leaves the controlled environment of your DAW. When sample rate conversion, dithering, or codec compression reconstructs your audio signal, it can create peaks between your original sample points that exceed 0 dBFS, even when your source material looked clean.
Quick Takeaways
- True peak meters catch intersample peaks that regular peak meters miss
- Leave 3-4 dB of headroom below 0 dBTP (true peak) before final limiting
- Check your limiter's true peak ceiling setting—many default to 0 dBFS instead of true peak
- Test bounces through sample rate conversion to catch problems early
- Use oversampling in your limiter to prevent intersample peak creation
- Validate final exports with a true peak analyzer before upload
What Creates Intersample Peaks in Your Export
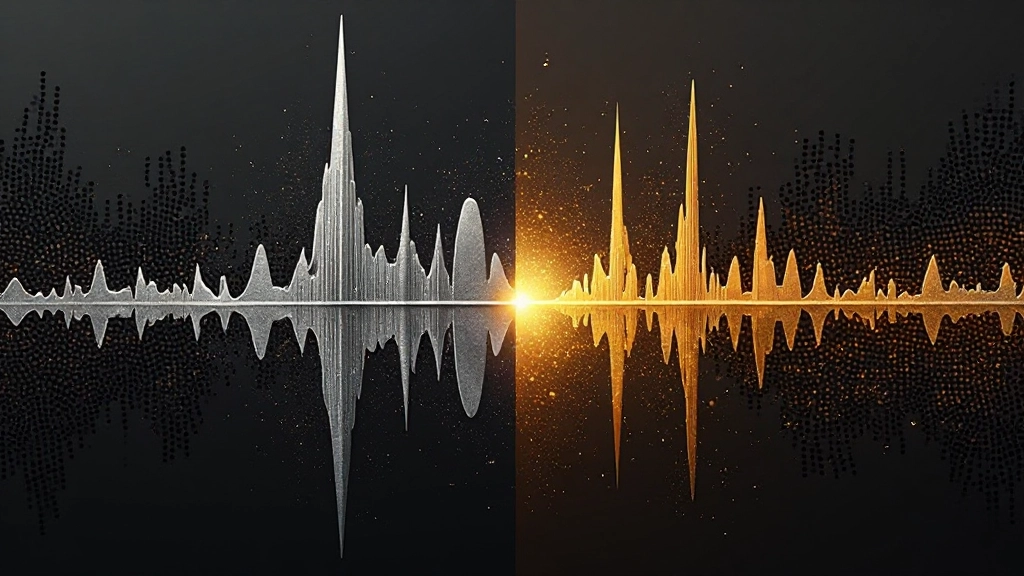
Intersample peaks occur when the analog reconstruction of your digital audio creates signal levels higher than what your DAW's sample-based peak meters can detect. Your DAW only measures the level at each sample point, but the continuous analog signal between those points can exceed those levels.
This becomes a problem when your mix undergoes any process that involves reconstruction: sample rate conversion for different platforms, mp3 encoding, streaming platform processing, or even playback through most audio interfaces and consumer devices. The reconstruction algorithm essentially "connects the dots" between your sample points, and those connections can create peaks that weren't visible in your original file.
A dense electronic track with heavy limiting is particularly vulnerable. When you push a limiter to exactly 0 dBFS, you're only controlling the sample peaks. The limiter might create a waveform that looks perfectly controlled in your DAW but generates intersample peaks of +1 to +3 dB during reconstruction.
Why Standard Peak Meters Miss the Problem
Regular peak meters in most DAWs show sample peak levels—they measure the highest sample value in your digital file. True peak meters, on the other hand, use oversampling to estimate what the reconstructed analog signal will look like, catching peaks that would emerge during conversion.
The difference matters more than most producers realize. A track that peaks at exactly 0 dBFS on a sample peak meter might actually reach +2.5 dBTP (true peak) after reconstruction. When that file gets converted for streaming or burned to CD, those intersample peaks become audible distortion.
Many streaming platforms now check for true peak levels and will flag or automatically reduce the volume of files that exceed their true peak limits. Spotify, Apple Music, and YouTube all apply their own processing that can turn intersample peaks into harsh digital clipping.
How to Check Your Mix for True Peak Problems
Start by enabling true peak metering in your DAW. Most modern DAWs include this option in their meter settings—look for "TP" readings or "intersample peak" options. In Pro Tools, you'll find it in the metering preferences. Logic Pro's Multipressor and Limiter both show true peak readings. Ableton Live's Utility device can display true peak when you enable the option.
Load your finished mix and check the true peak levels during playback. Pay special attention to the loudest sections—choruses with full arrangements, drum hits with heavy compression, or any section where multiple elements hit simultaneously. If your true peak readings exceed -1 dBTP, you're likely creating intersample peaks.
For a more thorough test, bounce your mix and run it through a sample rate converter. Export at your project's sample rate, then convert the file to 44.1 kHz if you were working at a higher rate, or up-convert a 44.1 kHz file to 48 kHz. Load the converted file back into your DAW and check for any new peaks or distortion artifacts.
| Check Type | What It Reveals | When to Use |
|---|---|---|
| True Peak Meter | Intersample peaks in real-time | During mixing and before limiting |
| Sample Rate Conversion Test | How conversion affects your mix | Before sending to mastering or upload |
| Codec Conversion Test | MP3/AAC artifacts and peaks | Before releasing on streaming platforms |
| Reference System Playback | Audible distortion in real-world scenarios | Final validation before distribution |
The False Fix That Makes Intersample Peaks Worse
The most common mistake is trying to fix intersample peaks by applying more limiting or compression to an already-limited mix. This approach typically makes the problem worse by creating more aggressive waveform shaping that generates even larger intersample peaks.
When you hit a mix that's already at 0 dBFS with additional limiting, you're not reducing the intersample peaks—you're potentially creating new ones while adding distortion to the sample-based signal as well. The limiter has to work harder to control a signal that's already maximally limited, often resulting in more aggressive peak reduction and more dramatic waveform reconstruction artifacts.
Another false fix is simply turning down the master fader after limiting. While this reduces the peak levels, it doesn't address the underlying waveform characteristics that create intersample peaks during reconstruction. You need to control the peaks at the source—during the limiting process itself.
Setting Up Your Limiter to Prevent True Peak Issues
Configure your limiter's ceiling setting to target true peak levels, not sample peak levels. Instead of setting your limiter ceiling to 0 dBFS, set it to -1 or -2 dBTP. Most professional limiters include a true peak ceiling option—look for settings labeled "TP" or "ISP" (intersample peak).
Enable oversampling in your limiter if the option is available. Oversampling allows the limiter to see and control intersample peaks as they're created, rather than trying to fix them after the fact. This typically requires more CPU power but provides much cleaner results for material that needs aggressive limiting.
For reference, here's a practical limiting setup: Set your limiter's input gain to achieve the desired loudness, but set the true peak ceiling to -1.5 dBTP with 4x oversampling enabled. This gives you safety margin while maintaining competitive loudness levels.
- Insert your limiter as the final plugin on your master bus
- Set the true peak ceiling to -1.5 dBTP (not -1.5 dBFS)
- Enable oversampling if available (usually 2x or 4x)
- Adjust input gain or threshold to achieve your target loudness
- Monitor both the output level and true peak reading during limiting
- A/B test with and without limiting to ensure you're not over-processing
What to Check During Full-Mix Playback
Play your full mix and watch the true peak meters during the busiest sections. Look for true peak readings that consistently hit or exceed -1 dBTP. These peaks often occur during drum transients, vocal consonants, or when multiple elements peak simultaneously.
Pay attention to the relationship between your sample peaks and true peaks. A well-controlled mix typically shows true peak levels that are 0.5 to 2 dB higher than the sample peak levels. If you see true peak readings that are 3+ dB higher than your sample peaks, you're likely dealing with problematic waveform characteristics that will cause issues during conversion.
Solo individual elements to identify which parts of your arrangement contribute most to intersample peak problems. Often, heavily compressed drums or over-limited bass lines create the most problematic waveforms. You might find that backing off the compression on these elements by just 1-2 dB solves the true peak issues without significantly affecting the mix's impact.
Sample Rate Conversion Reality Check
Test your bounce by converting it to different sample rates and bit depths. This simulates what happens when your music gets processed for different platforms. Export your mix at its native resolution, then convert copies to 44.1 kHz/16-bit and 48 kHz/24-bit using high-quality conversion.
Load each converted version back into your DAW and check for new peaks, distortion artifacts, or frequency response changes. A mix with intersample peak problems will often show audible distortion artifacts after conversion, particularly in the high frequencies or during loud transient sections.
Compare the converted versions against your original using level-matched A/B testing. If you hear harshness, digital artifacts, or a loss of punch after conversion, intersample peaks are likely the culprit. Address these issues in your original mix rather than trying to fix them post-conversion.
DAW-Specific True Peak Workflow
In Logic Pro, use the Adaptive Limiter with its "True Peak" mode enabled and set the ceiling to -1 dBTP. The multipressor also shows true peak readings when you enable the appropriate meter settings in preferences.
Pro Tools users can enable true peak metering in the metering preferences and use the Pro Limiter with its true peak ceiling setting. The stock EQ3 and dynamics plugins also display true peak information when properly configured.
Ableton Live producers should use the Utility device set to display true peak levels, combined with the Limiter device's true peak ceiling option. Max for Live also offers several true peak analysis tools for more detailed monitoring.
Before Upload: Final Export Validation
Before sending your track anywhere, run a final true peak analysis on your bounced file. Use a dedicated true peak analyzer plugin or your DAW's analysis tools to scan the entire file for peaks above your target threshold.
Check that your final bounce maintains at least -1 dBTP throughout the entire song. Pay special attention to any sections you've automated or any parts where effects automation might create unexpected peaks. Sometimes reverb tails or delay throws can create small peaks that don't appear during normal mixing but show up in the final bounce.
Create a simple validation template: load your bounced track into a fresh DAW project with only a true peak analyzer on the master bus, play the entire track, and note the maximum true peak reading. This becomes your reference for whether the track is ready for distribution or needs additional peak control.
For tracks headed to streaming platforms, consider testing how your mix sounds after being processed by different codecs. Convert your WAV export to high-quality MP3 and AAC files, then play them back through your monitors. Intersample peak problems often become more audible after lossy compression, presenting as harshness or digital artifacts that weren't present in your original file.
When to Use This Before Getting Mix Feedback
Run true peak checks before submitting your mix for feedback or professional review. Mix engineers and mastering engineers can provide more accurate feedback when they're hearing a file that represents how your mix will actually translate through conversion processes.
Upload services often apply their own processing or conversion that can exaggerate intersample peak problems. By controlling true peaks in your original mix, you ensure that feedback reflects your actual mix balance rather than conversion artifacts.
This is particularly important when using AI automix and mastering services, as these systems typically apply additional processing that can interact negatively with intersample peaks in your source material. Clean true peak control in your input file leads to better results from automated processing.
Common Questions About True Peak Warnings
Why doesn't my DAW show true peak warnings during mixing?
Most DAWs default to sample peak metering, which only measures the digital sample values, not the reconstructed analog signal. Enable true peak metering in your meter settings or use a limiter with true peak monitoring to catch intersample peaks during mixing.
How much true peak headroom should I leave before mastering?
Leave at least 3-4 dB of true peak headroom below 0 dBTP if you're sending your mix for professional mastering. This gives the mastering engineer room to work without creating intersample peaks during their processing.
Can intersample peaks cause audible distortion?
Yes, intersample peaks become audible distortion when your audio goes through D/A conversion, sample rate conversion, or codec compression. They often sound like harsh digital clipping, particularly on consumer playback devices and streaming platforms.
Does oversampling in my limiter prevent all intersample peaks?
Oversampling significantly reduces intersample peaks by allowing the limiter to see and control peak reconstruction in real-time. However, you should still monitor true peak levels and use an appropriate ceiling setting for complete control.
Why do streaming platforms flag my track for peak violations?
Streaming platforms check true peak levels, not just sample peaks. Even if your track looks clean in your DAW, intersample peaks above their thresholds (usually -1 to -2 dBTP) can trigger automatic volume reduction or rejection.
Should I fix intersample peaks in the mix or during mastering?
Address intersample peaks at the stage where limiting occurs. If you're doing final limiting in your mix, control true peaks there. If you're sending out for mastering, leave enough headroom and let the mastering engineer handle final peak control with proper true peak limiting.
Hear what these choices do to your own song.
Upload stems or a finished track, choose a reference direction, and compare a private Moozix mix before you export anything.